First of all I'd like to tell you about our Play-Time on our Facebook-Page. If you'd like to challenge our Design Team (and our guests) - enter your challenge idea in the comments of the play-time posts.
Every DT member and Guest will pick one of YOUR challenges for the August Blog Hop. If one of us picks your challenge you'll win a 10%off-coupon for August!
That sounds like fun and we can't wait to read all your ideas!
Today I'd like to cards with you that share the same awesome technique: White embossed outlines and coloring with watercolor.
I am really not a genius when it comes to coloring with watercolors, but you can hardly go wrong with this technique - and the results are always beautiful and kind of "different" to all the black stamped images that we all usually use.
These are the cards that I created:
1) Need a break? Relax
A very clean and simple One-layer card, but still eye-catching because of those white lines, don't you think?
I used the umbrella from Comfy on this card, stamped it with Versamark a few times, embossing with WOW! Clear Gloss super fine embossing powder (I am in love with that stuff because it melts to a really smooth and glossy surface!) and added Distress inks with a brush and water.
This is how I do it:
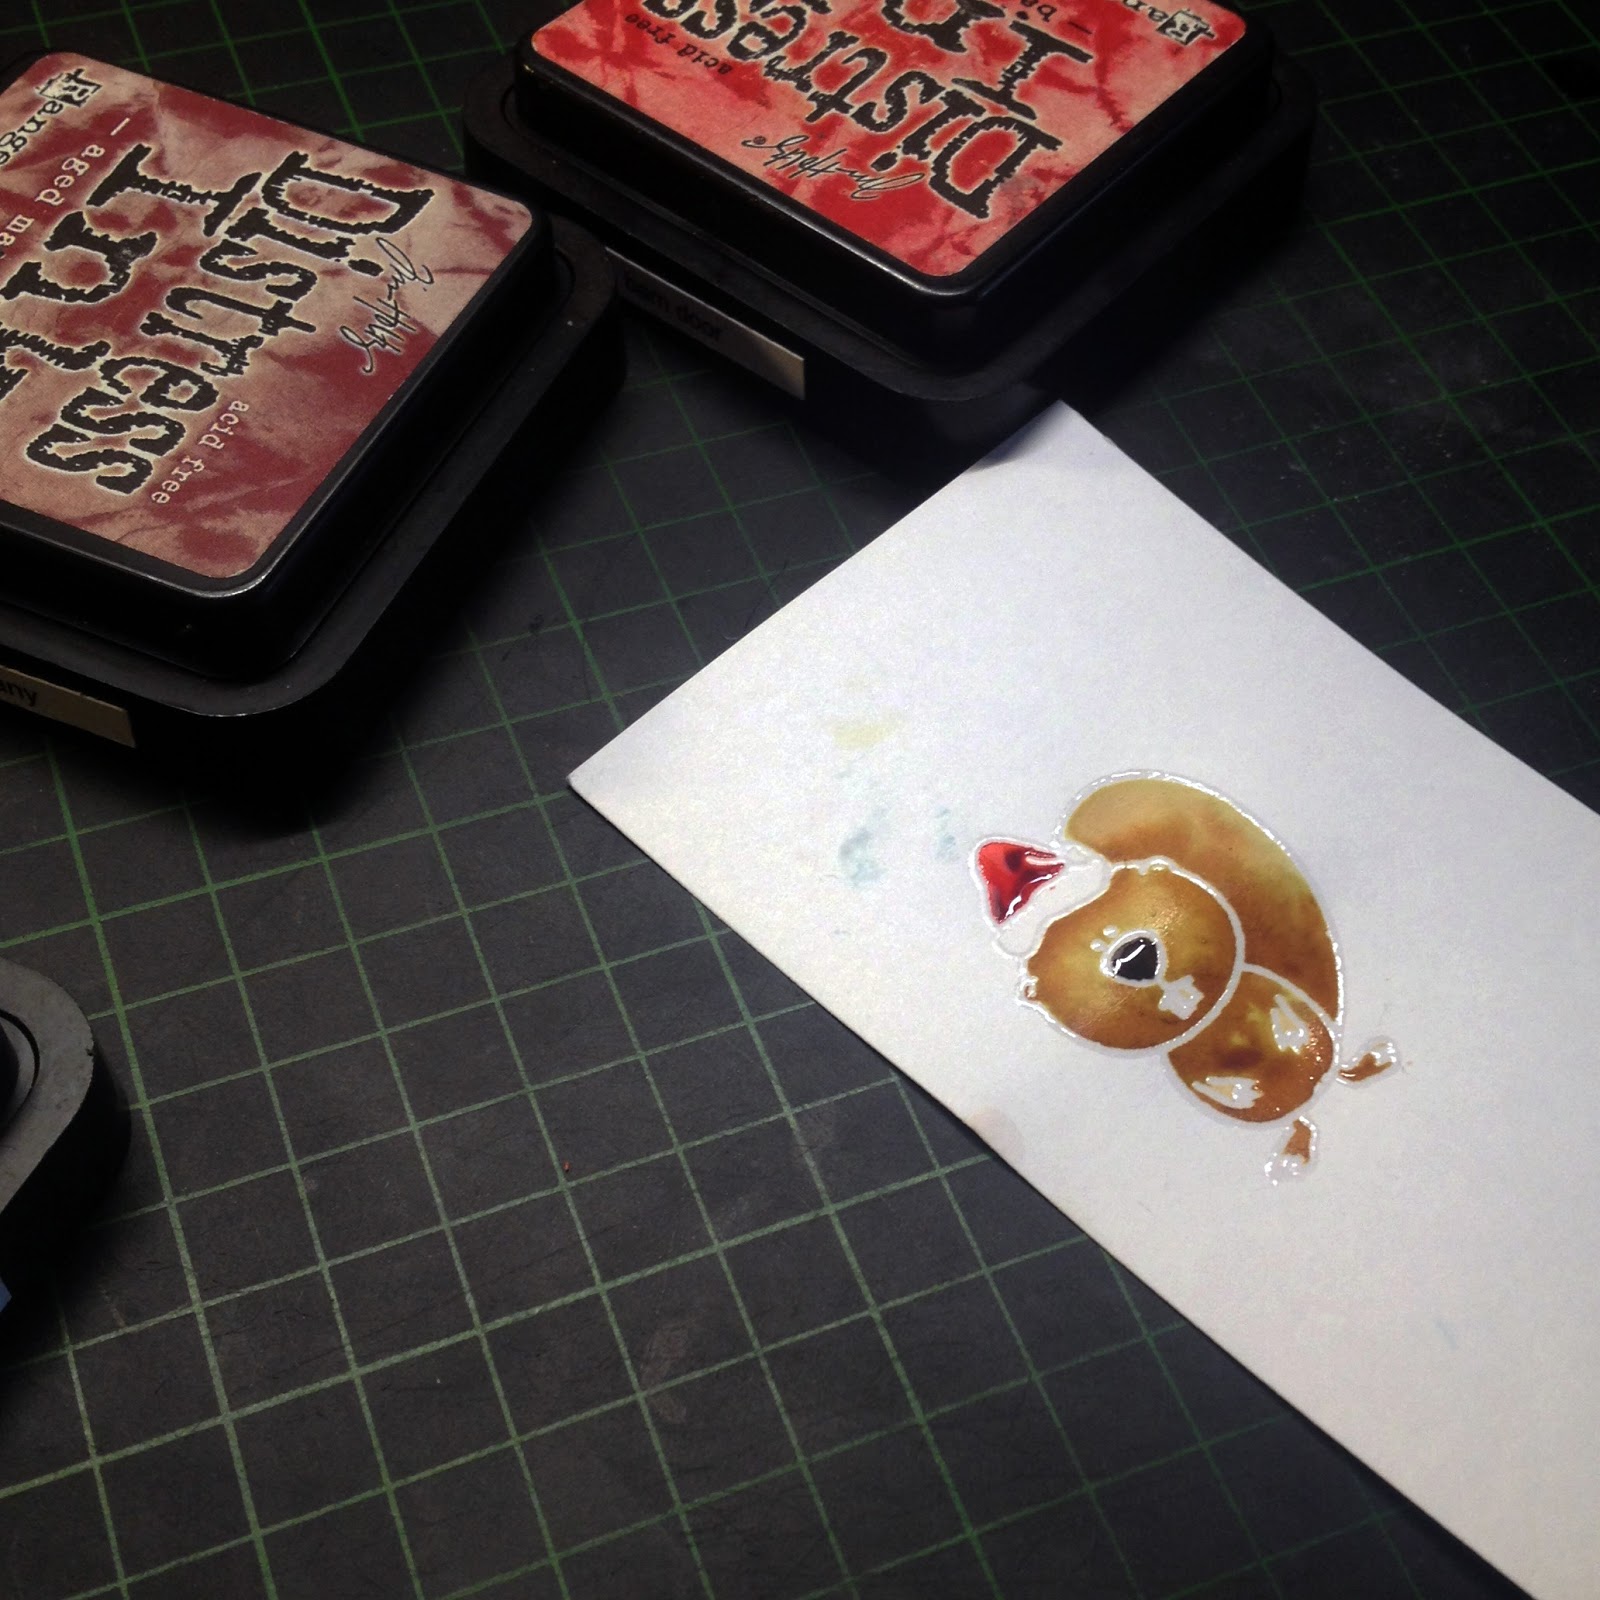
I press my inkpad onto an acrylic block and ad lots of water to one portion of the ink on the block. I use this wet color to give one are a wash. Then i take some of the not so wet color and dip it onto the area that should be darker. Blending happens on it's own - the watercolor does the rest.
And here's the second card that I created - a christmas card!
I think this beaver look stunning with this technique. I stamped the christmas hat first, embosst ist and masked it when I stamped the beaver. When the beaver was colored I started adding snowflakes and a sentiments from Hero Arts. (spoileralarm: maybe we'll have some Create A Smile snowflakes soon...;) )
After I stamped the background I added a wash of tumbled glass and added some stormy sky around the beaver to have a shadow and some contrast. I seriously love how this turned out.
After the card was assembled I added Glossy Accents to his nose and the speech bubble with some Sequins from Neat & Tangled. Glossy Accents make everything look more interesting, right? I might be Glossy Accents addicted.
What's you favorite coloring technique or a technique you really like to use? Why don't you leave a link to your blog so we can come over and have a look?
Thanks for stopping by, have a nice week!
Christine


These are great, I must try this technique! Jo x
ReplyDeletelooks awesome.
ReplyDeleteAwesome :)
ReplyDeleteAwesome cards!! :)
ReplyDeleteLove this look with the white outline!
ReplyDeleteGreat water colour cards. I love Glossy accents too.
ReplyDelete