Tuesday, January 31, 2017

Special Day

Hi everyone! Raluca here with a new card using the absolutely adorable "Served Up!" stamp set.


It was so hard to me to decide what to put on hippo's plate so I thought that I can let the receiver of my card to choose what he/she wants :)


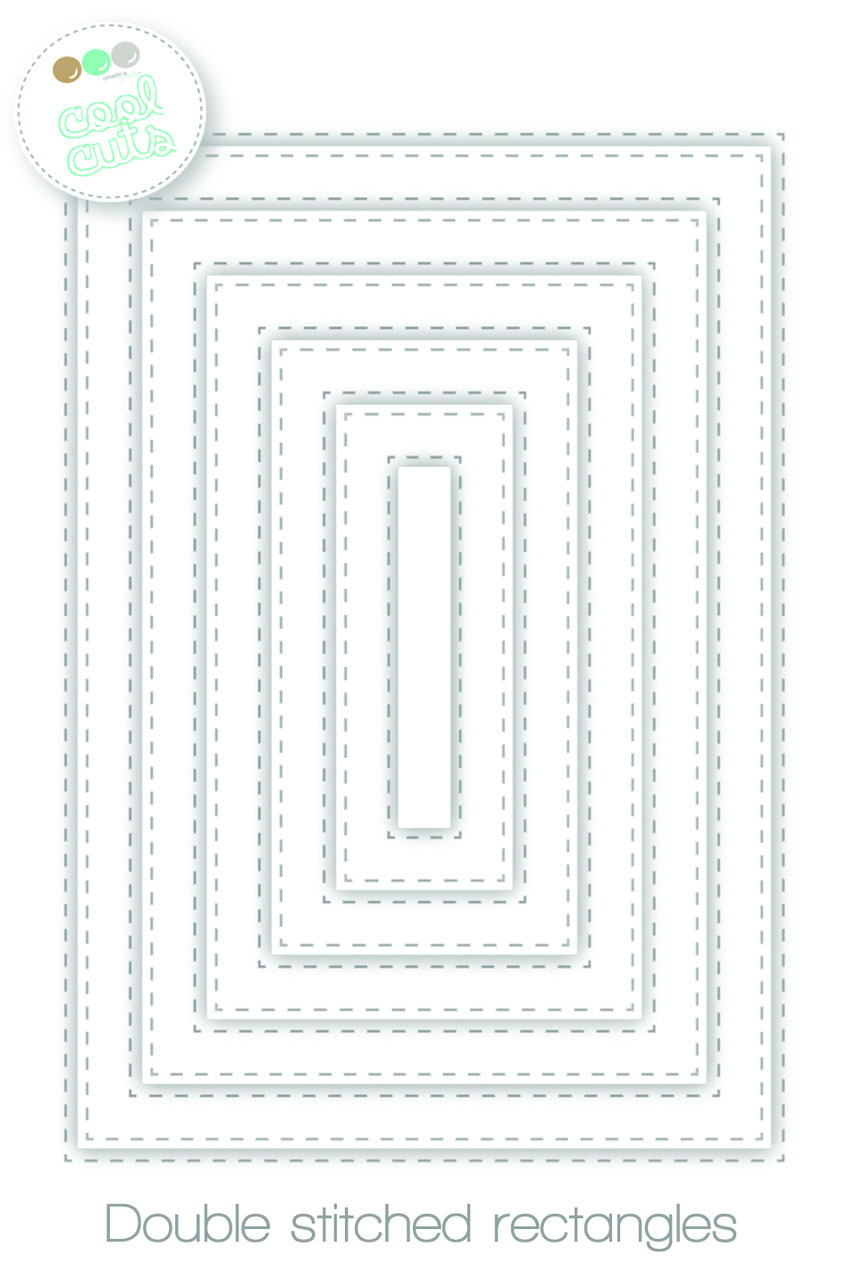
On a white panel die cut with the largest Double Stitched Rectangles, I stamped in VersaMark and heat embossed using white embossing powder all of the sweets from the stamp set. Then, I applied 4 Distress Inks using the ink blending technique.
On another white panel I cut a triangle and I adhere the panel using foam tape on the stamped background.
Then, I stamped this cute hippo using VersaFine Onyx Black Ink and I colored it using Tonic Nuvo Creative Pens. I fussy cut it and adhered it just below the cut triangle space.
I added a few clear sequins and the sentiment and I mounted the panel on a light blue card base.


If you love Instagram like I do, you can follow Create A Smile using the name @createasmilestamps and if you have any questions about card making, techniques or products or if you want to share your creations with Create A Smile fans join us on our Facebook group Create A Smile - Friends & Family :).

Have a lovely Tuesday!
Thanks for stopping by,
Raluca


Monday, January 30, 2017

Warm wishes and......

Hi there I hope you are all doing well? Did you see the great new release in the shop?
For today I would like to share another card with you with some older stamps.


I wanted to try a technique I found on the internet. Create a panel with stamps, color them and place some dies behind the panel.
Ofcourse there are lots of stamps over at the create a smile store you can use for this technique.


I started with a topfolded white cardbase.
With the rectangle die I created a panel out of some white cardstock.
Stamped the image at random and for the flowercard I did some masking.
I colored the images and also the background to make the images pop.
I diecut some flowers and a snowflake out of white cardstock to place behind the panel.
Adhered the dies onto the cardbase and the panel with some foamtape to give it more dimension.
I made another card using the flowers.


Stamps;
Cool cuts ( dies);
 
 
A pretty simple technique to strech your dies can be used here to make your rectangle bigger.
I used the third smallest rectangle and only diecut it halfway by hanging the die and you paper outside your cuttingplates before running through your machine.
Place your die back in your already died piece and run it again through your machine now leave the other side hanging outside your plates.


Make sure you visit the store to see the new release and find all the inspiration made by the team for these new stamps. Let us know what you think and please show us your creations.

Friday, January 27, 2017

Sending Love from Afar Card

Hi there!
Samantha with you today, and I'm sharing a happy, rainbow card! 


I had previously seen this card on Pinterest, and I knew I wanted to try my hand at something like it! 


This card was so fun to make!
- create some masks of the images and fussy cut them out
- start stamping the leaves on your card front, using the masks when necessary
- once you have stamped everything, place the largest circle on your acrylic block and color directly onto the stamp with your watercolor markers (I used Zig Clean Color Real Brush Markers!)
- spritz the stamp with water and stamp onto your images!


- I heat embossed the sentiment onto a strip of black cardstock, and then added some clear sequins for a little sparkle!


I think this is seriously one of my favorite cards! I LOVE it! And guess what?! I didn't have to color all of those images! BONUS!


I used on go my ALL TIME favorite stamp sets: Time to Say Thanks for the leaves. The sentiment is from the Just Saying Hello set, and, the circles were created with the Going Graphic stamp set! Love that one! 


Did you know that you can get WAY more than just stamps and dies at the Create a Smile Stamps store? Oh yeah! There's paperwashiflairsequins and more!!!! 


~Samantha


Tuesday, January 24, 2017

Friend, you amaze me!

Hi everyone! Raluca here with a new floral card using the absolutely gorgeous "Magic Flowers" stamp set.


I have some new markers and I really wanted to color some pretty flowers so I decided to color these beautiful flowers from this set.


First, I stamped the two flowers all over a white cardstock. I colored the big flowers using three blue markers and the little ones using three pink markers. For a pop of color I colored the middle of the flowers yellow and then I added some Nuvo Crystal Drops all over the panel.
Using the Double Stitched Rectangles I die cut the panel and then I mounted it on a light blue card base using some craft foam.
On a piece of light blue cardstock I stamped and hat embossed in white a combination of sentiments: one is from the "Magic Flowers" set and the Friends word is from a set that it's gonna be released soon.


I hope you enjoyed my card and that you'll try coloring these gorgeous flowers yourself! 


Double Stitched Rectangles


Magic Flowers


If you love Instagram like I do, you can follow Create A Smile using the name @createasmilestamps and if you have any questions about card making, techniques or products or if you want to share your creations with Create A Smile fans join us on our Facebook group Create A Smile - Friends & Family :).

Have a lovely Tuesday!
Thanks for stopping by,
Raluca

Monday, January 23, 2017

Best Wishes..........

Hi there it's Anja again and I also feature a little preview of what's coming up in Create A Smile with today's card.


One of the new to release stampsets is so very, very versatile I wanted to play with it right away.
So I used some supplies from the last kit and a new stampset.


I first sponged the background with three different colors of distress ink a the heart stencil.
I stamped the flowercircle onto some vellum and white heat embossed it and then fuzzy cut it.
Stamped the sentiment and the other sentiment onto some colored cardstock. Fuzzy cut the stamped banner and placed it onto another colored cardstock to give it some extra interest.
White heat embossed the sentiment and adhered everything to the card.
Placed some enamel stickers and some sequins in the coordinating colors and rounde the corners.


Stamps;
New release coming soon.......

Kit;

Frosty fun kit


Stencil;
Big hearts polka


You can still join in the fun new challenge we love to see what you create.

Have a great week;

Hugs Anja

Sunday, January 22, 2017

A Little Look

Hey everyone! Today's card feature a little preview of what's coming up in Create A Smile. I hope you like this card and enjoy the tutorial. Let me know if you have any questions. 


Firstly, I painted half of the card panel with gold paint and set it aside to dry. 

To create a border, I used one of the dies from the Pocket Tag die set to create a border for the panel. 


I stamped the beautiful image using Antique Linen and painted it using Distress Ink markers. For the stems, I used Vintage Photo Distress Ink to trace the image. I don't know about you but I feel that this gives the image a soft look :) 

I added the sentiment and used dimensional stickers to stick it across the image. 

I hope you like this little preview and stay tune for more! 


Pocket Tag Set - Cool Cuts


Follow Create A Smile on Facebook keep yourself updates on all the happenings and if you're an Instagram addict like I am, you can follow Create A Smile using this name : @createasmilestamps ! :)


Thanks for stopping by,


Friday, January 20, 2017

Going Graphic

Hi there!
Samantha here with you again, and this time I'm sharing a layout I created with a basic shape RAINBOW colors! Ha!


I saw this awesome Wall Art on Pinterest, and I just HAD to create something with triangles afterward! And of course...rainbows....!! :D


This layout was actually pretty simple to make, and didn't take that long! The longest part was waiting for it to dry!! Ha!

- using the largest triangle image and a rainbow of stamp pads, stamp onto the background paper. I chose to use Distress Inks and a rainbow pattern!
- once all of your stamping is done, spritz it with water so your colors all run together (Note: this will only work with Distress Ink pads)


- set aside to dry and choose your title. 
- at this point, I also used tissue paper and a black and white diagonal striped streamer to back my photo. 
- once it is all dry, add some color-matching puffy stickers, stitch on your title, and you're done!


- this photo was taken 5 years ago (what?!? BOOOOOOOOO!) at our ice rink, just one of the MANY times those two little Menn went to watch their Daddy play hockey! 


You could EASILY transform this design into a card! Imagine those same colors, with the smaller triangle and big bold sentiment!! and GLITTER! Ha! Circles would be great for this too! :)


I used the super awesome enamel shapes to add some fun to the layout! And, of course, the triangles were created with the Going Graphic stamp set! Love that one! 


Did you know that you can get WAY more than just stamps and dies at the Create a Smile Stamps store? Oh yeah! There's paperwashiflairsequins and more!!!! 


~Samantha