Hello crafters!
It's Kelly here and this week I'm are switching it up a bit. Instead of three cards I decided to do a photo tutorial showing how I "create a scene" on my cards. Some of my favorite ways to use adorable little critters, like the ones in Friends in the Woods, is to create a scene for them.
Warning this is a picture heavy post. I also created two other scene cards using the same methods as this one. You can see them on my blog here.
Let's get at it!

First I stamp/draw/trim all of my masks. For this card I knew I wanted it to be framed so I used a spellbinders die to create that. I also drew some hills and trimmed them out. You will need the top (sky) portion and the bottom (hills) to create your scene. The Fox is my focal point and the circle will mask my sun. Yes those masks are the hedgehog but we are going to be using them a bit differently. I use Tombo Mono Multi-Glue to hold down my masks. Once the glue is dry is reposistionable. If you you do this make sure you smear it out onto the edges otherwise it will peel up when you rub on your distress ink.

Place your frame onto your card panel. I find it easier to precut the mask to the same size as my card front that way I don't have to mess around with getting it centered.

Lay down your hills however you want them to be laid out. and lightly trace the top edges. Remove.

Stamp your Fox using the traced line as a guide. If you are using distress ink you don't need to erase the line. The ink rubs it off. If you are using another medium erase it. Especially copics! If you go over a pencil line with a copic it is NOT erasable after. Ask me how I know :/

Lay down your fox mask. Place your sun mask over top of it and then replace the hills.

Stamp and mask the hedgehog to create a cluster of bushes.

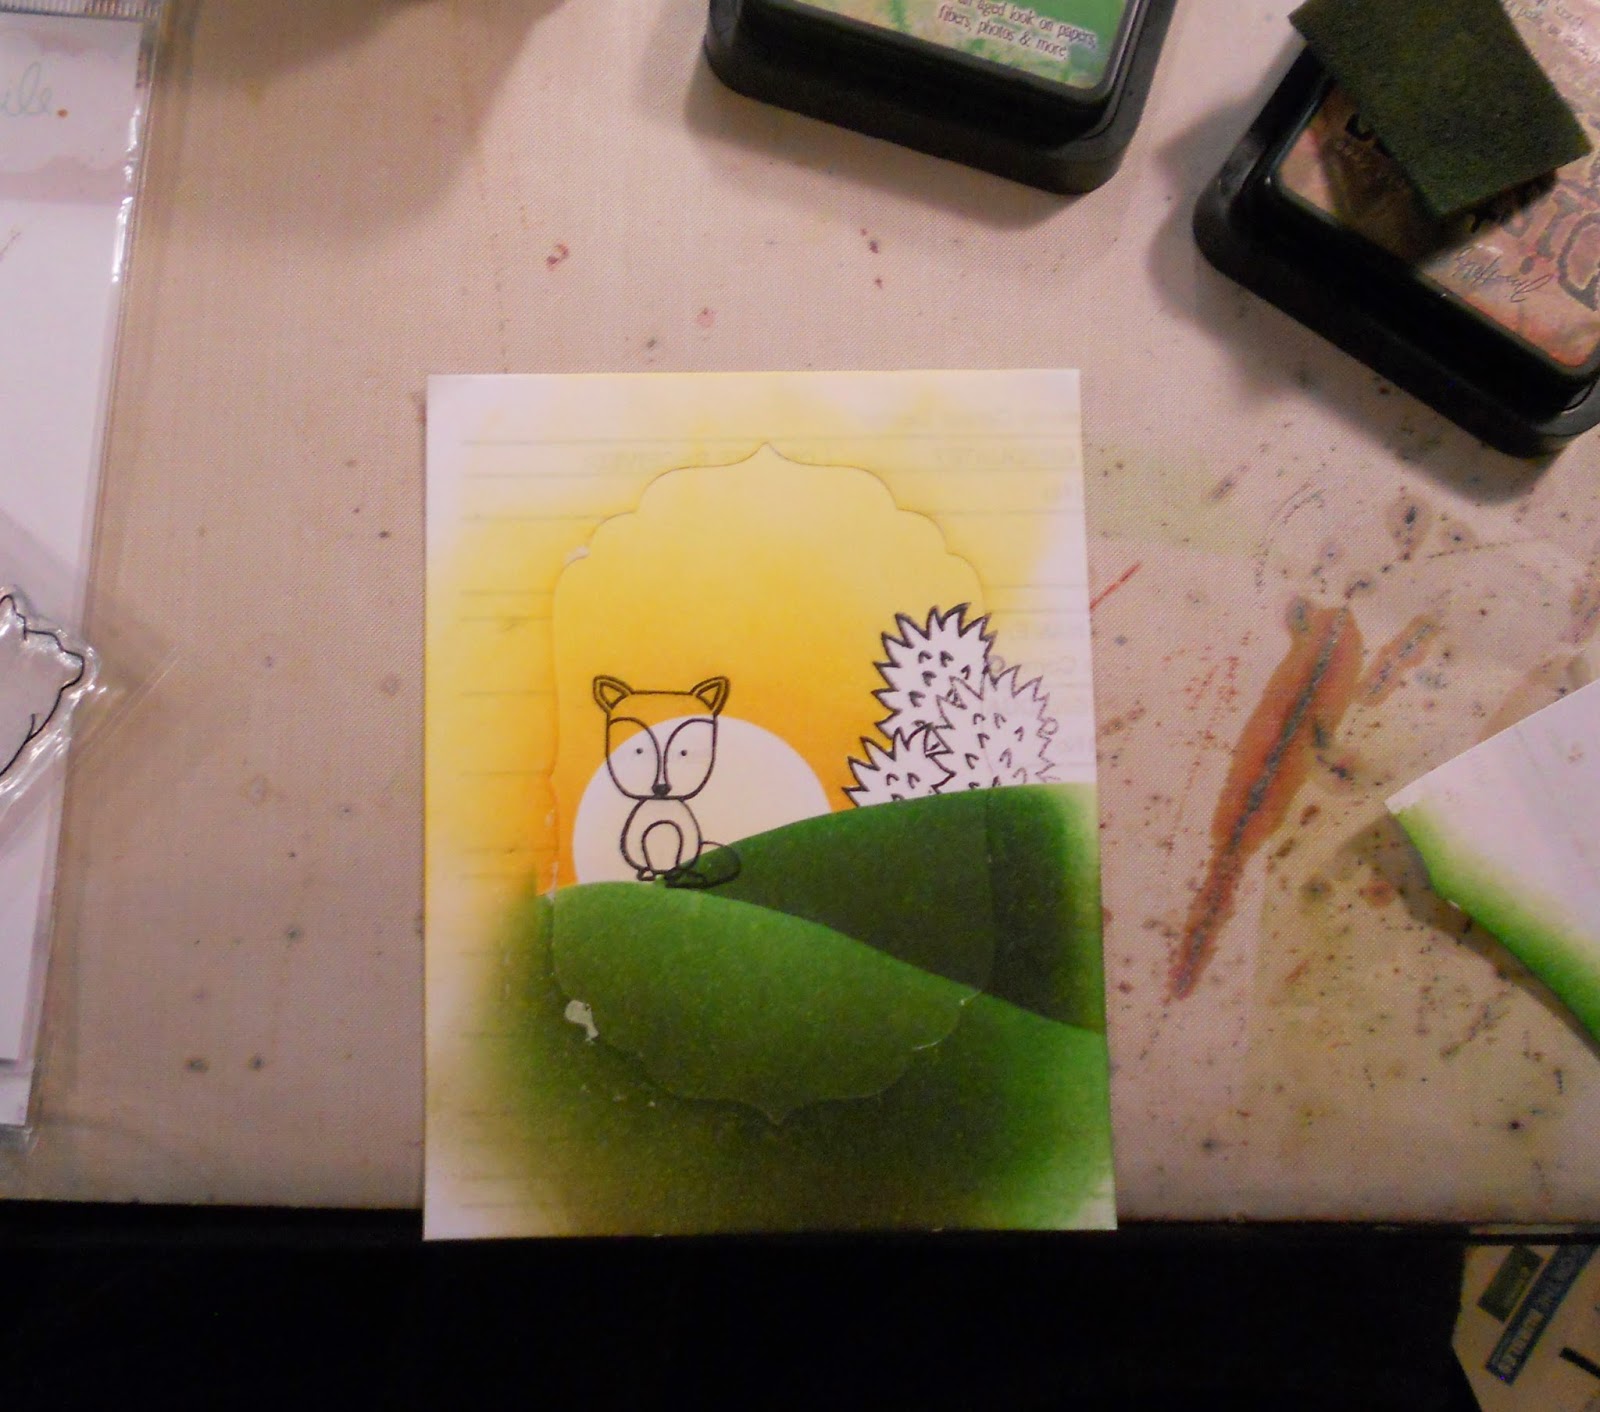
Time to add some color! I used squeezed lemonade, mustard seed, and wild honey. I wanted a sunset look so i made the horizon darker.

Remove the sun mask and hedgehog masks. Leave the fox mask.

Mask the sky. **Warning** if your distress ink is still wet it sometimes gives you a hard time about sticking. I can usually hold it with my hands if not I'll tape it to my desk.

Add your greens. I used mowed lawn, peeled paint, and forest moss. Leave the top lighter to get a highlighted hill.

Replace the mask for the lower hill. Why you ask? Anything the is darker automatically looks as if it's further away. We are creating dimension by making the top hill darker. Add more green making sure it is darker than your previous application.
Remove all masks See pretty hills :)
Next remove your fox and bush masks so you can color those images.

I chose to color my images with more distress inks and a H20 pen but you can use anything. Copics, markers, colored pencils whatever floats your boat. Once done remove all masks and create your card!

I trimmed my panel down and mounted it on a yellow card front. I added some sparkle to the sun and some black enamel accents to the Fox's eyes and nose. I also used a bit of twine to accent my sentiment from the Comfy Set.
If you have any questions please let me know. Also if you would like to see other examples of scenes I've created you can go here.
Thanks so much for stopping by! I hope I inspired you to make a scene :)
XoXo
Kelly


Amazing! I love it <3
ReplyDeleteBeautiful:)
ReplyDelete// Tesa
Kelly, this is absolutely gorgeous. LOVE the sweet scene you designed!
ReplyDelete