Showing posts with label Happy. Show all posts

Wednesday, February 5, 2020

Spring Happy Birthday

Hey stampers, Anni here!

Today I want to share a birthday card with you.




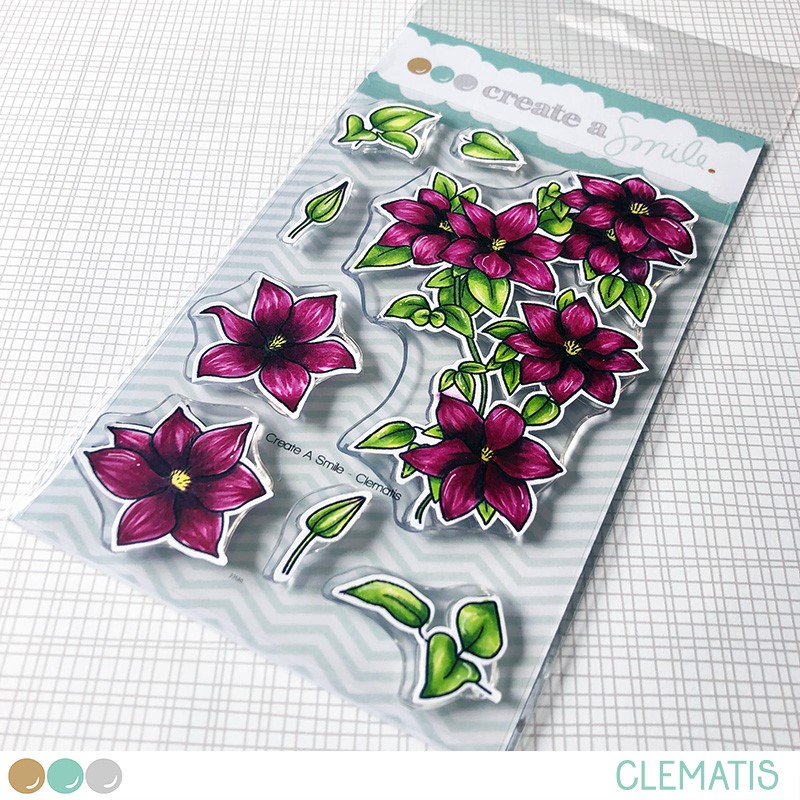
After all these Christmas cards I made and all the grey days I needed some flowers. I went through my flowre stamp sets by Create a Smile and realized that the Cleamtis didn't get enough love yet. So I decided to play with it.


  • I started by stamping the single flowers not in black but in grey as I thought the black could be too harsh.
  • For the colouring I used coloured pencils.
  • I fussy cute the flowers and the leaves.
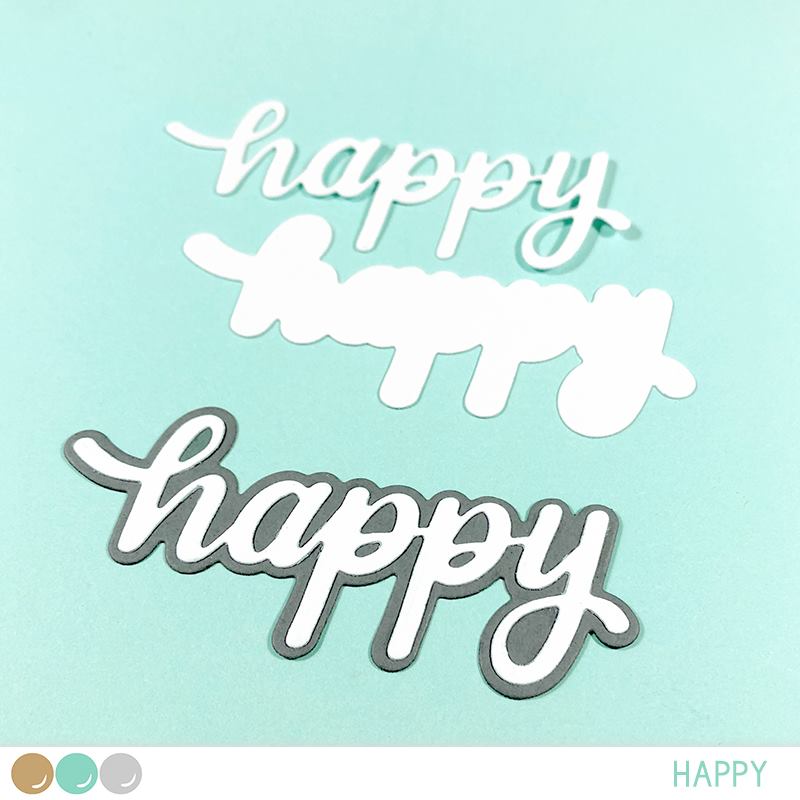
  • For the sentiment I die cut several layers of the word happy and stack them up.
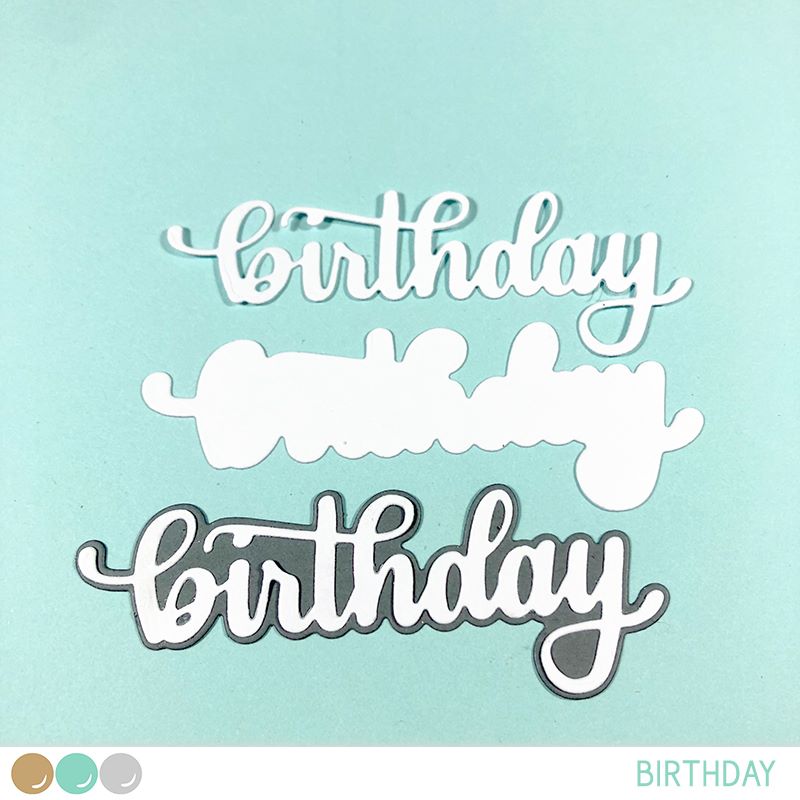
  • Then I stamped birthday on a stripe og violet paper and heat embossed it in white.
  • I die cut a oval shape from vellum and embossed it with a polka dot embossing folder.
  • I arranged the elemnts on my card and added some enamel stickers for a finishing touch.


Every other wednesday starts a new challenge with an awesome prize to win.


Wednesday, May 15, 2019

happy stamp layering

Hi there,
Nicole here with a fun and happy card inspiration.


I love using my mini ink pads and looking for colors that go well together. So I went through my CaS stash and picked solid flower stamps to do some stamp layering.


  • look for solid stamp in your stash that you can layer
  • use different shades of colors that go well together for this project (I used dye inks by Lawn Fawn)
  • create your background by starting with the largest stamp and the lightest colors
  • add a second layer with a smaller stamp and a middle color
  • add a finishing touch with the smallest stamp and your darkest color
  • I filled in the gaps with a forth color (but I'm not really sure if I like the purple)
  • to finish up the card, die cut a large word to put in the center and stamp a little sentiment to complete your greeting


Magic Flowers / happy / Scalloped Rectangles


We love to see what you create! Share your projects on Instagram using the hashtag #createasmilestamps

Thanks for stopping by!
Have a happy day,
Nicole

Thursday, February 7, 2019

So Many Flowers... Happy Birthday

Hey stampers, Anni here!

Today's card is full of flowers.


I learned this technique from one of Kelly Latevola's amazing videos. I tried it once before and found it easy but loved the effect. So I decided to do it a second time.


AS I already told you is the technique not too difficult. For the instructions how to achieve this look you can watch Kelly's video on this rechnique. It is called Watercolor Bleaching.


  • Instead of Copics I used coloured pencils for the shadows. I had the feeling my Copics didn't go well with the embossing and the Oxide inks.
  • Use dark colours for your card The effect is much more stronger with darker colours.


Show us your art work: Use #createasmilestamps when you're posting on Instagram!


Wednesday, January 16, 2019

bear mail in the snow

Hi there, is it snowing where you live?

We did have a bit of snow and loved it but now it's all gone.


I have a crafty friend that has a lot of snow around her house at the moment and her postman is often a little late. That inspired me to make this card for her.


  • use two stencils and two different grey Distress Inks to create your background
  • take a piece of white paper and tear it to get that snowy ground, glue it to the background
  • stamp, color and fussy cut the bear on his bike
  • die cut the word happy and its shadow from white and pink card stock and glue them togeter
  • stamp the little hello to some grey cardstock and cover it with white embossing powder. Heat set this and cut it to size.
  • add the bear and the sentiment to your background and you're done :-)


Bear mail - Bärmail / Wave of Snowflakes / Small Sentiments / Happy / Frosty Fun Kit


Layering Stencils can create totally new looks. 

Using only one color combined with neutrals like white and gray makes that color the star of your project.

I did not have a matching pink card stock, so I colored some paper with the alcohol markers I used to color in my bike.


The JANUARY RELEASE is online! Check out all ne new goodies! ;-)

And if you're up for a challenge, hop over to the blog and play along!


Thanks for stopping by!
Have a happy day,
Nicole


Tuesday, January 27, 2015

Happy Watercolor

Hello Crafters!

I'm posting today with a unisex super easy to mass produce card for multiple occasions. What? I know it sounds crazy but it is possible. :)


It's pretty simple, I needed a lot of birthday cards :) However, I think you can make this design work for any occasion. A graduation, promotion, engagement, what have you. 

Grab some water color paper and swoosh some water on it however you want. Add your water colors. Watch the water make magic. While it's drying tie your twine to the happy chipboard and created a bow for your balloon. Once dry adhere both. Add sequins if you want, or don't. It'll be just as gorgeous without them. Done!

You can switch your colors up to match your occasion. I think using school colors for a graduation or wedding colors for an engagement would be a fun way to personalize it. You can also color your chipboard if you don't like the "naked" look of it. Instead of a bow try a knot on the balloon for a more masculine look. Really there is no end to how you can change this up!!

That's it for me! Thanks for visiting :)

XoXo
Kelly


Happy 
Balloons