Showing posts with label Bärmail. Show all posts

Wednesday, March 17, 2021

Bear Mail for you

Hello crafty friends, it's Kerstin here!

Today I have some bear mail for you. I hope you like it.


I just love the new DIN lang postage cool cuts. And what I love even more is that you can do partial die cutting with them.



  • use your din lang cool cut and cut only half of the paper (step 1)
  • turn around and cut the other half of the paper (step 2)
  • don't forget to check before cutting what size of panel you want to create


We love to see your creations. Please use the hashtag #createasmilestamps when you're sharing your projects on instagram.

Thanks for stopping by and happy crafting,
Kerstin


Saturday, August 10, 2019

Hello, how are you?

Hi there, Nicole here with a rainbow card that says "Hello, how are you?"


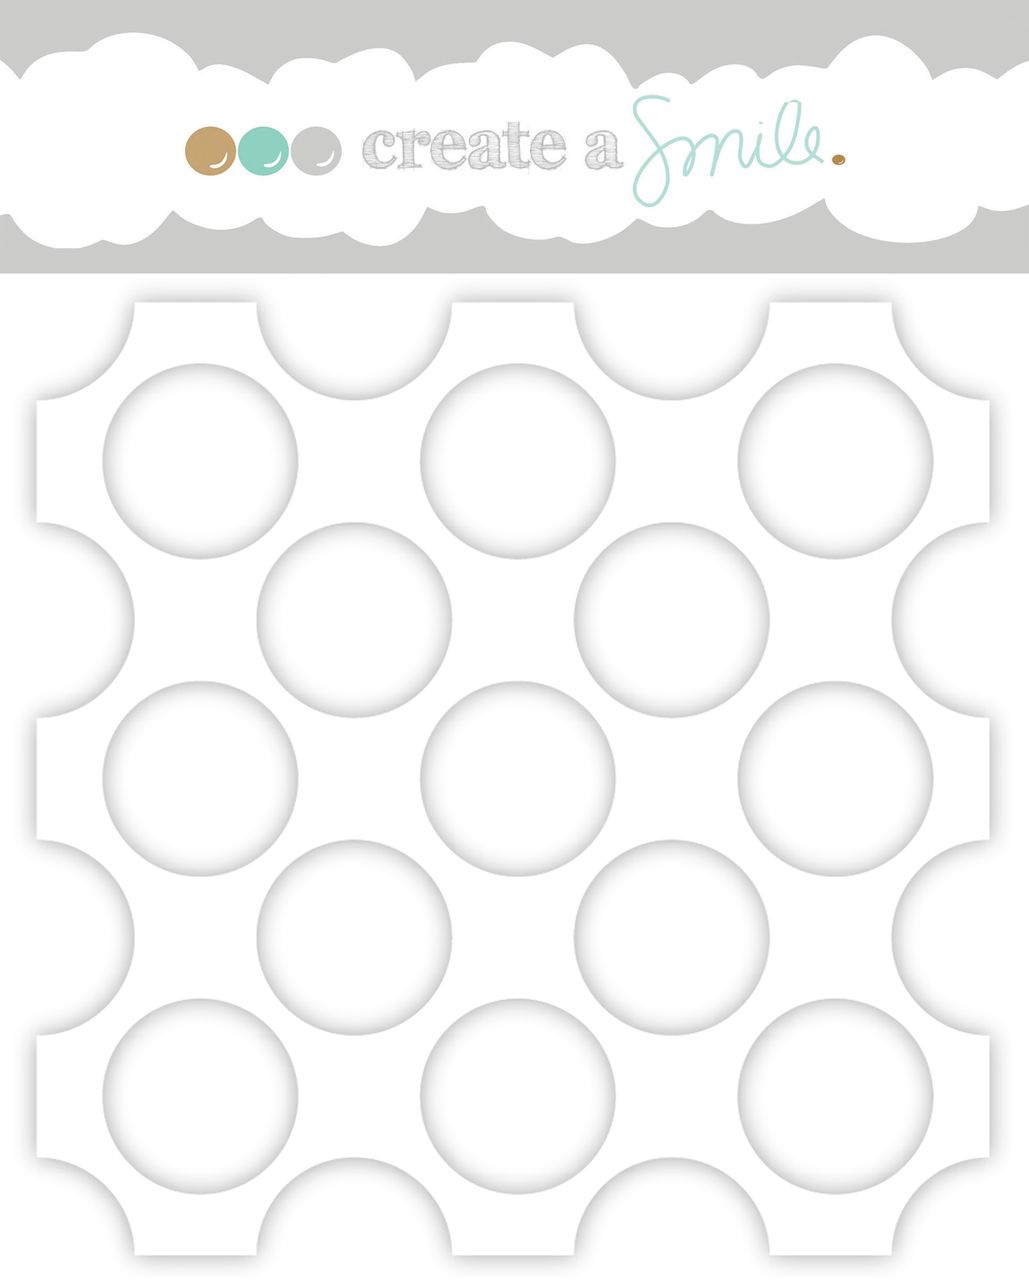
When I started making cards, I had just a few stencils and did not know what to do with them but now, many years later, I just love playing with them. So I wanted to make a card using this Huge Polka Dots Stencil.

I also got inspired by a YouTube video by Cathy Zielske


  • put some masking tape on your panel 

  • lay your stencil on top and stick it to your working surface with some washi tape

  • start ink blending with a light hand

  • remove the stencil and the masking tape

  • stamp a large greeting over the gap between the two ink blended parts

  • decorate the card with small stamps and twine 


  • gridlines on your work surface are super helpful to put on the masking tape straight
  • some of the colors would turn into a muddy brown when mixing them, so that's where the masking tape does a wonderful job by keeping them apart.  


Nur mal Hallo sagenHuge Polka Dots Stencil / Bear Mail (auch in Deutsch: Bärmail)


We love to see what you create, so make sure you tag us on Instagram using #createasmilestamps or share your cards on our FB Group called "Create A Smile - Friends and Family".

Thanks for stopping by!
Have a colorful day,
Nicole

Wednesday, January 16, 2019

bear mail in the snow

Hi there, is it snowing where you live?

We did have a bit of snow and loved it but now it's all gone.


I have a crafty friend that has a lot of snow around her house at the moment and her postman is often a little late. That inspired me to make this card for her.


  • use two stencils and two different grey Distress Inks to create your background
  • take a piece of white paper and tear it to get that snowy ground, glue it to the background
  • stamp, color and fussy cut the bear on his bike
  • die cut the word happy and its shadow from white and pink card stock and glue them togeter
  • stamp the little hello to some grey cardstock and cover it with white embossing powder. Heat set this and cut it to size.
  • add the bear and the sentiment to your background and you're done :-)


Bear mail - Bärmail / Wave of Snowflakes / Small Sentiments / Happy / Frosty Fun Kit


Layering Stencils can create totally new looks. 

Using only one color combined with neutrals like white and gray makes that color the star of your project.

I did not have a matching pink card stock, so I colored some paper with the alcohol markers I used to color in my bike.


The JANUARY RELEASE is online! Check out all ne new goodies! ;-)

And if you're up for a challenge, hop over to the blog and play along!


Thanks for stopping by!
Have a happy day,
Nicole


Wednesday, November 7, 2018

We dare you to create a smile : Giving thanks !

Hello everyone!

It's time for a new challenge here on Create a smile blog and the theme is ''Giving Thanks''
And don't forget a 25€ gift certificate to Create a smile store is waiting for you 


Let's see what our guest designers created to bring you some inspiration

Lisa made this adorable card using Bärmail stamp set


Stephanie created two gorgeous cards using Time to say thanks stamp set and In bloom stamp set Loops of love stamp set


Thank you so much for creating this amazing cards Lisa and Stephanie and for being our guest designers ! Make sure to check their projects and leave them some love!

Now let's see some inspiration from our design team

Alexandra made this lovely card using Pure poppies stamp set Cool cuts Double stitched rectangles


Ashlee created this adorable card using Served up stamp set Diagonal grid stencil


Ellenor made this beautiful card using Cool cuts Postage Edge Circle dies , Dress me up stamp set

Giada created this gorgeous card using Pure poppies stamp set Cool cuts Tiny Sentiments


Ksenija made this card using Pure poppies stamp set 


Laura made this interactive card using Cool cuts Tiny Sentiments Glowing Seaside stamp set Gull Gang stamp set


Victoriya created this adorable card using Gull gang stamp set


Hope you get inspired to play along with our challenge ! Now is your turn to be creative!
Please make sure to check the rules before entering the challenge! Have fun


Wednesday, March 7, 2018

Stencil Experiments Part 2

Hey stampers, Anni here!
Here is the second part of my stencil experiments.


As I told you in the first part of the Stencil Experiments I compared different embossing and glimmer pastes. Here are my next two examples.


For the background on my card above I used Ranger embossing paste. Mine was a bit old and there was only a little bit left in the jar. I think that's the reason it was a little bit dry and not so easy to spread. But it worked out in the end and I lke the ombre effect I achieved by using shades from only one colour family.


That's the fourth and last background I made. This time I used another glimmer paste by Cosmic shimmer. It is a little bit more subtle than the one from Nuvo I showed you two weeks ago.
For this background I also used paler shades of colour.


To finsih up the card I added an image from the set Bärmail and a sentiment.


Show us your art work: Use #createasmilestamps when you're posting on Instagram!