Showing posts with label Scalloped Rectangles. Show all posts

Wednesday, November 17, 2021

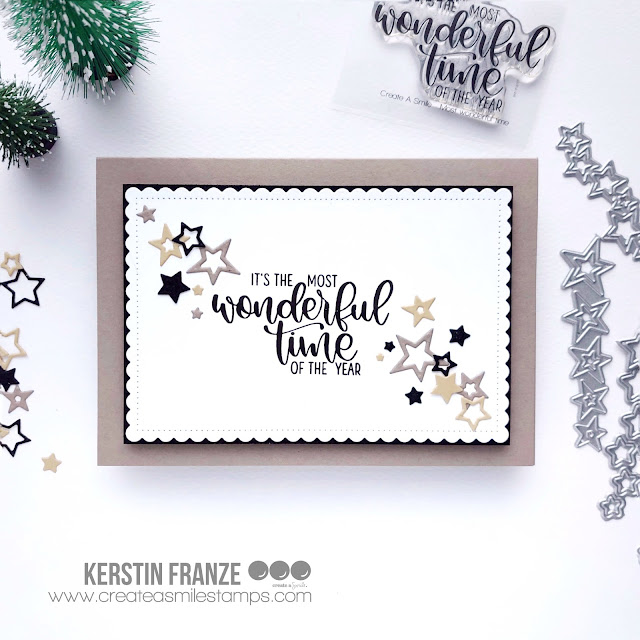
Most wonderful time

Hello crafty friends, it's Kerstin here!

it's release week and I have an elegant christmas card to share. I played with some of the new products that are available friday 19th. 

Let's have a look!


Usually I'm using green and red for my christmas cards. But this time I wanted to use non traditional neutral colors to create something more classy. 


  • stamp the sentiment in the middle of the panel
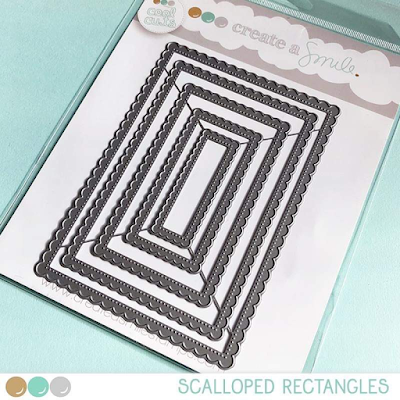
  • cut out the panel with one of the scalloped rectangles
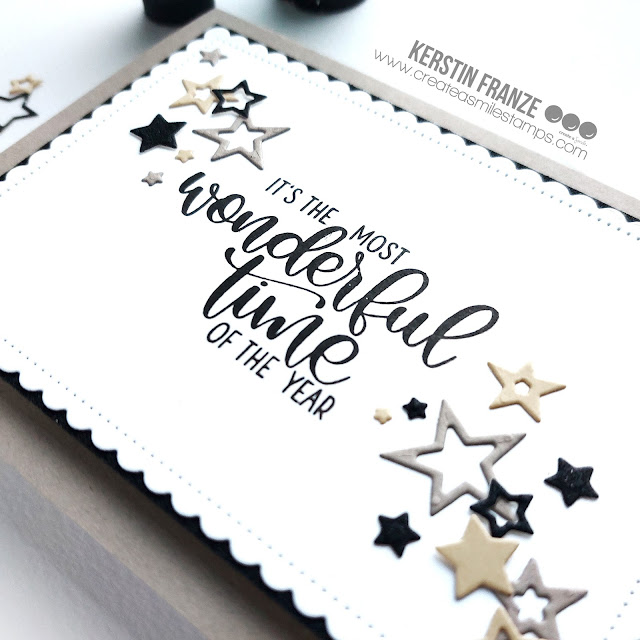
  • die cut a lot of stars in different shapes, sizes and colors (you might not see it but the black stars are from black glitter cardstock)
  • adhere the stars lose around the sentiment
  • adhere the panel to your card


Available november 19th
Most wonderful time
Cool Cuts Stars


We love to see your creations. Please use the hashtag #createasmilestamps when you're sharing your projects on instagram.

Thanks for stopping by and happy crafting,
Kerstin

Wednesday, May 5, 2021

Mother's Day Card

 Hi stampers, Anni here!

In Germany it's Mother's Day next sunday. So I made a card for my mum.


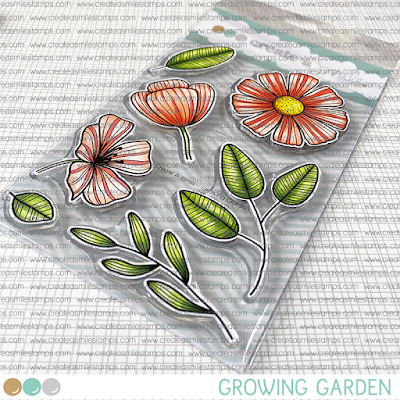
I am in  love with the latest release and of course I wanted to play with the set Growing Garden. I love the unique look of the set with all the lines. And I tried something new to me: I stamped the flowers in reds and pinks. So it is somehow a no line colouring effect but you can still see the lines. Do you know what I mean?


  • As I said I stamped the flowers in pinks and reds and the leaves in green. Than I coloured them with matching pencils and darkening up the lines a little bit more.
  • For the sentiment I die cut the letters a few times and stacked up them up to achieve some dimension.
  • I love the subtle effect of tone on tone die cuts.
  • Sometimes I find it hard to arrange flowers. An easy way is to put them behind a strip of paper.


Join the Create a Smile Facebook group to get all the news and to see all beautiful projects.


Saturday, February 27, 2021

You're the Sweetest Card

Hi there!
Samantha here, and today I am sharing a happy, and sweet thank you card!


As I was flipping through my stamps, I came across these adorable images on the A Little Treat stamp set and knew I had to make a card with those big grins on the popsicles! lol!

Let's make this card together!

- first, I stamped colored all the images with Zig Clean Color Real Brush Markers and then once they were all dry, I fussy cut them out!
- I used Distress Oxide Inks to ink blend the background! the colors I used were Abandoned Coral, Dried Marigold, Worn Lipstick and Tattered Rose
- then I used the stencil and some clear embossing paste (which I mixed with some sequin stars to add some texture!!)


- I die cut out the letters from black cardstock and then very delicately glued them on the background! lol!
- next, I heat embossed the rest of the sentiment in white onto a black strip and added it to the card! 
- I die cut out the panel with the scalloped rectangle, too!


- I also stamped some images in black on the base of the card for a little contrast!


I love that texture inside the scattered hearts of clear embossing paste! I mixed some star sequins into the clear embossing paste on my kraft mat, and then spread it through the stencil!


The "merry" letters were die cut out with the Cherry Lowercase Cool Cuts and sweetest popsicles ever are from the A Little Treat stamp set! The background features the pretty Scattered Hearts stencil! I also used the Cool Cuts Scalloped Rectangles to die cut out the panel!


There is ALWAYS a fun challenge going on in the Create a Smile Stamp Facebook group page! It's fun and filled with prizes! I love seeing all of the incredible, unique and amazing inspiration!
 
~Samantha

Wednesday, January 13, 2021

Gel Printing with Stencils

 Hello friends and Happy New Year! Laurie with you today sharing a fun technique using stencils. I'm not sure if you're familiar with a Gel Press but it is a super cool tool to help you create mono prints. It's basically a gelatin plate that you can apply paints, inks and stencils to. By applying these mediums and placing a piece of paper over top, you can achieve amazing "prints" or "pulls". It's called mono printing because you will never get the same background twice. I'm VERY new to this tool and am still learning but what I know so far is that it is SO MUCH FUN!


I really wanted to use some of my favourite CAS stencils along with the Gel Press to create an interesting and fun background. My original plan didn't involve making four cards but it worked out in the end.


First thing I did was create a simple background. I placed a light pink and white paint onto the press and spread it out using a brayer.


I then placed a stencil over the gel plate and added a darker shade of pink paint. I spread the paint over the stencil with the brayer then removed the stencil. I placed the same paper over top and pulled.


I took the next stencil and yellow paint and repeated the process.


The paint dries very quickly because it's such a thin layer so this goes fast! I used quite a few stencils and different paint colours. This is what I ended up with:


I always use white paint last to lighten and break up some areas. I didn't use the Gel press for the white circles. I love the grungy, imperfect look of this. But what comes next increases the beauty of this background!

To bring out some of the details of the stencils, simply use a white gel pen and a black pen. Simply trace certain areas as well as add random dots and line!

Before:


After:


These sketchy dots and lines add so much!! Because the background is quite busy, beautiful but busy. This is where I decided to cut it up and make four cards.


I used a couple different dies and got four different panels. I made 2 white card bases and 2 ivory card bases to fit these panels. I used a kraft layer on two of the four cards and used foam adhesive to adhere the pretty background panels.


This is a very neat trick!! Instead of stamping a sentiment directly onto a panel that has a lot of texture and risking a poor image, you can use tissue paper!!! Simply use a permanent ink and stamp slowly. Try not to wiggle the stamp too much as tissue is slightly slick.


Trim around the sentiment...it doesn't have to be perfect. You will need Gel Medium to adhere it. 


Because I used acrylic paints for my background, they are not going to smudge as they are permanent. Apply gel medium, lay the tissue over top and apply a thin layer over top. The tissue paper virtually disappears into the background...cool, right?!!


I didn't add any sentiments to the smaller cards. I'll wait for a specific occasion when I need them!

I just love how these turned out!


Don't be afraid to try new things! Also, while I used acrylic paint on my Gel Press, you can use your ink pads or reinkers! 

Thank you so much for stopping by today! I hope you got inspired and maybe learned a new tip or trick!

Laurie

Wednesday, December 9, 2020

Festive Octopus!

 Hello, hello! Welcome back! It's Laurie with you today to share with you my last Christmas card of 2020! This features a bit of an underwater theme with a very festive octopus :). And yes, I added a winter hat (see previous blog post, haha!)


I really felt the need to do some ink blending today. Also, I've had the Underwater Love Stamp Set forever, and have never used the octopus image. 


I started by using one of the Scalloped Rectangle Dies to trim a piece of white cardstock. I could have just used my trimmer but I really wanted that pretty scalloped edge. I first cut the top section then moved the die to cut the bottom. BUT...it would have been easier to just cut the entire piece and trim off the edges. Live and learn!


Next, I masked off that small portion on the front of a white card base and used Broken China, Chipped Sapphire and Black Soot Distress Oxide Inks to create the "sea". I did add some white splatter but should have waited for the Oxides to dry. So my white splatters turned a wee bit blue.


I started by stamping the winter hat from the Made of Snow Stamp Set, created a mask for it, then stamped the octopus. I also added some of the ornaments from the same set around the tentacles, leaving a small space to draw a string.


I coloured and fussy cut all around this little guy. Yes, it took a bit of time but well worth it!  Before putting the card together, I white heat embossed a sentiment from the Tiny Sentiments set directly onto the ink blended portion.

I used foam tape to adhere the two scalloped panels and a combination of foam and liquid glue for the octopus. And no card is complete without a bit of sparkle pen and Glossy Accents!! 


I know fussy cutting can be well, fussy. The best tip I can give for this is...go slow. Take your time. And you don't have to cut all the inner bits like I have but if you do, use a nice, sharp craft knife!


You can get SO MANY different looks and themes just by combining your stamp sets! It's one of my favourite things to do!

Thanks for stopping by! Wishing you a very, merry Christmas and a Healthy and Happy 2021!!

Laurie