Wednesday, February 20, 2019

We dare you to create a smile : Sketch

Hello everyone!

Time for a new challenge here on the blog and the theme is a sketch !

Don't forget that playing along with our challenge you get the chance to win a 25 € gift card to Create a smile store and also the chance to be our next guest designer .


We also have our guest designers that will bring you some inspiration along with our talented team. Let's see what this lovely ladies create

Nunzia  made this lovely card using our  You blow my mind stamp set


Thank you for creating such gorgeous project to inspire us and for being our guest designer. Don't forget to check Nunzia's social media and leave her some love.

Now let's see what our team created

Alexandra this card using Dress me up stamp set , Small sentiments stamp set , Cool cuts Speech bubbles


Anita made this adorable card using Gull gang stamp set


Ashlea made this adorable card using  Bear mail stamp set  ,Stencil Focal point


Cassie created this beautiful card using To the moon stamp set

Elisa made this adorable card using Sending sunshine kit , Cool cuts Postage edge circles


Laurie created this gorgeous card using Stamping friends stamp set  Stencil Blossom


Mirella created this beautiful card using Stencil Blossom , Stencil Huge Polka dots  , Vinyl Christmas greetings stamp set


Hope you got inspired to play along with our challenge! Now is your turn to be creative!
Before entering your project please make sure to read the rule which are listed below!

We can't wait to see your creations! Until next time, have a great day!

Monday, February 18, 2019

Bear Mail!

Hi, everyone! It's Cassie here, and I'm so excited to be sharing my very first post on the Create a Smile blog! Today I'm sharing a card I made using some of my very favorite Create a Smile products!


I love this adorable stamp set, Bear Mail, and I knew that I wanted to use the sweet bear on the bike image on a card. I also wanted to create my own pattern paper using the Bear Mail stamp. So that was the idea I was going with to create this card!


  • I started the card by stamping the Bear Mail stamp all over a piece of 4 1/4 x 5 1/2 size piece of kraft card stock. 
  • Next I stamped out the bear on the bicycle, and colored him in with my Copics. How cute is he?! 
  • The I die cut a Postage Stamp Edge Circle die from vellum paper to adhere the bear to. Once the two were adhered I used foam tape to attach them to the card.
  • Then I stamped a sentiment from All About You onto some blue cardstock with VersaMark ink and heat embossed white embossing powder over top. I trimmed that down and adhered it to the card with foam tape. 


To make this card work I used two different black inks. When stamping my background I used VersaFine Onyx Black pigment ink. It covers really well and is nice and dark. When stamping the bear I used Memento Tuxedo Black ink because it works with Copic Markers! Different inks make all the difference!! 


We love when you share your Create a Smile projects! Always use the #createasmile so we can find your awesome creations!

    
            Bear Mail Stamp Set: 


Saturday, February 16, 2019

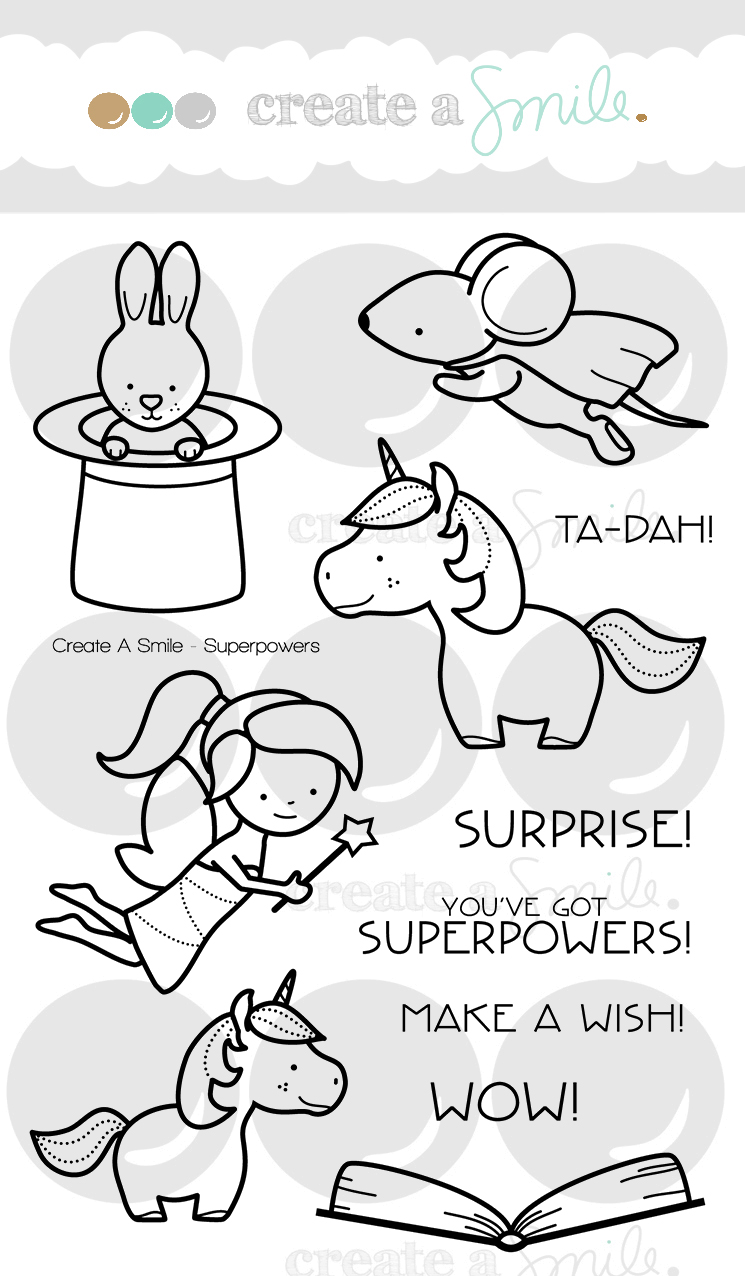
You've got Superpowers!

 Hi everyone and welcome back to our creative space! 
Raluca here with a brand new card showcasing a few of the super adorable an fun stamp sets from Create a Smile Stamps shop.


I really love encouraging cards and the Don't Worry stamp set it's perfect! So I wanted to use the big sentiment on a card and looked through my stamps stash to find one that would fit with the sentiment. And that one was Superpowers.


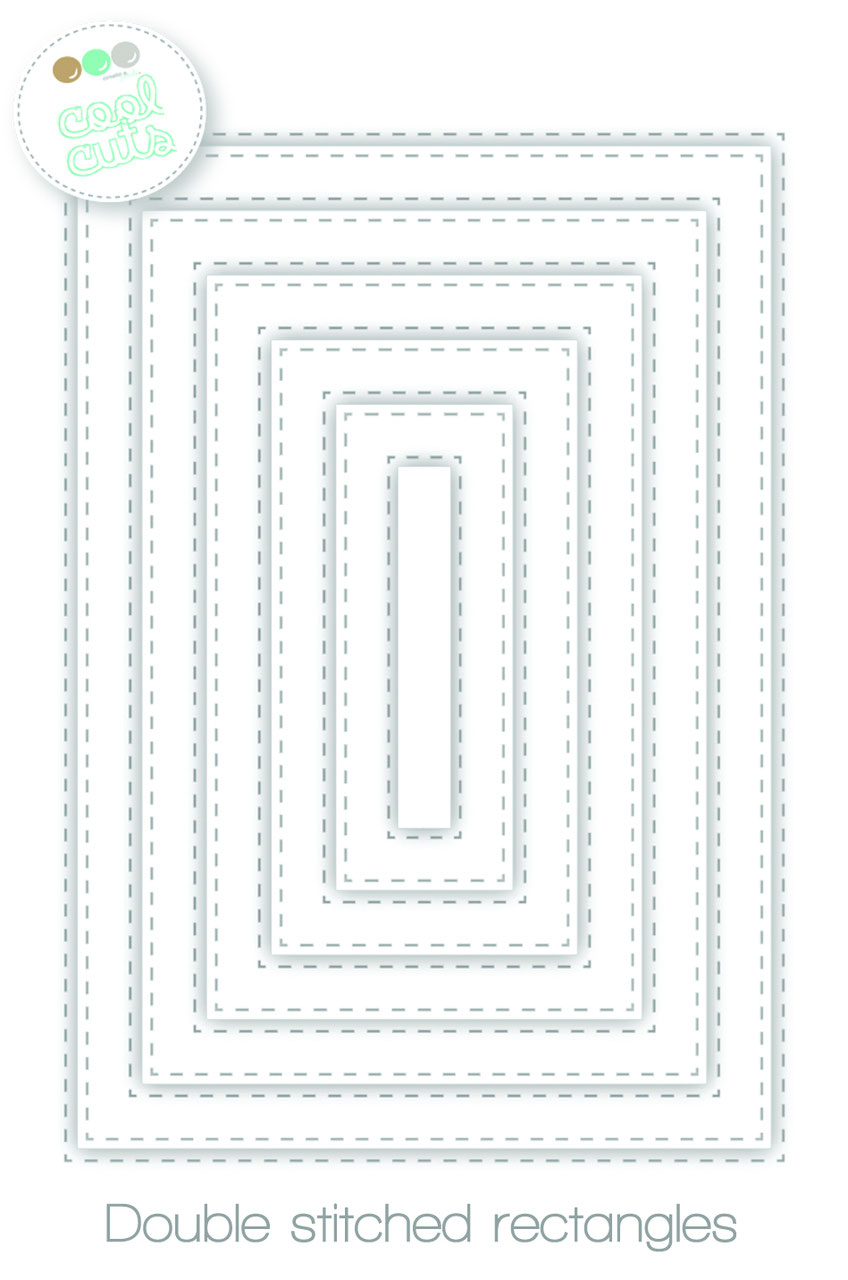
* First I die cut a panel from white cardstock using the largest stitched rectangle die and I stamped the "Don't Worry" stamp in the center using a beautiful teal ink.
* Using small stamps from different sets I stamped all over the panel using light purple and yellow ink.


* I prepared a mint card base and I mounted the panel on it using craft foam.

* On a white panel I stamped the images for my card and colored them with Spectrum Noir markers.
* After the coloring was done, I fussy cut the images and mounted them on my card using foam tape.


* To complete my idea, I white embossed a second part for my sentiment on a yellow strip and I mounted it on the card.
* As a final touch I glued a few clear sequins and my card was done.


Super easy and I had so much fun playing with these cuties!


If you love Instagram like I do, you can follow Create A Smile using the name @createasmilestamps and if you have any questions about card making, techniques or products, if you want to share your creations with Create A Smile fans or if you want to participate in our monthly challenge join us on our Facebook group Create A Smile - Friends & Family :).

Have a lovely weekend!
Thanks for stopping by,
Raluca

Wednesday, February 13, 2019

message in a bottle

Hi there...

One thing I love about cardmaking is, no matter what the weather looks like where you live, you can craft yourself to a beautiful place...


I just wanted to use this pretty bottle again. It's one of my favorite sets by Create A Smile and I was in the mood for a beach themed card.


  • stamp the bottle and the ferns on some watercolor paper with a black pigment ink, cover it with clear embossing powder and heat set it
  • color your images with watercolor markers (I used Zigs) and a water brush
  • fussy cut your colored stamps
  • paint water on a watercolor paper by using a light blue or light turquoise color
  • paint one stroke over the bottle. Be sure you know where your bottle will be in the water later, so you match the water on the bottle with your background
  • die cut your watercolor panel and adhere it to a light brown or sand card base
  • adhere the fern and the bottle on your card using foam tape
  • finish up your project by stamping  your sentiment and gluing on some clear drops


Go through your stash and pick a stamp set that makes you think of a happy place. ;-)


... to join our Facebook Groupe "Create A Smile Friends and Family" :-D

Thanks for stopping by!
Have a happy day, 
Nicole

Saturday, February 9, 2019

Birthday wishes from the Gull Gang!

Hello crafty friends, it's Kerstin here!

Today I have a funny pop-up-box card for you.


My hubby is turning 46 next week and he is not very happy with this number. So my idea is to cheer him up a little bit with this funny birthday card.


  • stamp, color and fuzzy  cut the stamped images
  • create a pop-up-box card, if you like follow this tutorial by Birka
  • add some diecut waves for the inner part of the card
  • sponge the egdes to create more depth
  • at last add some enamel Stickers and details with a white gel pen


The german Sentiment says something like "don't give a shit". ;-)


The more images and details you add to this kind of card the better. And you can create your own pattern paper for the card base by stamping the tree slice image multiple times on kraft cardstock.


https://www.createasmilestamps.com/stempel-stamps/gull-gang/#cc-m-product-14050540623


https://www.createasmilestamps.com/stempel-stamps/lettering-alphas/#cc-m-product-14010121323


Glowing Seaside Stampset


Do you already know our Create a Smile Family and Friends Facebook Group? Over there you have the chance to connect with others and share your creations with us. We love to see what you create!