Showing posts with label Flaschenpost. Show all posts

Saturday, October 5, 2019

I cought something...

Hello hello :-)

Normaly when I'm on this Blog, I'm showing you a new Video... but I was ill at home the last 2 weeks and the most of the time I was sleeping... so sorry, but I have no Video for you today. But I tried to make a card for you :-)





I wanted to use these supercute bacterias. But I don't wanted to use them in this Bottle. So for letting them stand alone there were not enough of them, I wanted more :-)



I wanted to masked them. I started with the one in the middle and on the side, than I put the mask on, and I stamped in the spance between.



The Problem with masking things like that is, that it becomes too regular, and looks like a pattern.
The one thing you can do against it, is not masking next to next. Start in the middle and on the side, so you will have some in the front and some in the back. That makes it more natural. And at the end the top Bacteria always looked the same. So I masked it again an stamped in the middle on top, but turned the stamp a little bit. So it becomes nice unregular :-)



Wednesday, February 13, 2019

message in a bottle

Hi there...

One thing I love about cardmaking is, no matter what the weather looks like where you live, you can craft yourself to a beautiful place...


I just wanted to use this pretty bottle again. It's one of my favorite sets by Create A Smile and I was in the mood for a beach themed card.


  • stamp the bottle and the ferns on some watercolor paper with a black pigment ink, cover it with clear embossing powder and heat set it
  • color your images with watercolor markers (I used Zigs) and a water brush
  • fussy cut your colored stamps
  • paint water on a watercolor paper by using a light blue or light turquoise color
  • paint one stroke over the bottle. Be sure you know where your bottle will be in the water later, so you match the water on the bottle with your background
  • die cut your watercolor panel and adhere it to a light brown or sand card base
  • adhere the fern and the bottle on your card using foam tape
  • finish up your project by stamping  your sentiment and gluing on some clear drops


Go through your stash and pick a stamp set that makes you think of a happy place. ;-)


... to join our Facebook Groupe "Create A Smile Friends and Family" :-D

Thanks for stopping by!
Have a happy day, 
Nicole

Saturday, November 10, 2018

Cheers!

Hello crafty friends, it's Kerstin here!

Today I have a male birthday card for you (attention: no cute critters involved).


Lately I needed a last minute male birthday card for a colleague. So no chance to use any cute critters on this card. Luckily some of the Create a Smile stamp sets are perfect for this occasion.


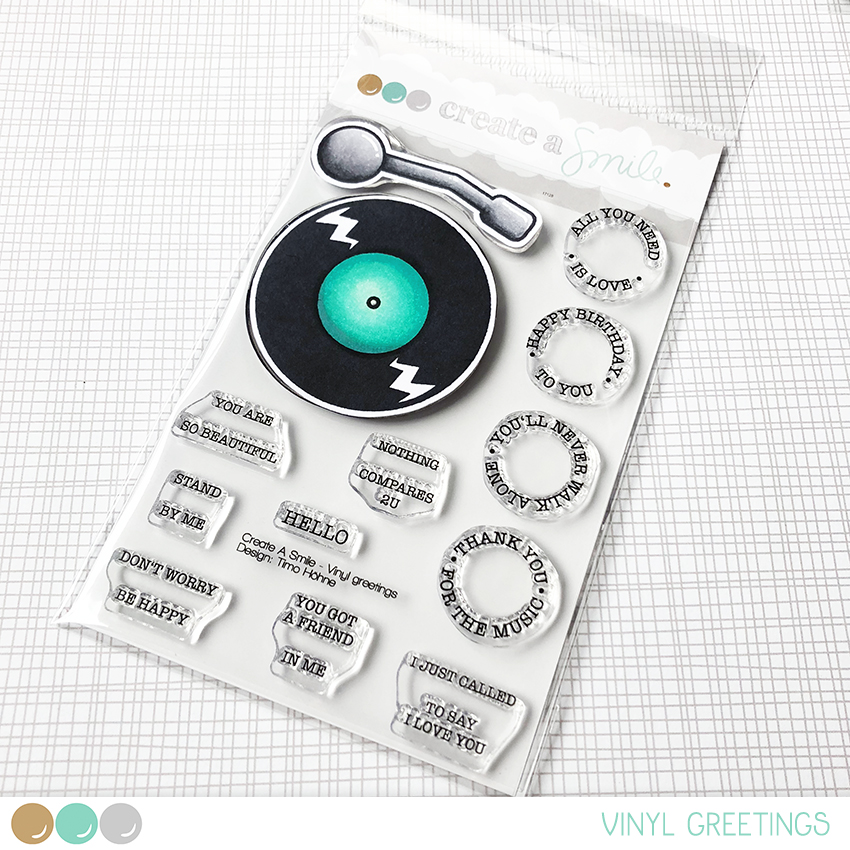
  • stamp, heat emboss, color and fuzzy cut the vinyl record
  • stamp and color the bottle from the message in a bottle (in this case I tried to color it like a beer bottle)
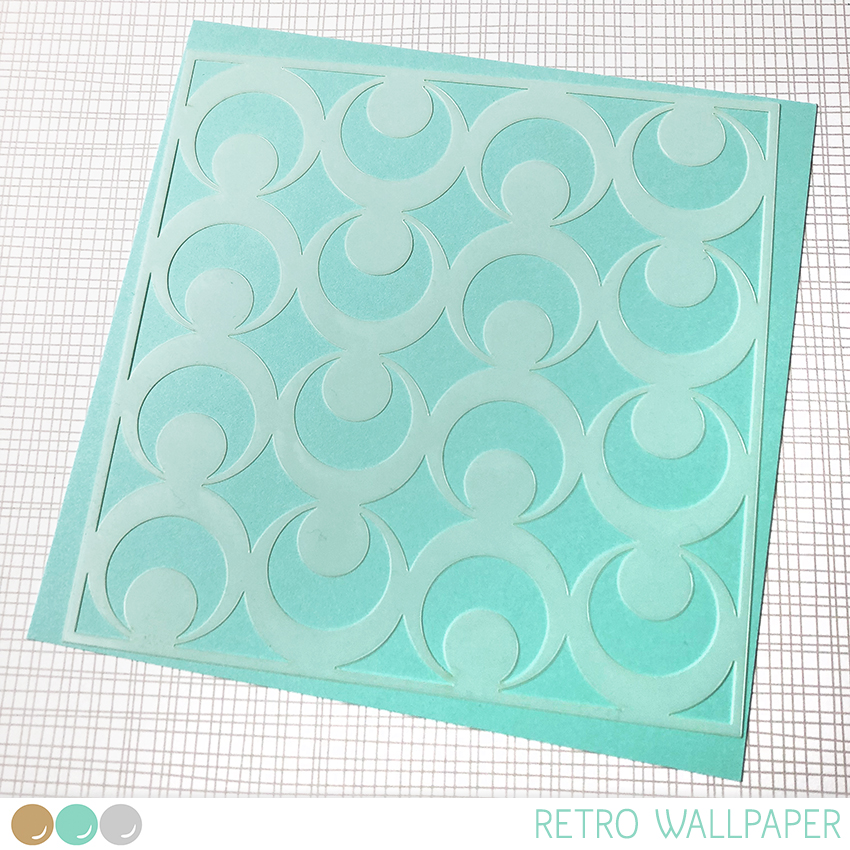
  • create a background using one of the super cool stencils and distress oxide inks
  • for a little more interest sprinkle some water and black ink on the finished background
  • glue everything together with foam tape to add some dimension


If you want to be super quick look for precolored images from past coloring challenges.  I for example store these images in the bag of the stamp set.


... if you want to share your creations with us on Instagram don't forget to use #createasmilestamps. We love to see what you create!


Saturday, September 1, 2018

Easy Zig-Zag-Card {VIDEO}

Hello everybody,

Birka here :-) I have a little video for you with an very easy card-folding-technique.

But first I'll show you some pictures ;-)


I loove interactive cards, or cards with a little difference, but the most of these cards are not so easy and take more time than other cards. So then came this very easy folding-idea in my mind ;-)


Here you can watch my video in english


Hier ist das Video in Deutsch


https://www.createasmilestamps.com/stempel-stamps/flaschenpost-1/#cc-m-product-12548520323https://www.createasmilestamps.com/stempel-stamps/botanical-love/#cc-m-product-11161076823

https://www.createasmilestamps.com/kits-and-pouches/beach-party-kit/#cc-m-product-11960718023https://www.createasmilestamps.com/stempel-stamps/fun-flowers-1/#cc-m-product-14010123323


Next week is release week :-) Follow us on instagram, Facebook and here, so you wount miss the new stamps :-)


Thursday, April 19, 2018

clean & simple ideas 5/7 * radiant rainbows

Hello crafty people, Nicole here.

This is part five of my clean & simple cardmaking series about "how to spice up clean & simple cards".


Clean and simple cards are super fun but because there is so much white (or blank) space on them, you don't want them to be boring, right?! I made a little series about my favorite ways to keep clean and simple cards interesting :-)


My fifth tip is RADIANT RAINBOWS. Rainbow colors are just so much fun and an eye-catcher for sure! You can use them for your backgrounds, for the sentiment, to color your image ... there are so many possibilities!

Just try to find out what layouts you see on clean and simple cards you like and use them for your personal creations :-)


 for the card on the top
  • stamp the bugs on a piece of (alcohol marker friendly) paper, color them in fun rainbow colors (I used alcohol markers) and cut them out
  • stamp the bottle on some white card stock and cut along the black line with an craft knife. 
  • die cut a rectangle from the paper with the bottle on it
  • glue some transparent sheet behind the bottle 
  • assemble the card using foam tape and by putting the bugs behind the transparent piece to make them look like they're in the bottle.
  • stamp your sentiment on a piece of black paper and add white embossing powder.
  • add some enamel stickers for a finishing touch.


Flaschenpost / Double Stitched Rectangles / Enamel Stickers Fruitalicious


Join us for a fun CHALLENGE!


Thanks for stopping by!
Have a happy day :-)
Nicole