Showing posts with label Useful Banners. Show all posts

Saturday, November 9, 2019

You're so sweet

Hello there, Nicole here.

Today, I have a cute little recycling idea for you. I hope you like it and get inspired.


I always thought that the (new) packaging from Create A Smile is too pretty to throw away so I kept it and started looking for ideas to use it on my cards.


First, I stamped and colored the macaroons. I used watercolor paper and watercolor markers along with a waterproof ink. I fussy cut them and set them aside.

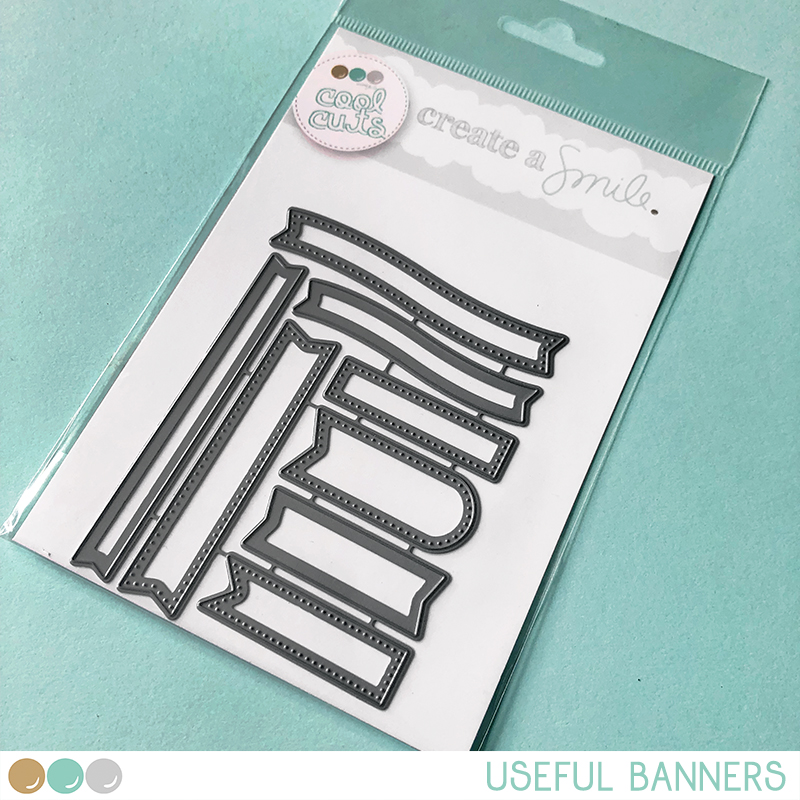
Next, I die cut a pretty scalloped rectangle from the packagings paper and glued it to my card base. I stamped the sentiment on turquoise card stock and covered it with white embossing powder. Then, I die cut it with a cute sentiment banner.

The rest is super simple. I arranged the macaroons and glued them in place with glue or foam tape. I added some alpha stickers and adhered the sentiment banner to my card. To finish it up, I added some white sequins.


You don't like to throw away the packaging of your stamps? Try to find ways on how to use them for your projects. Some papers are quite slick and work with alcohol inks. I also use the plastic part of the packaging for instance for the ink smooshing technique.


And here are two more cards I created 
with the pretty patterned paper from the stamp packaging. 


A little Treat / Zuckerschnute


Thank you so much for stopping by!
Have a wonderful day,

Saturday, October 5, 2019

I cought something...

Hello hello :-)

Normaly when I'm on this Blog, I'm showing you a new Video... but I was ill at home the last 2 weeks and the most of the time I was sleeping... so sorry, but I have no Video for you today. But I tried to make a card for you :-)


I wanted to use these supercute bacterias. But I don't wanted to use them in this Bottle. So for letting them stand alone there were not enough of them, I wanted more :-)


I wanted to masked them. I started with the one in the middle and on the side, than I put the mask on, and I stamped in the spance between.


The Problem with masking things like that is, that it becomes too regular, and looks like a pattern.
The one thing you can do against it, is not masking next to next. Start in the middle and on the side, so you will have some in the front and some in the back. That makes it more natural. And at the end the top Bacteria always looked the same. So I masked it again an stamped in the middle on top, but turned the stamp a little bit. So it becomes nice unregular :-)


Wednesday, August 21, 2019

Make a wish


Hello crafty friends, it's Kerstin here!
Today I have a very special monochrome birthday card for you.


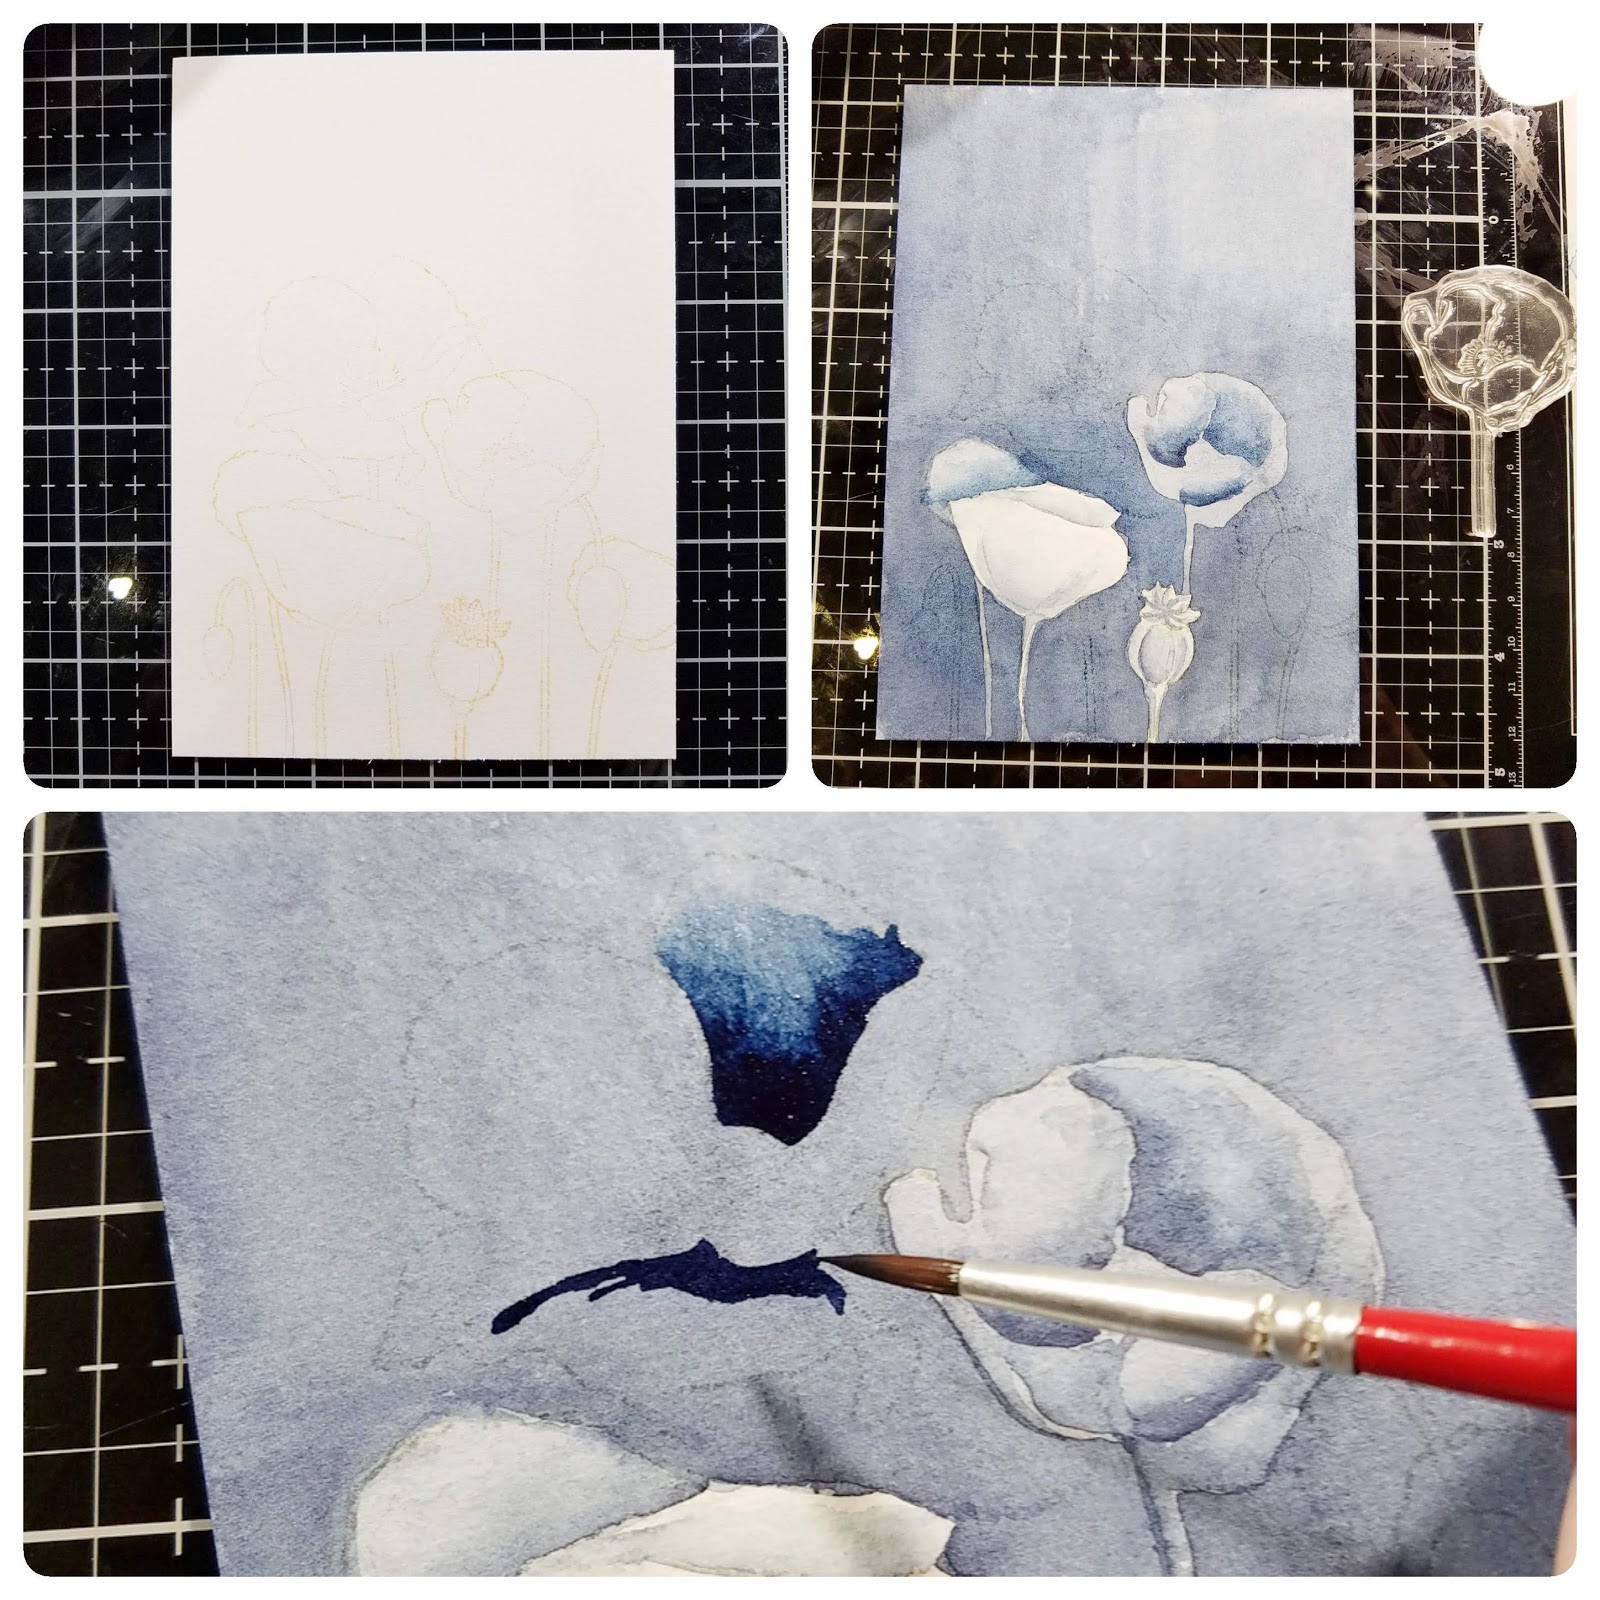
I wanted to try negative painting with watercolors for soooo long and now I finally did it. The basic idea ist to paint a darker background around the lighter objects.


  • stamp  your images in a light colored ink onto water color paper
  • mask the first layer of your stamped images and stamp some more in the background
  • create as many layers as you want but at least 3 layers
  • start with a very light wash of your watercolor all over the panel and set aside to dry
  • color the images in the first row in a very light shade and let dry
  • lay down a second layer of a darker shade of watercolor around the images in the first row and over the images in the background
  • set aside to dry
  • for the next layer start over again with coloring the images of the second row
  • paint a darker shade of watercolor around the images in the first and the second row and over the images in the third row
  • set aside to dry
  • start over again for the next layer
  • decorate your panel with some white and gold splatters
  • stamp your sentiment on vellum and heat emboss


... or lessons learned. Here are some things you should do better than me. ;-)


  1. Plan your layers well! I got quite confused about what to color and what to leave unpainted during the process.
  2. Use a recognizeable darker color for each layer! The second and the third layer in my project are too similar.
  3. Paint fast! Otherwise your paint dries too quickly and your background becomes blotchy.


Thanks for stopping by and happy crafting,
Kerstin