Showing posts with label Joy to the World. Show all posts

Saturday, December 7, 2019

(last minute) masculine christmas cards

Hello there, Nicole here. 

I have two quick and easy masculine christmas cards for you today.


I realized that most of my christmas cards were cute but I needed some masculine ones as well. And because it's December already, I needed them fast. So here are two quick and easy cards I made using watercolors, embossing powders and Distress Oxide Inks.


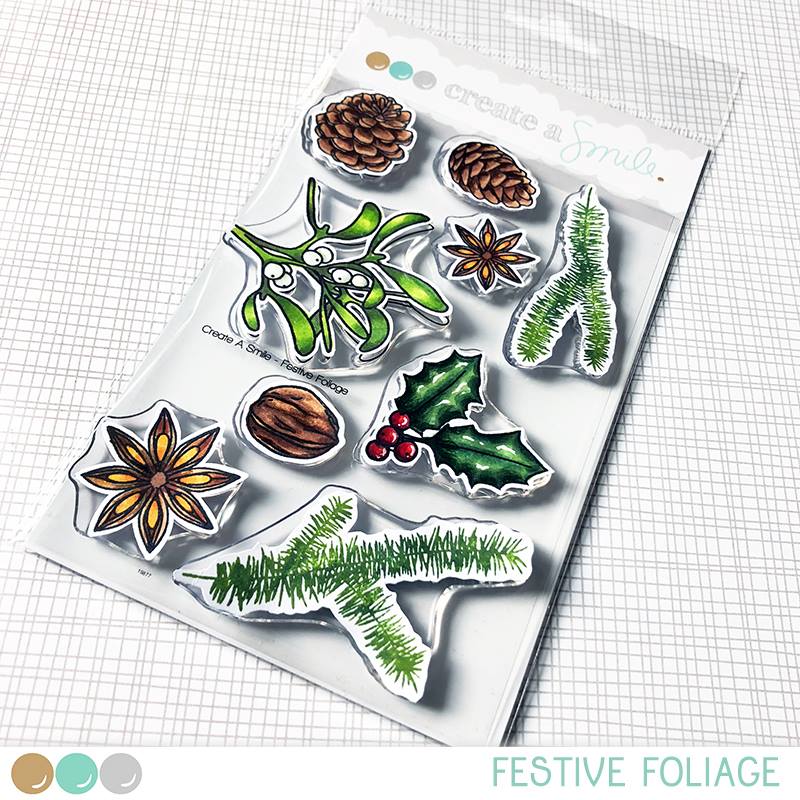
Card no.1 - mistletoe
  • stamp the mistletoe on watercolor paper with a crisp black ink that is a bit sticky and cover it with clear embossing powder. Heat set the powder with your heating tool. 
  • color your image with watercolors or watercolor markers and let it dry
  • use a blending tool to add Distress Ink to your panel. Start with the lightest color on the edges and get super light towards the middle to create a halo. Add a darker color of Distress Oxides to the edges to create more depth.
  • sprinkle on some water drops to add a bit of texture/interest to your background.
  • stamp the greeting in crisp black ink
  • stamp some little stars with the lighter Distress Oxide ink to add a finishing touch

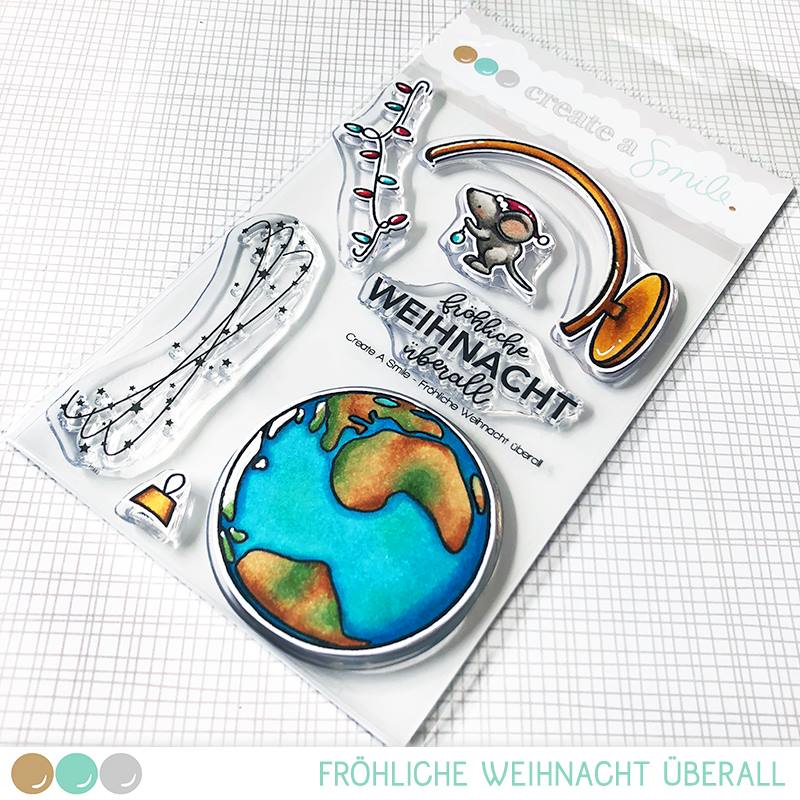
Card no.2 - globe
  • stamp the globe and the stand on watercolor paper with a crisp black ink that is a bit sticky and cover it with clear embossing powder. Heat set the powder with your heating tool. 
  • color your image with watercolors or watercolor markers and let it dry. Make sure it's completely dry, so the embossing powder for the next step will not stick to your entire image
  • stamp the stars and lines with a sticky clear ink and heat emboss it with gold embossing powder
  • add a little watercolored shadow underneath the stand
  • stamp the greeting in a matching dye ink or Distress Oxide ink


  • Clear embossing powder over black ink helps you to stay in the lines while coloring with watercolors if you need to be quick
  • for me, watercolors or watercolor markers are easier to use if I want to do some quick coloring (projects with alcohol markers or colored pencils take me much longer)
  • vintage colors like these warm brown tones give your stamped image a cool retro look
  • gold embossing powder adds a bit of festive bling without being too much


Thank you so much for stopping by!
Have a happy day,
Nicole


Wednesday, December 12, 2018

Just for you

Hey everybody! Chris back with you today with some inspiration for a Christmas Card. For this card I "mixed-up" some stampsets.


In the last few days, I saw some mistletoe decorated front doors so I tried to use this inspiration for a Christmas card.


  • it´s very simple to do
  • the front door is a cut file (Silhouette Design Store) and I cut it out with my Plotter 
  • stamped all images and colored them with Distress inks and Alkoholmarkers 
  • for the gift package with the sentiment I stamped a part over a "Post-it" and then extended it manually 
  • for more contrast I glued down a colored Panel which I blended  out with some Ink Pads
  • then arranged all images on the card and glued down with 3D-Pads


For this door I used my Plotter, but I think you can create your own door without a Plotter.
And with some masking-techniques it´s possible to "strech" some images for your need.


Maybe you are looking for a present for a crafty friend (or yourself) - how about a gift voucher from Create a smile Stamps?


Thank you so much for stopping by and happy crafty time.

Chris 

Saturday, December 8, 2018

Glowing Christmas Wishes

Hello crafty friends, it's Kerstin here!

Today I have a glowing christmas card for you.


Lately I saw this card by Dawn Woleslagle where she did spotlight ink blending on colored cardstock and I really wanted to try out this technique.


  • take a light colored cardstock and blend on some distress inks
  • start blending from the corners/ edges using the lightest color first and switch to a darker color in the next step 
  • don't forget to leave an uncolored space in the middle of the panel for the glowing effect
  • first stamp the branches in a dark color around the edges in the upper part of the panel
  • after the ink is completely dry stamp the branches and the sentiment with versamark ink and heat emboss with white embossing powder
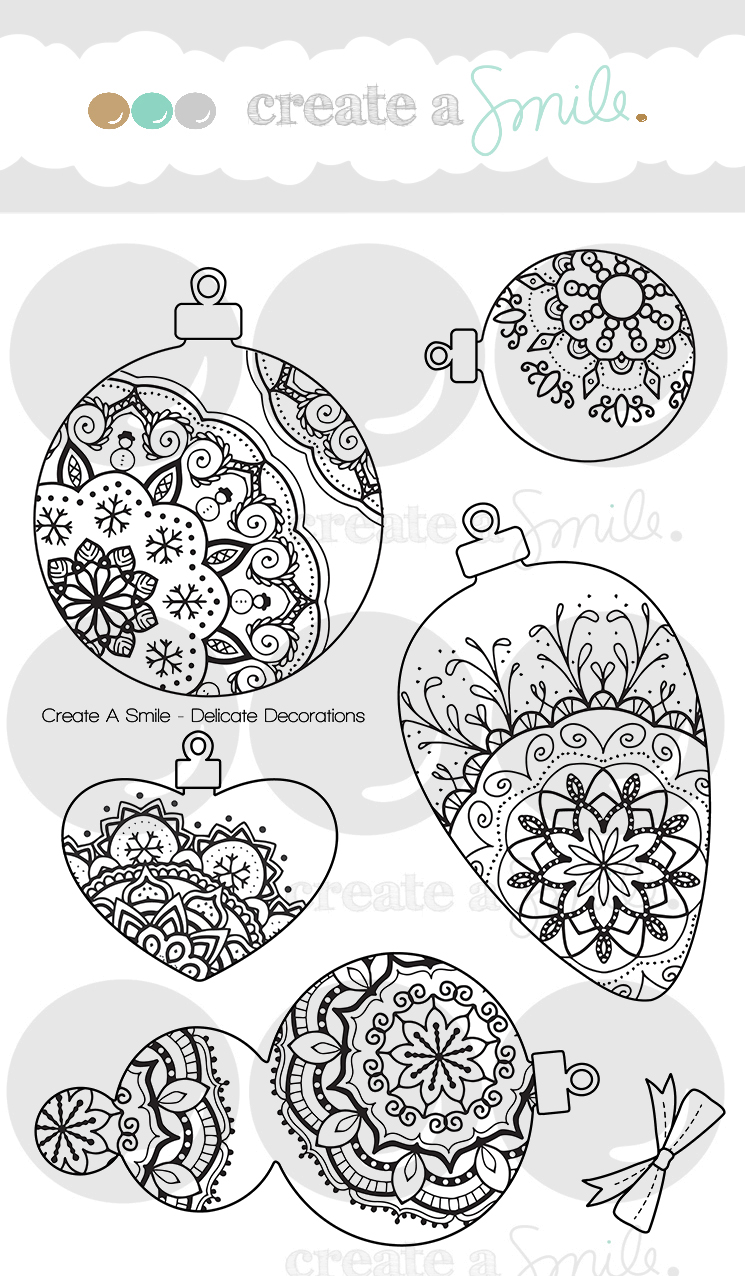
  • stamp, heat emboss and fuzzy cut the christmas ornaments
  • instead of coloring with watercolor or markers you can do some ink blending on the ornaments
  • glue everything together with foam tape to add some dimension
  • draw the string of the ornaments with white gel pen


For a more sparkly look you can also sprinkle some glittery embossing powder over the branches without using any ink and heat set it from the backside of the paper.


Do you already know our Create a Smile Family and Friends Facebook Group? Over there you have the chance to connect with others and share your creations with us. We love to see what you create!

Friday, November 23, 2018

Joy to the World Card!

Hi there!
Samantha here, and today I am sharing a simple, but bold, Christmas card!


I am seriously in love with this cute little snowmen! I added puff balls to the ends of their hats, and it really was the inspiration for this card! I can't even lie! :P


Let's make this card together!

- stamp and color your images (I used Zig Clean Color Real Brush markers)
- once dry, fussy cut out
- for the background, I cut a piece of black cardstock for my card front and then heat embossed the sentiment in white!


- then, I added some sparkle with Crystal Stickles to the glowing lights and blushing cheeks!!


I decided to put this scene onto black cardstock so it would pop! Plus, you don't see many Christmas cards on black cardstock, so why not? Ha!


I used the sweet, little snowmen from Easy Breezy along with the beautiful world image from Joy to the World


There is ALWAYS a fun challenge going on in the Create a Smile Stamp Facebook group page! It's fun and filled with prizes! I love seeing all of the incredible, unique and amazing inspiration!

~Samantha


Saturday, October 20, 2018

Furry & Bright

Hi everyone and welcome back to our creative space! 
Raluca here with a brand new card showcasing two of the new adorable stamp sets from Create a Smile Stamps shop.


I have some fake snow in my stash and I just wanted to use it with the new and super cute stamps. And it worked perfectly with the adorable critters.


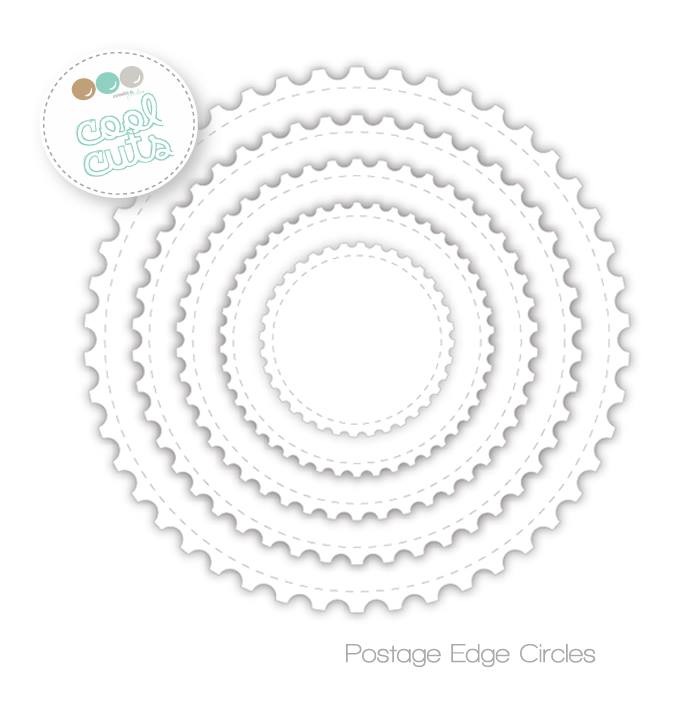
* I die cut a white panel using the largest stitched rectangle and I die cut a circle window using one of the postage edge circles.
* I glued an acetate piece behind it, creating the shaker's window.
* On the back I filled the shaker with snow and clear and iridescent sequins and closed the shaker with an ink blended panel.


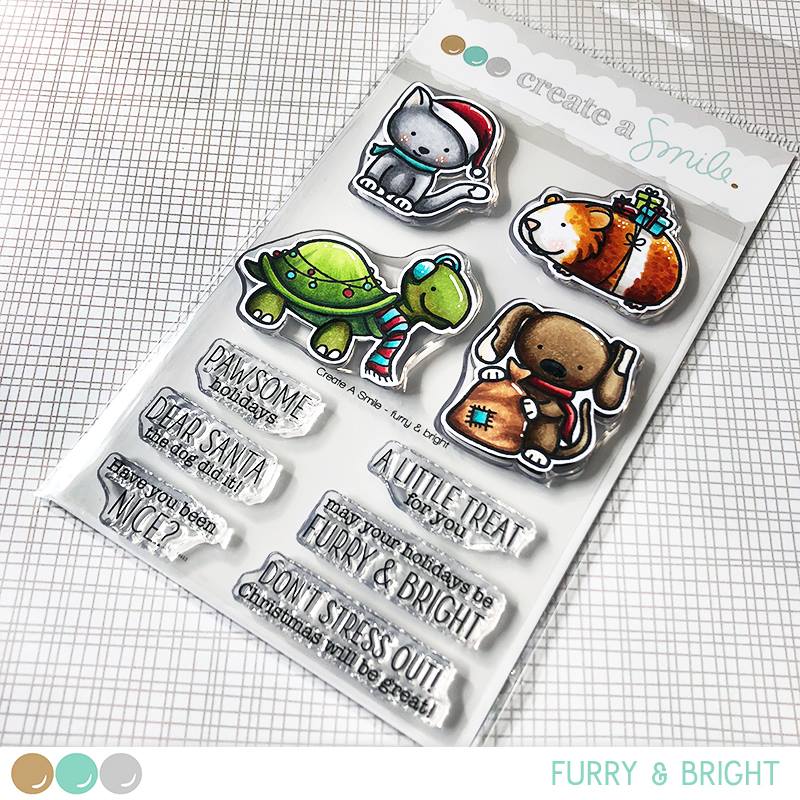
* Under the window I stamped a sentiment from the "Furry and Bright" stamp set and I mounted the panel on a light blue card base.
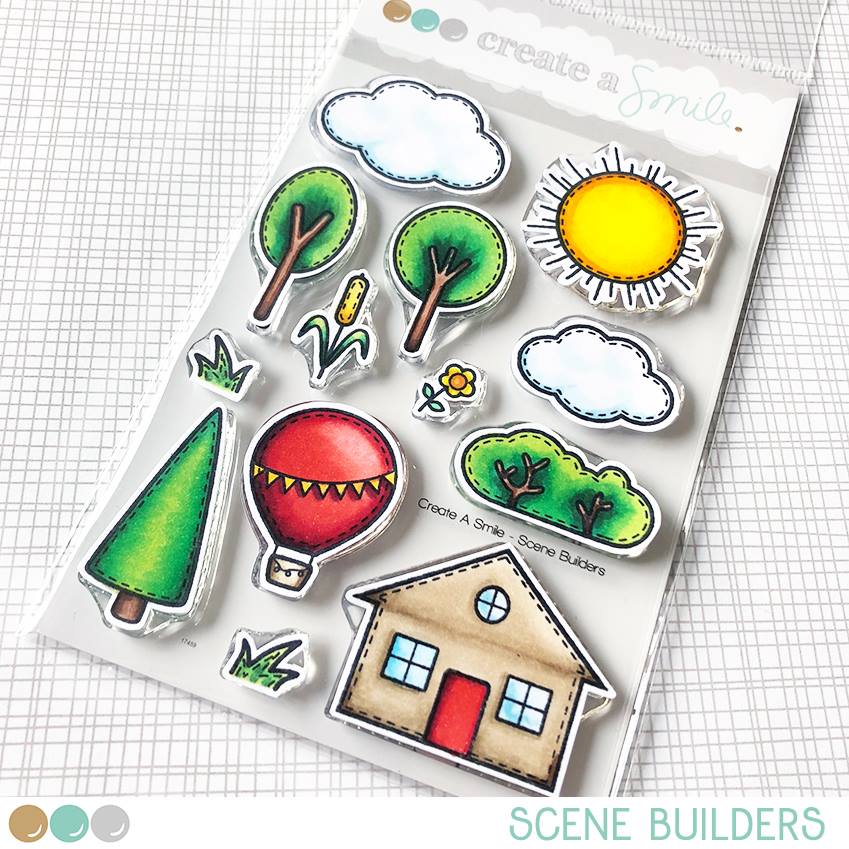
* On a white panel I stamped the adorable cat from the same stamp set, the cute little mouse from the "Joy to the world" set and the fun tree from the "Scene Builders" set (a must have in your stash if you love creating cute scenes).
* I colored the images using Spectrum Noir markers and fussy cut them using a sharp pair of scissors.
* I mounted all the images on the card, glued a few clear sequins and my cute Christmas card was done.


If you love Instagram like I do, you can follow Create A Smile using the name @createasmilestamps and if you have any questions about card making, techniques or products, if you want to share your creations with Create A Smile fans or if you want to participate in our monthly challenge join us on our Facebook group Create A Smile - Friends & Family :).

Have a lovely Tuesday!
Thanks for stopping by,
Raluca