Showing posts with label Delicate Decorations. Show all posts

Saturday, December 8, 2018

Glowing Christmas Wishes

Hello crafty friends, it's Kerstin here!

Today I have a glowing christmas card for you.


Lately I saw this card by Dawn Woleslagle where she did spotlight ink blending on colored cardstock and I really wanted to try out this technique.


  • take a light colored cardstock and blend on some distress inks
  • start blending from the corners/ edges using the lightest color first and switch to a darker color in the next step 
  • don't forget to leave an uncolored space in the middle of the panel for the glowing effect
  • first stamp the branches in a dark color around the edges in the upper part of the panel
  • after the ink is completely dry stamp the branches and the sentiment with versamark ink and heat emboss with white embossing powder
  • stamp, heat emboss and fuzzy cut the christmas ornaments
  • instead of coloring with watercolor or markers you can do some ink blending on the ornaments
  • glue everything together with foam tape to add some dimension
  • draw the string of the ornaments with white gel pen


For a more sparkly look you can also sprinkle some glittery embossing powder over the branches without using any ink and heat set it from the backside of the paper.




Do you already know our Create a Smile Family and Friends Facebook Group? Over there you have the chance to connect with others and share your creations with us. We love to see what you create!

Tuesday, December 19, 2017

Delicate Decorations

Hi crafty friends and welcome back to our crafty space.
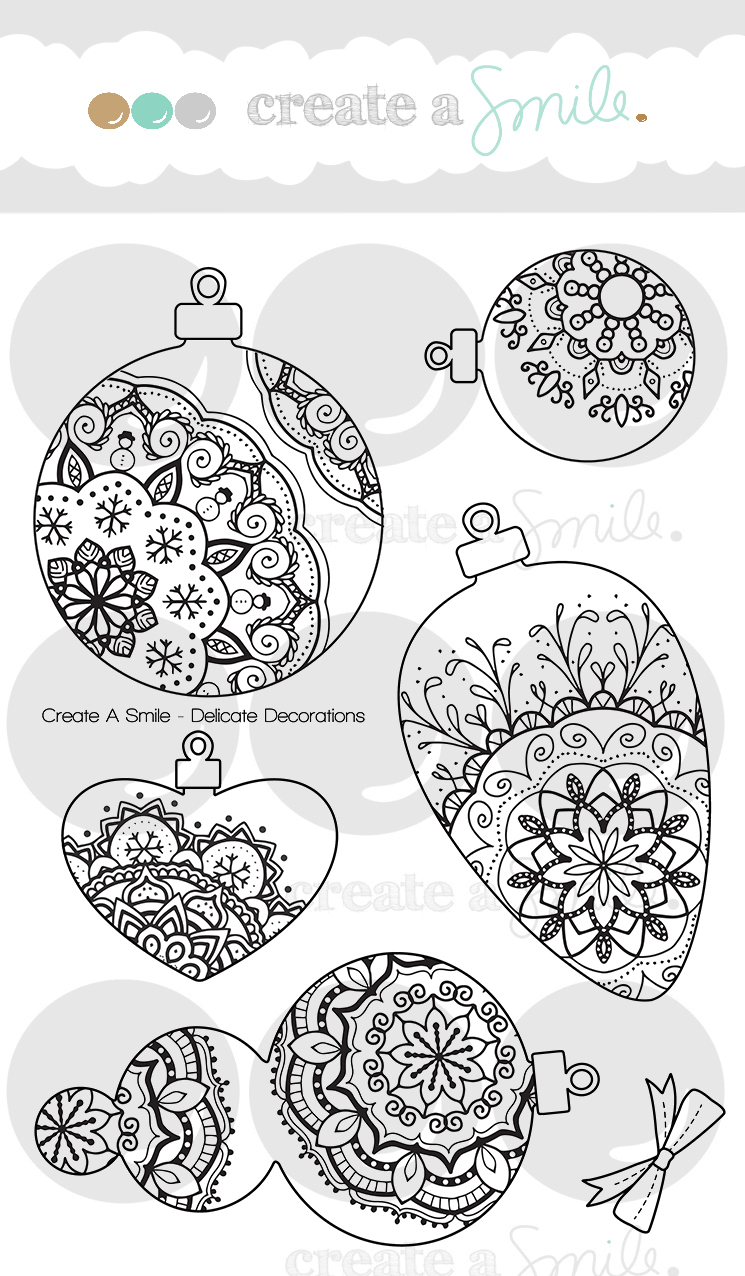
Raluca here with a new card showcasing the absolutely gorgeous "Delicate Decorations" stamp set.


I love traditional Christmas colors so I decided to create a traditional Christmas card. I went with the "Delicate Decorations" stamp set and for the colors I chose red, white and kraft.


First I stamped the ornaments in black and colored some portions of them using a red pen. I added some glitter and fussy cut them.
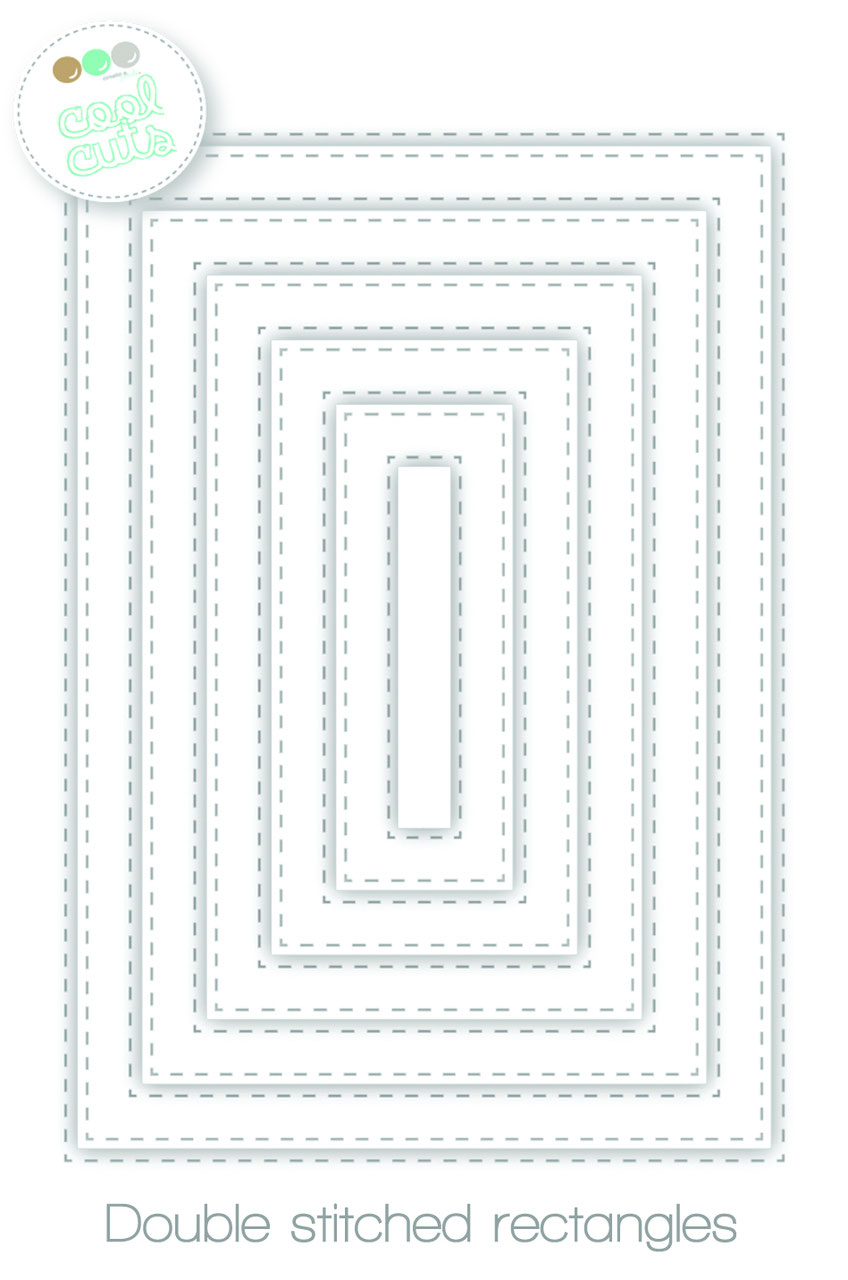
Next I die cut a panel from kraft cardstock using the largest stitched rectangle and mounted it to a white card base.
Then I draw some strings using a snow pen and heat embossed them. 
Next I mounted the ornaments using foam tape and white embossed a sentiment on a strip of vellum. I adhered it to the card, glued a few clear sequins and added some white dots on the kraft panel for more effect. 
Now my card was done! Super easy and very Christmassy!


Delicate Decorations


There is currently a MAIL CALL!!

We just LOVE our new office, but some more decoration would be nice... Would you like to create a smile on our faces and also see YOUR card displayed in our headquarter?

We'd love to receive some beautiful projects using Create A Smile products.

Please send them to:

Create A Smile
Merremstr. 21
47053 Duisburg
Germany

We'll of course be sharing the received projects - on Instagram, Facebook and on our blog!

Have a lovely Tuesday!
Thanks for stopping by,
Raluca

Sunday, December 17, 2017

Delicate Christmas Cards for you

Hey everyone! The beautiful Delicate Decorations are back on my card. I love this set and if you have not get a hold of it, you totally should :) 


So, I've started stamping all the baubles on a watercolour piece of paper and embossed them in white.  I love the colours from the distress inks to make this muted and christmasy colours on the baubles. I've chop the piece into almost half and the other side, I've left a bit of a white border on the other side. 

I cannot stay away from stickles who I've dotted them almost all over the card. Hope you like this as much as I do :) 


Follow Create A Smile on Facebook keep yourself updates on all the happenings and if you're an Instagram addict like I am, you can follow Create A Smile using this name : @createasmilestamps ! :)

Mail Call : Christine is looking to decorate her office with your beautiful Create A Smile cards creation. Send your cards to Merremstr. 21, 47053 Duisburg, Germany.


Thanks for stopping by,

Thursday, December 14, 2017

quick advent scrapbook layout

Hello everyone, Nicole here.

From time to time I make scrapbook pages and this one is my newest.


I took these pictures some days ago and I liked them so much, I knew they would find a home on a scrapbook page. Because christmas time is a bit busy around here, I only had a few minutes for crafting (this page took about 15 minutes) but these ornament stamps are so pretty and big, they were perfect to make it a quick and easy but festive page.


  1. arrange the photos the way you like it
  2. arrange the ornaments, make sure your layout is well balanced
  3. glue the pictures down
  4. stamp the ornaments (I used mint pigment ink)
  5. take a pen and draw lines to make it look like your ornaments are hanging from the pictures or the top of your page - use a ruler ;-)
  6. choose a word that you want to highlight and use alpha stickers to write it down
  7. take a pen you like and write some personl words (you can skip this step, because the page looks pretty even without them)
  8. I added two stamped sentiments 
  9. take small stamps like the snowflakes and the stars to decorate your page and fill some empty spots
You could go on with decorating and writing and so on and so forth... but as I said... I did not have so much time ;-)


Alpha stickers are a quick, colorful and fun way to highlight words. They are a great if you do not have the time for big and beautiful hand lettering. You can perfectly personalize your scrapbook pages with these stickers.


Delicate Decorations / Schöne Bescherung / Alpha Stickers


We love to see what you create! Show us your creations on Instagram @createasmilestamps or on the Create A Smile Friends & Family Facebook page.
Thanks for stopping by!
Have a happy day,


Tuesday, December 5, 2017

Warm Thoughts!

Hi crafty friends and welcome back to our crafty space.
Raluca here with a new card showcasing the absolutely gorgeous "Delicate Decorations" stamp set.


This stamp set is so gorgeous and it's part of the latest release. I wanted to color one ornament and make it the focal point of the card.


First I stamped the ornament in black and colored some portions of it using a red pen. I added some glitter to it and fussy cut it. 
Next I die cut a light grey panel with one of the stitched rectangles and then I stamped in VersaMark and white heat embossed one of the focal points from the "Hocus Pocus" set. 
I mounted the ornament in the center using foam tape and mounted the panel onto a white card base. 
Next I stamped the sentiment in VersaMark and white heat embossed it on a red strip of cardstock and mounted it on the grey panel.
Glued a few clear sequins and my card was done. Fast and easy and the result is fabulous.


There is currently a MAIL CALL!!
We just LOVE our new office, but some more decoration would be nice... Would you like to create a smile on our faces and also see YOUR card displayed in our headquarter?
We'd love to receive some beautiful Christmas projects using Create A Smile products.

Please send them to:
Create A Smile
Merremstr. 21
47053 Duisburg
Germany
We'll of course be sharing the received projects - on Instagram, Facebook and on our blog!

Have a lovely Tuesday!
Thanks for stopping by,

Wednesday, November 29, 2017

Merry Christmas Twice

Hey stampers, Anni here!

With Christmas less than a month away the Christmas card production is running high over here in my crafting area! Today I have two simple Christmas card to show you.


There are always people under our friends and family you need elegant Christmas cards for. These cute critters that I like so much don't seem to fit for these kind of people. That is when the set Delicate Decorations comes in handy - perfect for traditional and elegant cards.


  • Stamp and heat emboss the baubles in white on vellum.
  • Colour them from the backside with alcohol markers.
  • Die cut a frame using two of the Double Stitched Rectangles.
  • Add silver twine to create strings for the baubles.
  • Stamp and heat emboss the sentiment in silver on a stripe of white cardstock.
  • Assemble the card.


There are still some products on sale - up to 30% off. Just click here.