Showing posts with label Floating Wishes. Show all posts

Wednesday, May 19, 2021

Party!

Hello crafty friends, it's Kerstin here!

today I have a birthday card for you without any coloring. 


Sometimes I'm not in the mood for coloring or I don't have the time color cute images. Then I love to use bigger die cuts and stencils.



  • use the din lang postage cool cut for cutting the panel
  • use the Confetti Stencil to create a confetti like background 
  • for one layer I used glimmer texture paste in yellow
  • cut out the sentiment 3 times (1 in yellow and 2 in dark green)
  • adhere the sentiments slightly shifted to create a shadow
  • adhere the sentiment and the panel to your card base


To add some interest you can stamp some ballons at the inside of your card.


We love to see your creations. Please use the hashtag #createasmilestamps when you're sharing your projects on instagram.

Thanks for stopping by and happy crafting,
Kerstin


Wednesday, August 19, 2020

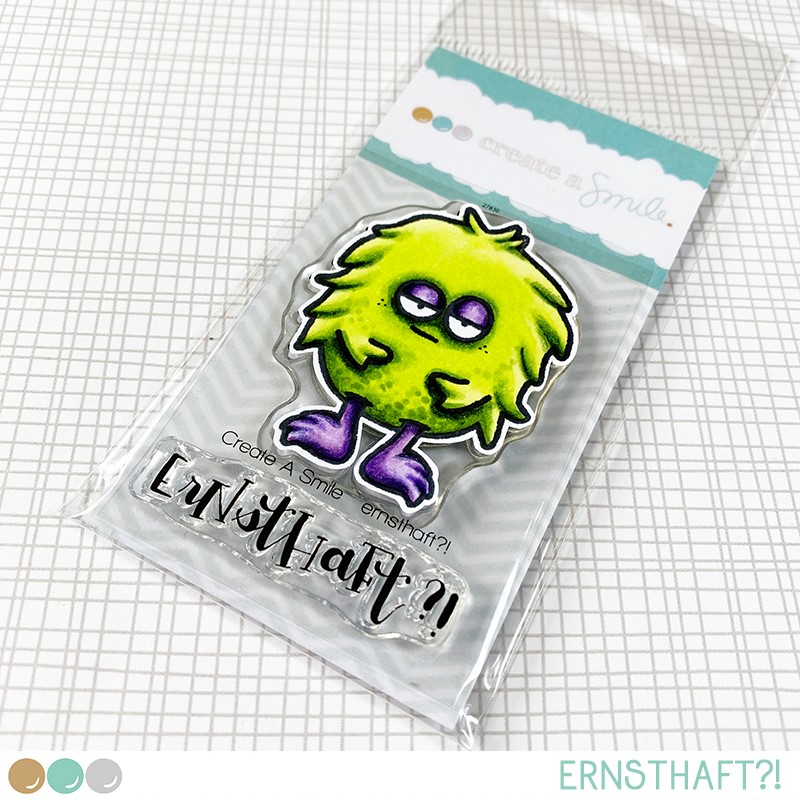
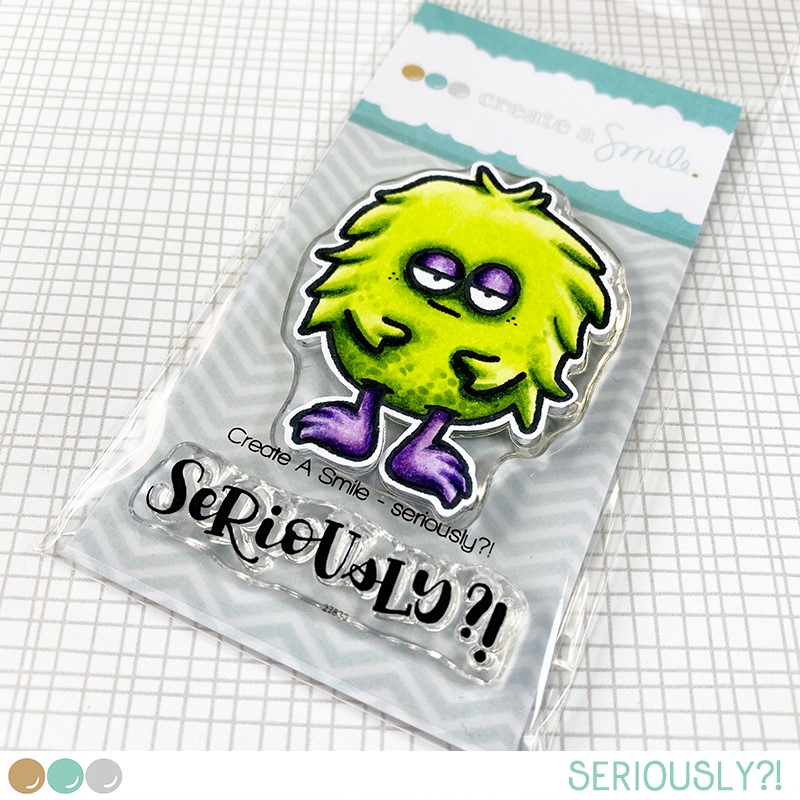
Seriously?


Hello crafty friends, it's Kerstin here!

Today I have a special birthday card for you.


I had this idea on my mind since I saw this little grumpy monster for the very first time. In my opinion it is perfect for a special kind of birthday card. The sentiments say something like: you're turning 35 again ... seriously?


  • first I did some inkblendig for the background
  • I stamped all images onto watercolor paper
  • and colored them with watercolors
  • then I added a few details on the monster with colored pencils
  • next I did some fuzzy cutting
  • finally I adhered all images with foam adhesive onto the panel


We love to see your creations. Please use the hashtag #createasmilestamps when your are posting on instagram.

Thanks for stopping by and happy crafting,
Kerstin

Saturday, August 24, 2019

Birthday Wishes from Below!

Hi there!
Samantha here, and today I'm sharing birthday wishes from the deep blue sea! ha!


I honestly LOVE that octopus image and I just love the idea of giving him things to hold with his many tentacles! ha!


Let's make this card together!

- I started by stamping and coloring octopus and balloons, then fussy cutting them out.
- I stamped the balloons in Distress Oxide Inks (Twisted Citron, Peacock Feathers and Blueprint Sketch)
- to ink blend the circle, I used a mask, which only left the circle area open. The, I ink blended with regular Distress Inks (Cracked Pistachio, Peacock Feathers, Mermaid Lagoon, Blueprint Sketch and Wilted Violet)
- once that was done, I used the same colors, but in Oxide inks to stamp the ocean waves!


- I added foam tape to the octopus and balloons, then stamped the balloon strings.

- once everything was adhered, I used some Crystal Stickles to add glitter to the octopus and balloons!


With just one snap of your fingers, this card could easily be made into a one layer - if that's your thing! LOL!
Simply stamp your images, and then use masks when creating the circle of 'water' with the ink blending and stamping!


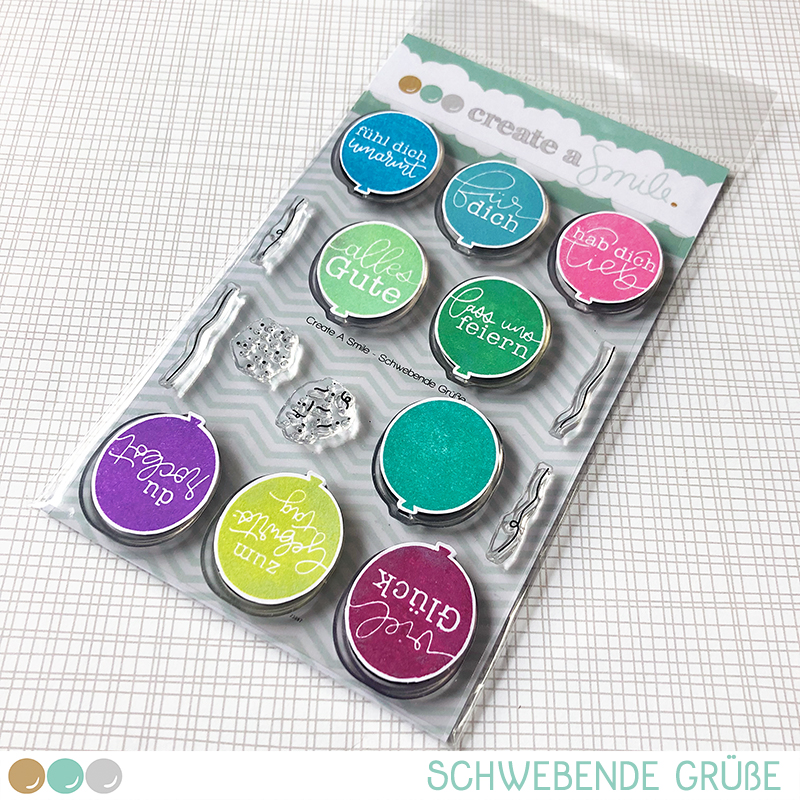
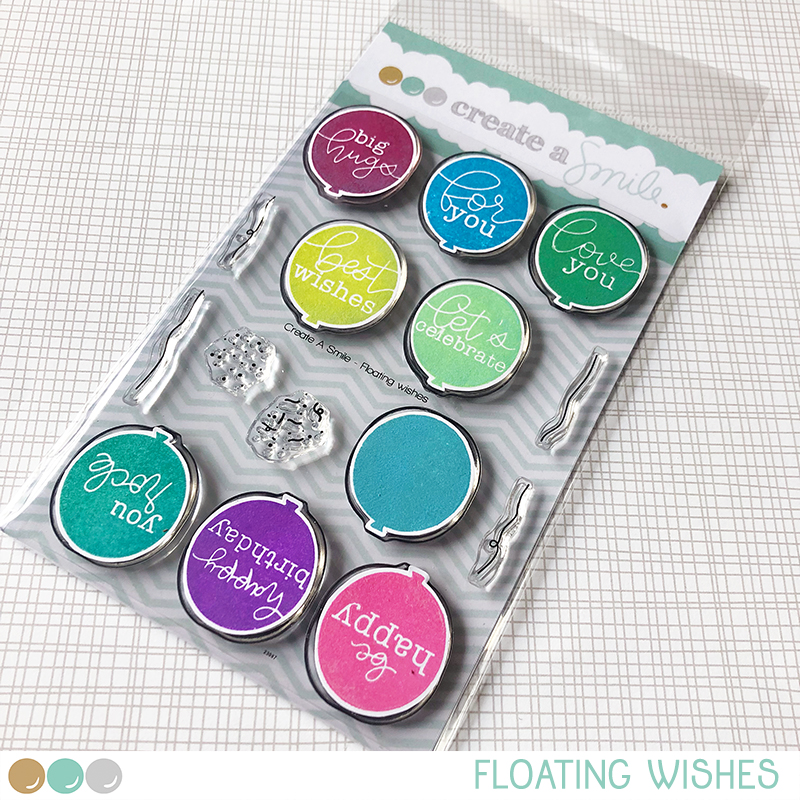
I stamped the beautiful wave images with the Ocean Waves Cling stamp over the distress ink-ed circle. And that adorable and SO cute octopus is from the Underwaterlove stamp set! And of course, the balloons are from the super versatile Floating Wishes stamp set!


There is ALWAYS a fun challenge going on in the Create a Smile Stamp Facebook group page! It's fun and filled with prizes! I love seeing all of the incredible, unique and amazing inspiration!
~Samantha


Saturday, July 27, 2019

Big Hugs for You Ice Cream Cone Card

Hi there!
Samantha here, and today I'm sharing a sweet, summery card...that you may find weird, but I still love how it came out! Ha!


I was scrolling through Instagram when I saw this ADORABLE planner spread!!! I knew I had to adapt it and make it into a card!!! 


Let's make this card together!

- I started by stamping and coloring the mouse and ice-cream cone and then fussy cutting them out.
- next, I chose the colors for my 'ice cream scoops' and stamped them a bunch of times onto some white cardstock! (I used Distress Oxide Inks and did the rock and roll technique on a few of the solid colored balloons!)
- I used the string image to add stripes to one of the balloons and the small polka dots to add some dots to a balloon too (they were all heat embossed in white)


- I attached all of my images together and popped them up with foam tape.

- and I know it gets weird, but I really like the one balloon floating away...even though it's supposed to be ice cream! lol! oh well!
- finally, for the background, I tinted some white embossing paste with Tumbled Glass Distress Inks and then used the stencil to add some light blue texture to the background!
- I finished the card off with some glitter on the balloons/ice cream!


You could totally stamp the ice-cream scoop images directly onto the card front (which I might have done, if I had a Misti! ha! But I don't trust myself!) to save yourself some time cutting out the circles!


The ice cream scoops (and balloon floating away!) is from the Floating Wishes stamp set! The ice-cream cone is from the A Little Treat set! That light blue background was created with the Waves Stencil! The adorable little mouse is from First Day of School! And finally, the sentiment is from the super versatile All About You stamp set!


There is ALWAYS a fun challenge going on in the Create a Smile Stamp Facebook group page! It's fun and filled with prizes! I love seeing all of the incredible, unique and amazing inspiration!
~Samantha