Showing posts with label Aus meinem Nest. Show all posts

Saturday, October 12, 2019

winter wishes * adding texture to your images

Hi there, Nicole here.

I have this cute little card for you sharing how I added some texture to my stamped images.


I'm not going to talk you through the whole card making process because I want to focus on the texture I've added. I simply stamped my images with a light brown dye ink and colored them in the no-line coloring style using alcohol markers, just like I am used to. I could have stopped there but I wanted to add a fun twist.

To add some texture to the sweater and the wood, I used colored pencils. I made sure their tips were really sharp. For the sweater I added tiny V shaped lines to create the knitted pattern. I tried to stay light at the top and got darker where my shading (from coloring with the alcohol markers) was. 
For the wood, I drew some wonky lines and loops. You can take a closer look on the photo below. It's really quite simple to do. But if you feel insecure to draw on your colored images, I recommend you first practice on a scrap piece of paper or start by drawing the lines super light and get darker as you go. And another cool thing is, you can carefully erase colored pencils on top of the alcohol markers with a regular eraser if you make a mistake. I used Swisscolor by Caran d'Ache colored pencils but you just try this technique with the colors you have, it might work perfectly fine.

To finish up my card, I added some snowflakes with a stencil and Distress Inks and stamped my greeting in black. I also added a bit of white gel pen to the string of lights.


Use colored pencils to add shadows or texture to your images.


Thanks a lot for stopping by!
Have a happy day,
Nicole

Saturday, September 14, 2019

Winter Wishes

Hi there, Nicole here, with a cozy little christmassy card for you.


I'm slowly thinking about making christmas cards but at the same time I'm not really in the mood for santa and christmas trees. So what I do is, I use unusual colors and stamps that can be used for christmas but also for other occasions, like... they don't scream christmas to me.


For this card, a stamping tool like the MISTI comes in super handy. I used the stamp with the graphic design that looks like knitting and stamped it repeatedly, three times to be exact. The pattern has some blank spaces and an additional small stamp to fill them. So I took a small acrylic block and stamped the little shape in some of the gaps with another color.

Next, I stamped the bird with water resistant ink and colored it with Faber Castel Watercolor Markers. I cut him out and adhered him to my panel using foam tape. I filled the other gaps of the knitted pattern with white sequins and stamped my sentiment with a crisp black ink. To finish up my card, I added some glitter on the star using Wink of Stella.

This is a clean and simple card that you can use for fall, winter or christmas. It has a cozy feel to it and a little sparkle too because of the star.


If you are like me and want to start early with your christmas card making but you're not into santa and christmas trees yet, go through your stash and look for other stamps and dies that can be used for christmas cards and use them with a non traditional color combo.


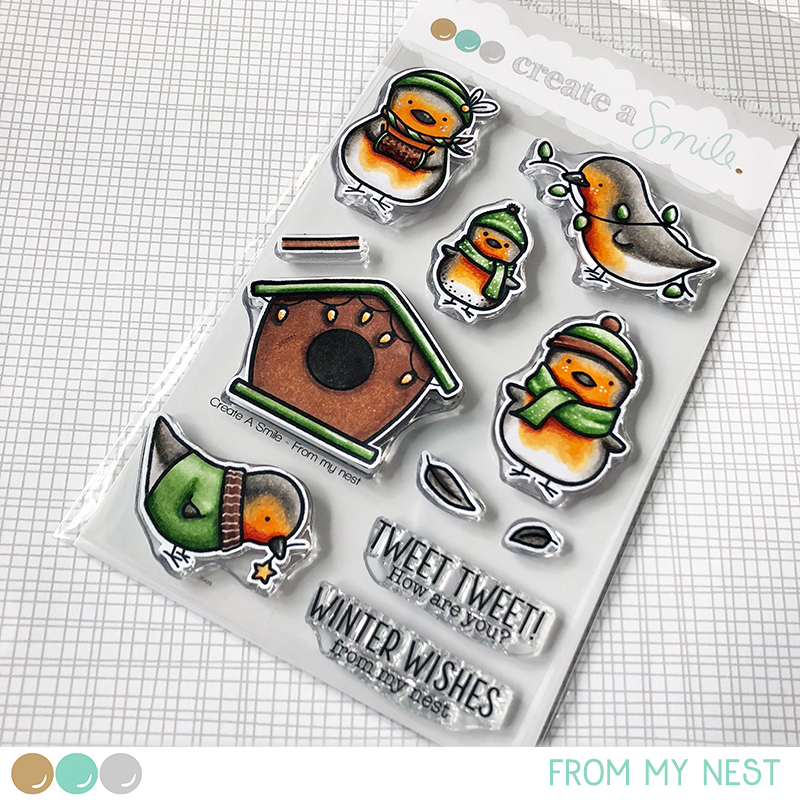
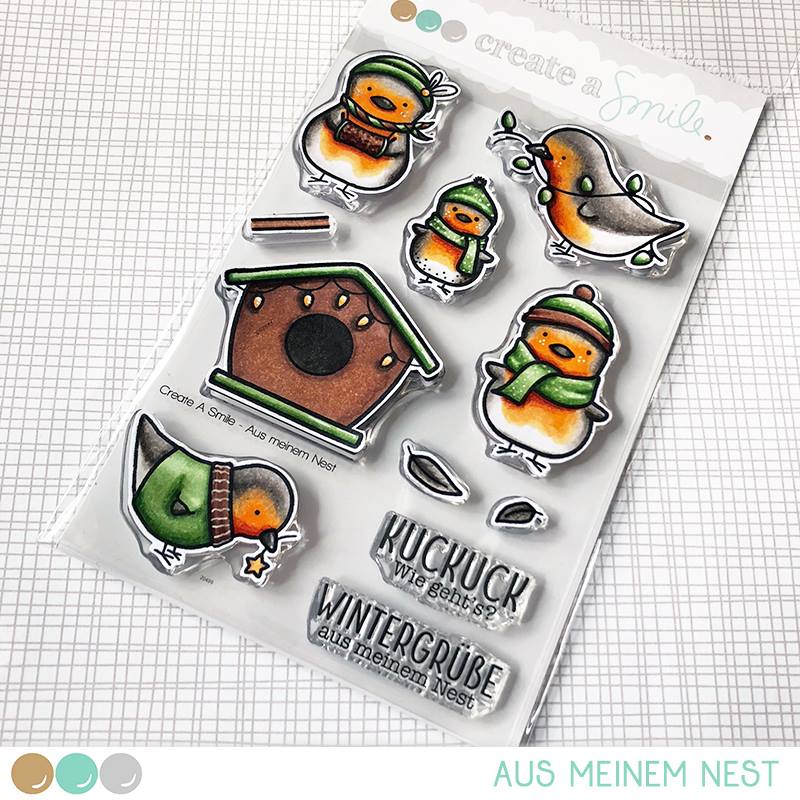
Aus meinem Nest (also available in English "From my Nest")


Mix & Match Patterns


We always love to see what you create! Join our fun challenges and show us your creations.

Thanks for stopping by!
Have a wonderful day,
Nicole


Saturday, March 16, 2019

Magical Sky

Hi everyone and welcome back to our creative space!
Raluca here with a brand new card showcasing one of the super adorable stamp sets from Create a Smile Stamps shop.


The moment that I saw this cute stamp set I just fell in love with it and couldn't wait to play with the adorable birds.


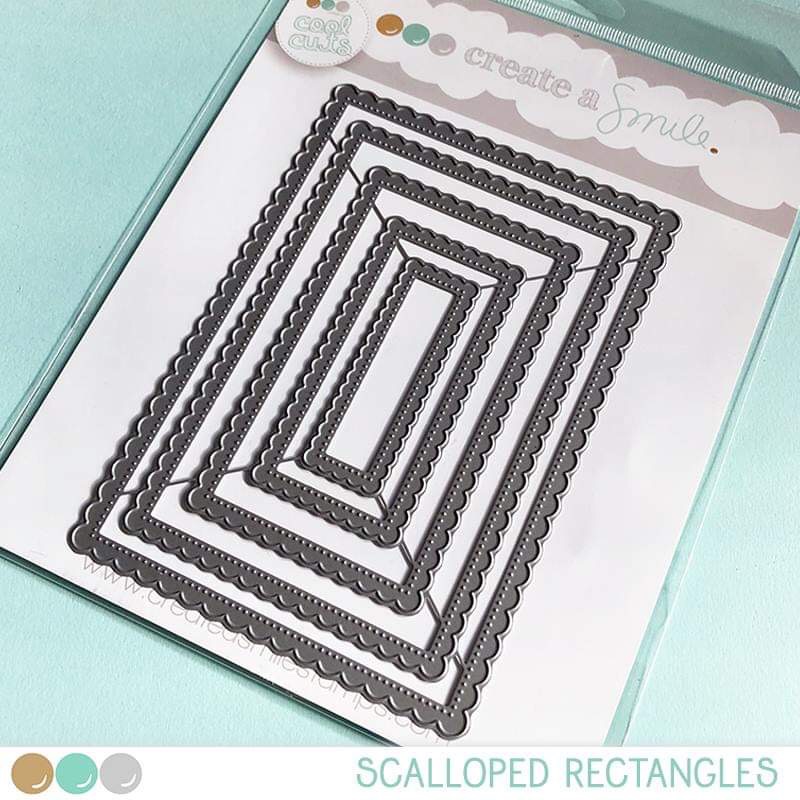
* First I die cut a panel from one of my watercolor backgrounds using the largest scalloped rectangle dies and then I die cut a panel from white cardstock using the same die.

* The white panel I die cut it again twice using a cloud die and mounted them on the upper part and on the bottom on the watercolor panel.

* I prepared a light grey card base and I adhered the panel on it.


* On a white panel I stamped the images for my card and colored it with Spectrum Noir markers.

* After the coloring was done, I fussy cut the images and mounted it on my card, creating an adorable magical sky scene.

* To add more interest to my card I white embossed the sentiment on a purple banner and mounted it on my project.

* I glued a few clear iridescent jewels and my card was done.


If you love Instagram like I do, you can follow Create A Smile using the name @createasmilestamps and if you have any questions about card making, techniques or products, if you want to share your creations with Create A Smile fans or if you want to participate in our monthly challenge join us on our Facebook group Create A Smile - Friends & Family :).

Have a lovely weekend!
Thanks for stopping by,
Raluca


Saturday, January 19, 2019

Tweet! Tweet!

 Hi everyone and welcome back to our creative space! 
Raluca here with a brand new card showcasing one of the new and super adorable stamp sets from Create a Smile Stamps shop.


The moment that I saw these cute birds I just couldn't wait to color them and create a card with an adorable bird family.


* First I die cut a panel from white cardstock using one of the scalloped rectangle dies and ink blended some clouds using a very light shade of blue.
* I prepared a pink card base and I mounted the panel on it using craft foam.


* On a white panel I stamped the images for my scene and colored it with Spectrum Noir markers.
* After the coloring was done, I fussy cut the images and mounted it on my card, creating an adorable sky scene.
* To add more interest to my card I die cut and adhered a few clouds under the birds, giving them support. 
* I stamped the sentiment, glued a few clear sequins and my card was done. 


Super easy and I had so much fun playing with these cuties!


If you love Instagram like I do, you can follow Create A Smile using the name @createasmilestamps and if you have any questions about card making, techniques or products, if you want to share your creations with Create A Smile fans or if you want to participate in our monthly challenge join us on our Facebook group Create A Smile - Friends & Family :).

Have a lovely Tuesday!
Thanks for stopping by,
Raluca


Wednesday, January 9, 2019

Birthday Surprise

Hello everyone! Chris here with you today and I hope you had a great start to 2019 - Today, I have a Birthdaycard to share with you, with the brand new Bird-Stamps.


I wanted to create a group/scene card for a while. The sweet little birds are great for that - it takes a litte time but I think it´s worth to give it a try.


  • for a card like this I prefer to create a "Dummy"  before I stamp it for my card 
  • (look at "Tipps & Tricks)
  • Things that are in the foreground are first stamped then masked - step by step - for masking you can use Post-it notes or masking paper.
  • This card I colored  the images with Distress Inks and for details used some Colorpencils and a white Pen.
  • cut out 2/3 of the "group" 
  • Background: Distress oxides (seedless preserves, spiced marmalade and fossilized amber).  
  • used the brand new Word-Dies "birthday", one in black/grey (to create a litte shadow) and one in white
  • glued down the "group" and arranged the sentiment and a little black label - that´s it :) 


A small "Dummy" on cheap paper is often helpful, like this one 


The super cute Birds "From my nest"  - "Aus meinem Nest" are stamps from the new Januar release  and available on friday 11th.

Thank you so much for stopping by and happy crafty time.

Chris