Showing posts with label Blossom. Show all posts

Saturday, January 4, 2020

[VIDEO] Watercolor your Stencil

Hello lovelies,

today I have a new video for you. I used this beautiful stencil in a different way... but first I'm showing you the final card


I wanted to use this wonderful stencil, but I also wanted to try something new


Here you can watch the Video in English


Hier ist das Video in Deutsch


This year Christine, the owner of create a smile, starts with workshops & stamp-meetings. You can find them in the shop :-)


Monday, May 21, 2018

You are wonderful (string art) ...........


Hello, it's Anja again with another card and a technique for you.


The last couple of days I came across this technique "String Art" on several places at the internet. And ofcourse I had to give it a try. It is really very nice and you will get great a great outcome. So I created a card with it.


First I rinsed some twine in a refill of an inkpad but you can use maybe alcohol inks or any other kind of ink.

 
I used two pieces of cardstock and layered them in an old phonebook or you can use a journal of some kind. Between those layers of cardstock I rolled up the twine.


Next you close the book and press it down with one hand with the other hand you pull the twine out of the paper layer.


And watch here the lovely result you got.

 
I cut one paper down to a cardsize and sponged a background with a stencil.
Cut out the word you four times and layered it and sponged the bottom with some ink.
White heat embossed the sentiment on a black strip of paper and adhered it to a topfolded white cardbase. To finish of the card I placed some waterdroplets.
 
 
Stamps;


Dies;
 
Stencil;


Don't forget to join in the fun over at the facebookgroup or here at the blog with our challenges. We love to see what you create.
 
Have a great week;
Hugs Anja


Sunday, April 29, 2018

April Release - Stencils Part 3

Hiiii!!! Last week, I've used the same stencil with a white background with the stencil coloured in black. So, I thought this week, I'd switch it around.

 Today, I'm using the Blossom Stencil! Here over to the store if you want to get it!


Firstly, make sure you swipe the card base with anti-static powder before doing a whole card base of embossing. Especially with black cardstock, it's really important to do it so that you can get a crisp outcome.

I've also used washi tape to hold down the stencil. This really prevents it from moving around while you smoosh down the versa mark ink! :) 


Last week, I've used pink as the pop of colour so I thought that yellow would go very well with the black and that Create A Smile has the perfect alphabet stick colour to match the sequins I have. 


Follow Create A Smile on Facebook keep yourself updates on all the happenings and if you're an Instagram addict like I am, you can follow Create A Smile using this name : @createasmilestamps ! :)

Mail Call : Christine is looking to decorate her office with your beautiful Create A Smile cards creation. Send your cards to Merremstr. 21, 47053 Duisburg, Germany.


Thanks for stopping by,


Sunday, April 22, 2018

April Release - Stencils Part 2

Hiiii!!! How many of you like using stencils? I do! But I don't experiment with it enough. Last week, I've attempted using Distress Inks but today, I will put them to rest and go for something, everyone will have, for sure!  

 Today, I'm using the Blossom Stencil! Here over to the store if you want to get it! 


If you guessed that I've used a black pen/marker for this, you're right! I've used my black Faber Castell marker pen to trace the stencil. Why did I choose to use this instead of say, black distress ink or anything similar? It's true that it would have been faster and even easier but I find that using a black pen or a marker with fine nib, gives you a starker black. And also,  I just wanted to give it a try :) So why not? 


Taking advantage of the stark black stencil, I choose to add bright pinks and purple to the card with sequins and die-cut. I really like this colour combination and it's one I have not done before. I'm looking forward to try more colour combinations that I have not used.


Follow Create A Smile on Facebook keep yourself updates on all the happenings and if you're an Instagram addict like I am, you can follow Create A Smile using this name : @createasmilestamps ! :)

Mail Call : Christine is looking to decorate her office with your beautiful Create A Smile cards creation. Send your cards to Merremstr. 21, 47053 Duisburg, Germany.


Thanks for stopping by,


Tuesday, April 17, 2018

Hello Blossom

Hi everyone and welcome back to our crafty space.Raluca here with a new card showcasing the gorgeous new "Blossom" stencil, along with the fabulous "Hello Twice" die set.


As soon as I saw this beautiful stencil I imagined how beautiful it would look in black.


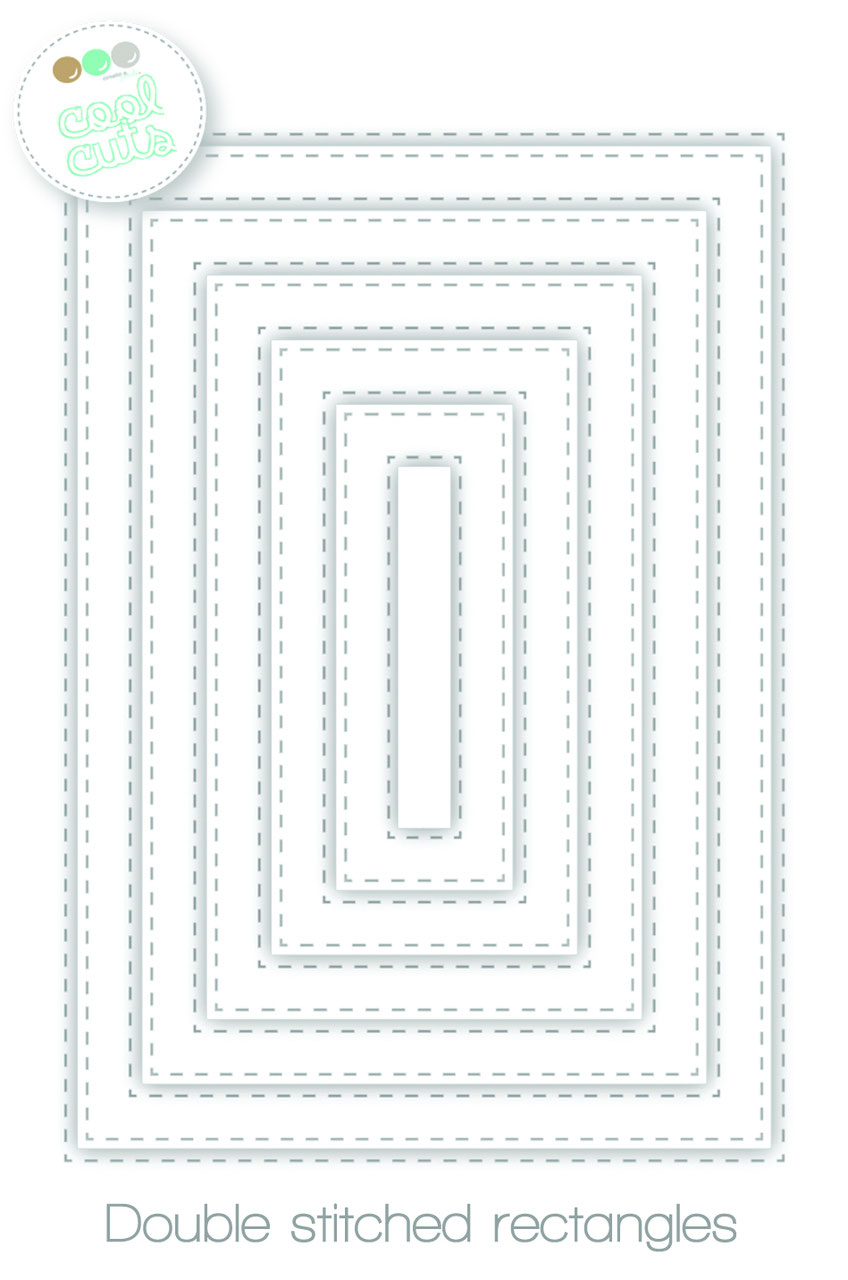
* I started my card by die cutting a white panel using the largest stitched rectangle.
* Using a black ink pad I ink blended the Blossom stencil in a corner of the panel.
* I die cut the hello die from black cardstock and the second hello die from gold holographic foil cardstock and glued them together.


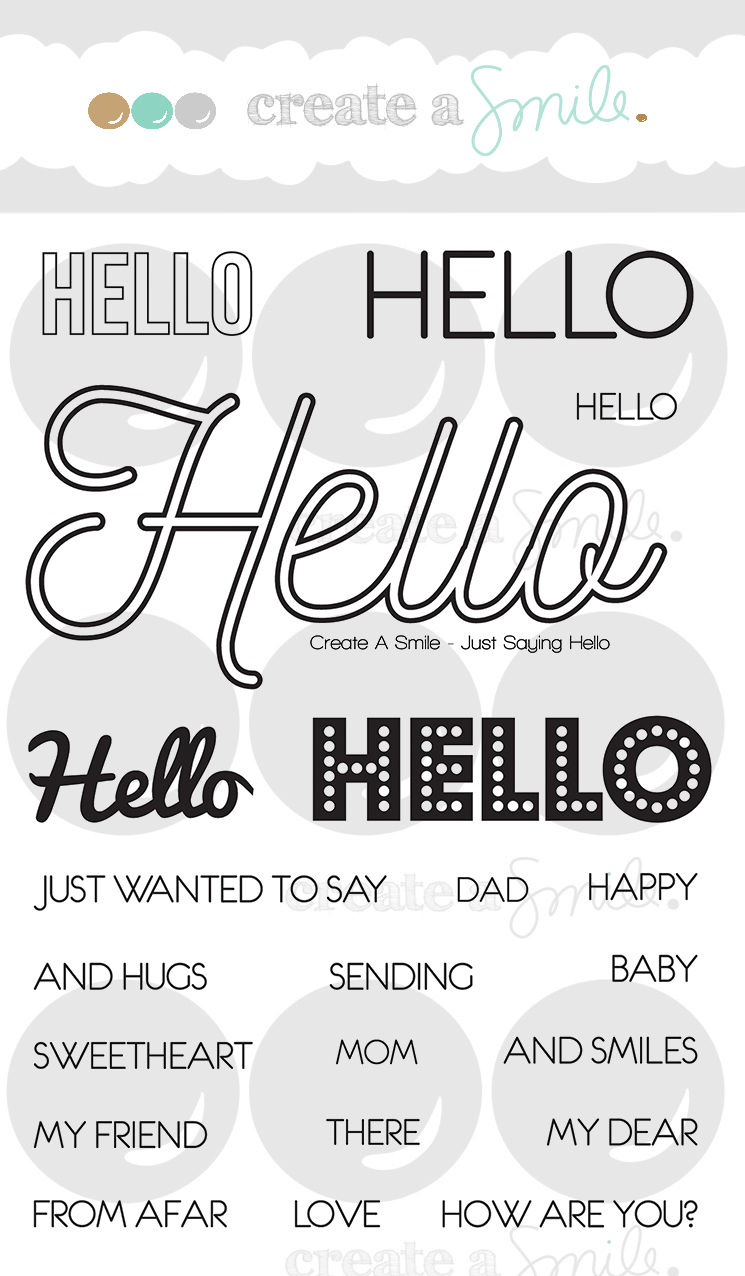
* I adhered the Hello word to the panel and stamped a second part to the sentiment using a stamp from Just Saying Hello set.
* I mounted the panel on a teal card base using craft foam.
* For a more colorful look I glued some enamel dots from different colors that go well with the teal from the card base and my card was done.
Fast, easy and beautiful result!!! Love it! 


If you love Instagram like I do, you can follow Create A Smile using the name @createasmilestamps and if you have any questions about card making, techniques or products, if you want to share your creations with Create A Smile fans or if you want to participate in our monthly challenge join us on our Facebook group Create A Smile - Friends & Family :).

Have a lovely Tuesday!
Thanks for stopping by,
Raluca

Thursday, April 5, 2018

See the full April release!


Hello crafty friends! 
Tomorrow is the day - we are release a whole bunch of fun new products - perfect for springtime!


We are releasing 2 new stencils, 3 standard size stamp sets and two mini stamp sets. And we are here to share the full release with you which will be available tomorrow (April 6th) at 10am CET / 4am EST.

We know you're here to see the full release, so here it is:

Standard size stamp sets:
• Lettering Alphas
• Bujo Basics
• Fun Flowers


Mini Stamp sets:
• Glaube an dich
• believe in you


Stencils:
• Petals
• Blossom


The design team enjoys playing with those new products a lot, so let's see what they made to inspire YOU <3

Ale Suta:

Are created wonderful soft cards using the blossom stencil (look at that soft blending!), believe in you and the fun flowers (I am totally in love with that emboss resist. I guess Ale is #teampink - as she created 3 wonderful, pink cards :)


Anja Curvers:
Anja used the Lettering Alphas and the fun flowers for her adorable springtime birthday-card. Her coloring looks amazing on those flowers!


Nicole Vögeli:
Nicole focussed on sentiments with these two cards: On the first one she stamped a Germany sentiment for her image from Coffee first using the Lettering alphas. Clean and Simple perfection! On the second one she used the Petals stencil to make the sentiment from Glaube an dich pop!


Marina Johan:
Marina took our her Bullet Journal and played with our Bujo Basics. Do you have a Bujo? It's so much fun to create your own pages! I love how she used the stars as a ranking for the books she read! And that spread for the films she saw? Super fun!


Raluca Vezeteu:
Look at all the amazing colors that Raluca used on her cards! O the first one she created a rainbiw with the Blossom stencil and added a sentiment with our new Lettering Alphas. So eye-catching!
On her second card she created a soft, yet powerful blend with the Petals stencil and used the banner from Bujo Basics for her sentiment. Awesome!


Samantha Mann:
Sam played with water on her cards. On the first one she created a wonderful background using Fun Flowers and added an embossed sentiment created with the Lettering Alphas. On the second one she used the Blossom stencil in such a unique way! <3


Christine Drogt:
I also created some fun inspiration for you:
On my first card I used a banner from Bujo Basics to leat the eye to a foiled sentiment made with Lettering Alphas. On my second card I moved the Petals stencil around while blending to create some more interest before I added the sentiment from Glaube an Dich. 
Finally, I have some Bullet Journal Spreads for you, using Lettering Alphas, Bujo Basics and Fun Flowers.


We hope you love the fun new products just as much as we do! You can grab them all tomorrow morning - yay! Thanks for leaving some love for our amazing, sweet and inspiring designers - we all appreciate it a lot!

Smiles