Showing posts with label Hello Twice. Show all posts

Tuesday, May 29, 2018

Hello Sweetheart!

Hi everyone and welcome back to our creative space! Raluca here with a brand new card showcasing the adorable "Dress Me Up" stamp set from Create a Smile Stamps store.


I love this stamp set and I wanted to play some with the Dress Me Up set.


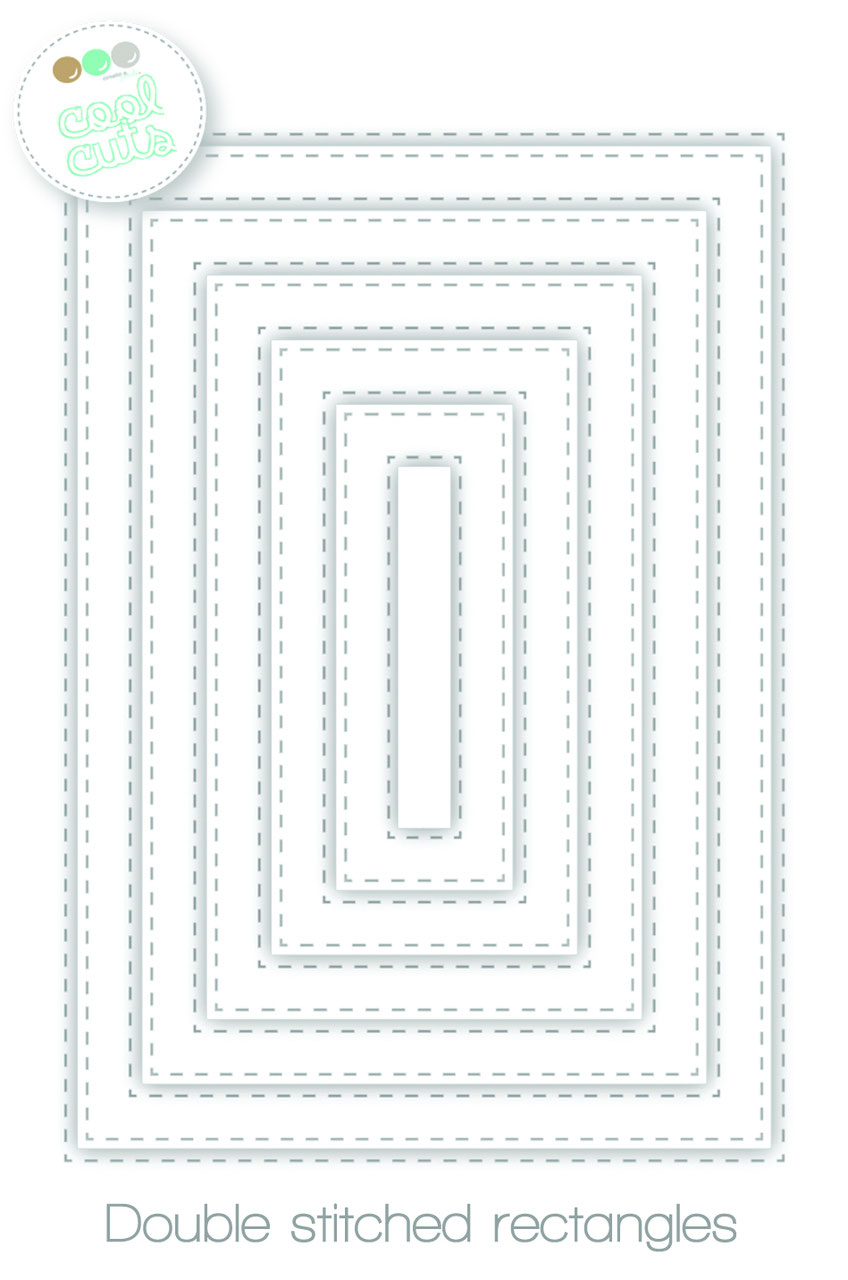
* I started my card die cutting a white panel using the largest stitched rectangle.
* I glued a strip of watercolor background and a strip of silver glitter cardstock on one side of the panel.


* Next I die cut the hello word die from holographic silver cardstock and mounted it to the panel.
* I stamped the second part of the sentiment below the hello word.


* I stamped the images, colored them with Spectrum Noir markers and fussy cut them.
* I glued the dress on the bear and mounted it on the panel.
* I glued a few sequins, adhered the panel to a white card base and my card was done.






If you love Instagram like I do, you can follow Create A Smile using the name @createasmilestamps and if you have any questions about card making, techniques or products, if you want to share your creations with Create A Smile fans or if you want to participate in our monthly challenge join us on our Facebook group Create A Smile - Friends & Family :).

Have a lovely Tuesday!
Thanks for stopping by,
Raluca

Tuesday, April 17, 2018

Hello Blossom

Hi everyone and welcome back to our crafty space.Raluca here with a new card showcasing the gorgeous new "Blossom" stencil, along with the fabulous "Hello Twice" die set.


As soon as I saw this beautiful stencil I imagined how beautiful it would look in black.


* I started my card by die cutting a white panel using the largest stitched rectangle.
* Using a black ink pad I ink blended the Blossom stencil in a corner of the panel.
* I die cut the hello die from black cardstock and the second hello die from gold holographic foil cardstock and glued them together.


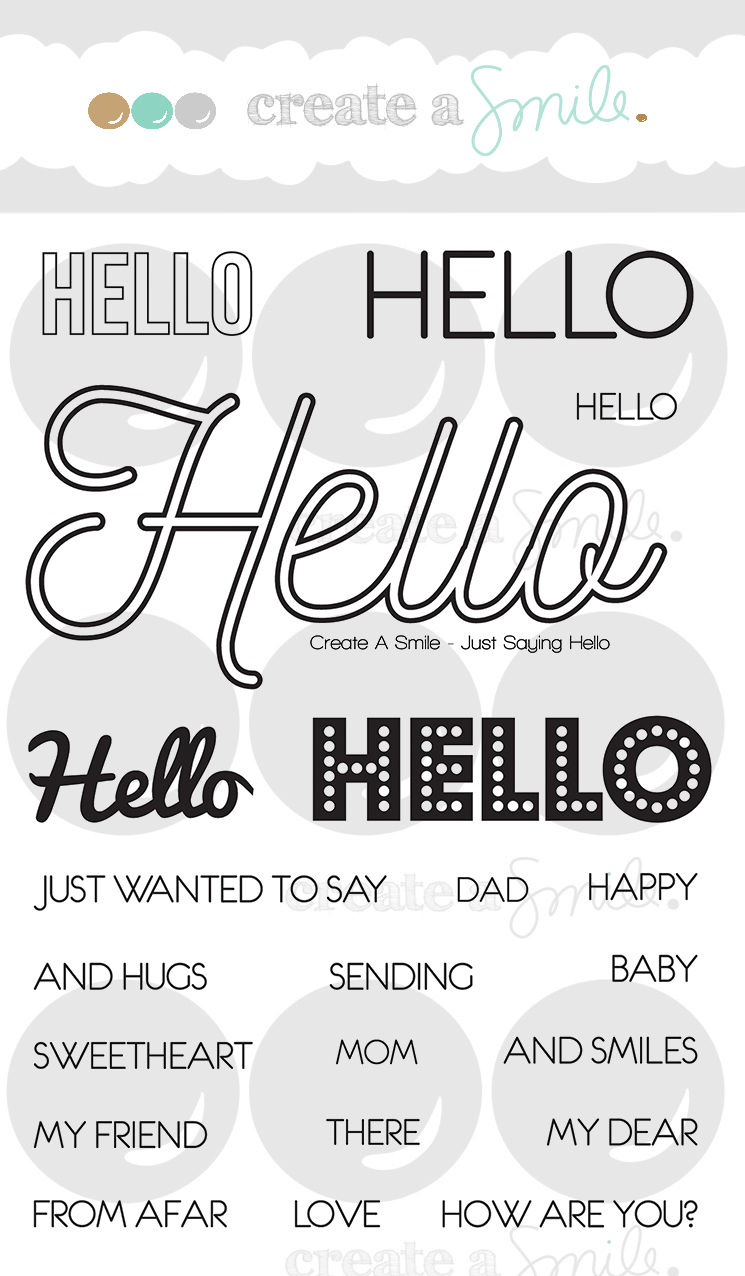
* I adhered the Hello word to the panel and stamped a second part to the sentiment using a stamp from Just Saying Hello set.
* I mounted the panel on a teal card base using craft foam.
* For a more colorful look I glued some enamel dots from different colors that go well with the teal from the card base and my card was done.
Fast, easy and beautiful result!!! Love it! 


If you love Instagram like I do, you can follow Create A Smile using the name @createasmilestamps and if you have any questions about card making, techniques or products, if you want to share your creations with Create A Smile fans or if you want to participate in our monthly challenge join us on our Facebook group Create A Smile - Friends & Family :).

Have a lovely Tuesday!
Thanks for stopping by,
Raluca

Thursday, March 22, 2018

clean & simple ideas 3/7 * smiling sentiments

Hello crafty people, Nicole here.

This is part three of my clean & simple cardmaking series about "how to spice up clean & simple cards".


I love making series and I asked what you would like to see on this blog in our Facebook group "Create A Smile Friends & Family". Many of you were interested in tips on "how to spice up clean and simple cards". So here we are :-)

Clean and simple cards are super fun but because there is so much white (or blank) space on them, you don't want them to be boring, right?! I try to add an eye-catching element to my cards to keep them interesting. I picked ten of my favorite ways to spice up clean & simple cards.

What's a clean & simple card? 
I made a mini series on that too. You can find part one here -> clean & simple 1/4


My third tip is SMILING SENTIMENTS. This means, let your sentiments shine, smile and be the star of the show. No critters or scenes are a fun way to keep your card clean and simple but interesting and fun. It's also a good way for masculine cards.

You can do so many things with your sentiments. Here are some older cards I made, using fun sentiments as a focal point.


 for the card on the top

  • us a more or less solid stamp and rainbow (dye) inks to stamp your background. To make the white sentiment pop, the stamped colors have to be close together.
  • die cut the word several times from white card stock and glue them together. I used Stick It to make this step a bit easier.
  • stamp the small sentiment on some black card stock and heat emboss it with white embossing powder. Cut it down to a thin strip of paper.
  • arrange your card and voila, you're done :-)

It's that simple ;-)

alles über dich - all about you / doppeltes hallo - hello twice / hocus focus


Create A Smile has awesome sentiment stamps and dies! Check out the "sentiments" section in the shop ;-)

Did you know, Create A Smile sells alphabet stickers in almost every color? You can create your own sentiments and personalized cards!


Thanks for stopping by!
Have a happy day :-)
Nicole

Tuesday, February 27, 2018

Hello, how are you?

I am sorry I forgot to post my card yesterday so one day late but here is my card for this week's inspiration.


I came across this technique the other day over at the blog from Stephanie Klauck, and loved to try it with the CAS supplies.


I used a topfolded white cardbase.
First I stamped the background and white heat embossed it. I used the stencil and made a Rainbow background. Cut the cardstock to fit my cardbase and adhered it. To make it even more pop I placed two small strips of black cardstock above and beneath my panel.
Diecut the hello word out of white and black cardstock and white heat embossed two feathers onto some vellum and cut them out.
Adhered everything to the cardbase and stamped the sentiment. To finish of the card I placed some enamel stickers.


Stamps;

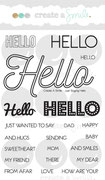
Just saying hello and Funcky feathers


Cling stamps;

Mandala;


Stencil;

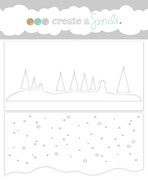
Winter day;


Cool cuts (dies)

Hello twice;


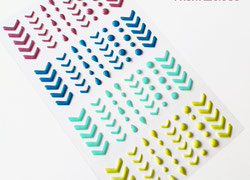
Enamel stickers;


You can use your stencils in different ways just look around and you will find different options to use them. Here I used them to create a nice striped background.
To make your diecut stand out at the background you can create a shadow by diecutting it once more out of some dark colored cardstock here I used black. Adhere your diecut slightly offset from the darker diecut.


We are having some nice challenges going on here and on Facebook so feel free to join in the fun. We love to see what you come up with.

Have a great week;

Hugs Anja