Showing posts with label Lights on!. Show all posts

Saturday, May 25, 2019

You Shine Beautifully

Hi there!
Samantha here, and today I am sharing a card that is happy and bright and ready for those warm summer nights!


I just imagine sitting outside with friends, on a warm summer night, and seeing these lights!


Let's make this card together!

- I started by stamping the 'strings' for the lights, so I would know where to place the lights.
- then I used a pencil to VERY lightly mark where each light bulb would be
- I then used those tiny marks to guide where to add the 'glow' of the yellow ink in a circle
- then I used Peacock Feathers and Blueprint Sketch to add the 'night sky' behind and around the glowing orbs


- then I splattered some water, and also white acrylic paint to create the starry night feel
- I stamped and colored the light bulbs with Zig Clean Color Real Brush Markers and then fussy cut out the images
- a few of the light bulbs were popped up with foam tape
- glitter was added to the light bulbs with some clear stickles



I used Distress Oxide Inks to ink blend my background, but I really think that the original Distress Inks may have been a better choice! The Oxide Inks are soooo easy to blend with, but I think because they are so easy to blend, it's harder to control...that's my opinion, anyway! Ha!


This stamp set is so pretty, and so versatile! I used the beautiful Lights On! stamp set!


There is ALWAYS a fun challenge going on in the Create a Smile Stamp Facebook group page! It's fun and filled with prizes! I love seeing all of the incredible, unique and amazing inspiration!

Wednesday, June 20, 2018

We dare you to create a smile - Mood board

Hello everyone!


I can't believe how fast time is flying by when you have fun! Is almost 6 months since we started '' We dare you to create a smile '' challenge and boy! we had fun and lots of inspiration along!

As you may know we are going to have a new challenge team starting next challenge , but I really wanted to take a moment and say a big Thank you to the current team! I had such an amazing time with these fabulous ladies <3 they are incredibly talented and such good friends! Thank you for making this challenge so much fun my lovely friends I will sure miss you .

Now let's see the theme for this challenge! Yay! Mood board ! Christine created this stunning mood board that is so awesome!


Can't wait to share with you what our design team created !

Alexandra made this card using Fun flowers stamp set  , Cool cuts Hello Twice , Scattered hearts stencil


Chris created this gorgeous card using In Bloom stamp set Nur mal hallo sagen stamp set


Galina created this beautiful card using Unfrogettable stamp set


Kaja made this awesome card using Served up! stamp set , Just because stamp set


Laura created this adorable card using Lights on stamp set , Where your heart is stamp set and she also created a video 


Nicky made this beautiful card using Where your heart is stamp set


Hope you got inspired to play along with our challenge! Please take a moment to read the rules which are posted below


Thank you for stopping by today! Have a great day! 


Friday, January 12, 2018

It Dawns on Me Card!

Hi there!
Samantha here today, and I'm sharing a card with a night sky! :)


I am in LOVE with this sweet, encouraging set. And the mason jar lamps are SO cute!! I had to make them shine!


Let's make this card together!

- stamp and color your image! I colored my image with Zig Clean Color Real Brush Markers!
- once they're dry, fussy cut out!
- add a thin layer of glitter to the edges of your jars (I used Stickles!)


- get ready to ink blend your heart out! Ha! I used Wilted Violet, Blueprint Sketch and Peacock Feather Distress Inks for the sky. And Squeezed Lemonade and Mustard Seed for the light! - then I splattered some water and ink color on top of the ink blending!
- I heat embossed the sentiment in black
- lastly, I added some foam tape to the jars for some dimension!


You could easily make this a one layer card! Instead of stamping and fussy cutting out the mason jar lamps, you could stamp them directly on the card and mask them off! Easy!


I used the super pretty and delicate Lights On stamp set!


The Create a Smile Friends & Family Facebook group has challenges!! Check out all of the rules and themes here! Hope to see you play along! :)


~Samantha


Sunday, October 22, 2017

Floating Lanterns

Hey everyone from everywhere in the whole :) How is everyone? I hope you had a great week and having an even better weekend. October is ending soon and end of the year festivities are coming up. With that, I've decided to share a little card that you can recreate for the holidays coming up with minor colour changes (if you want).


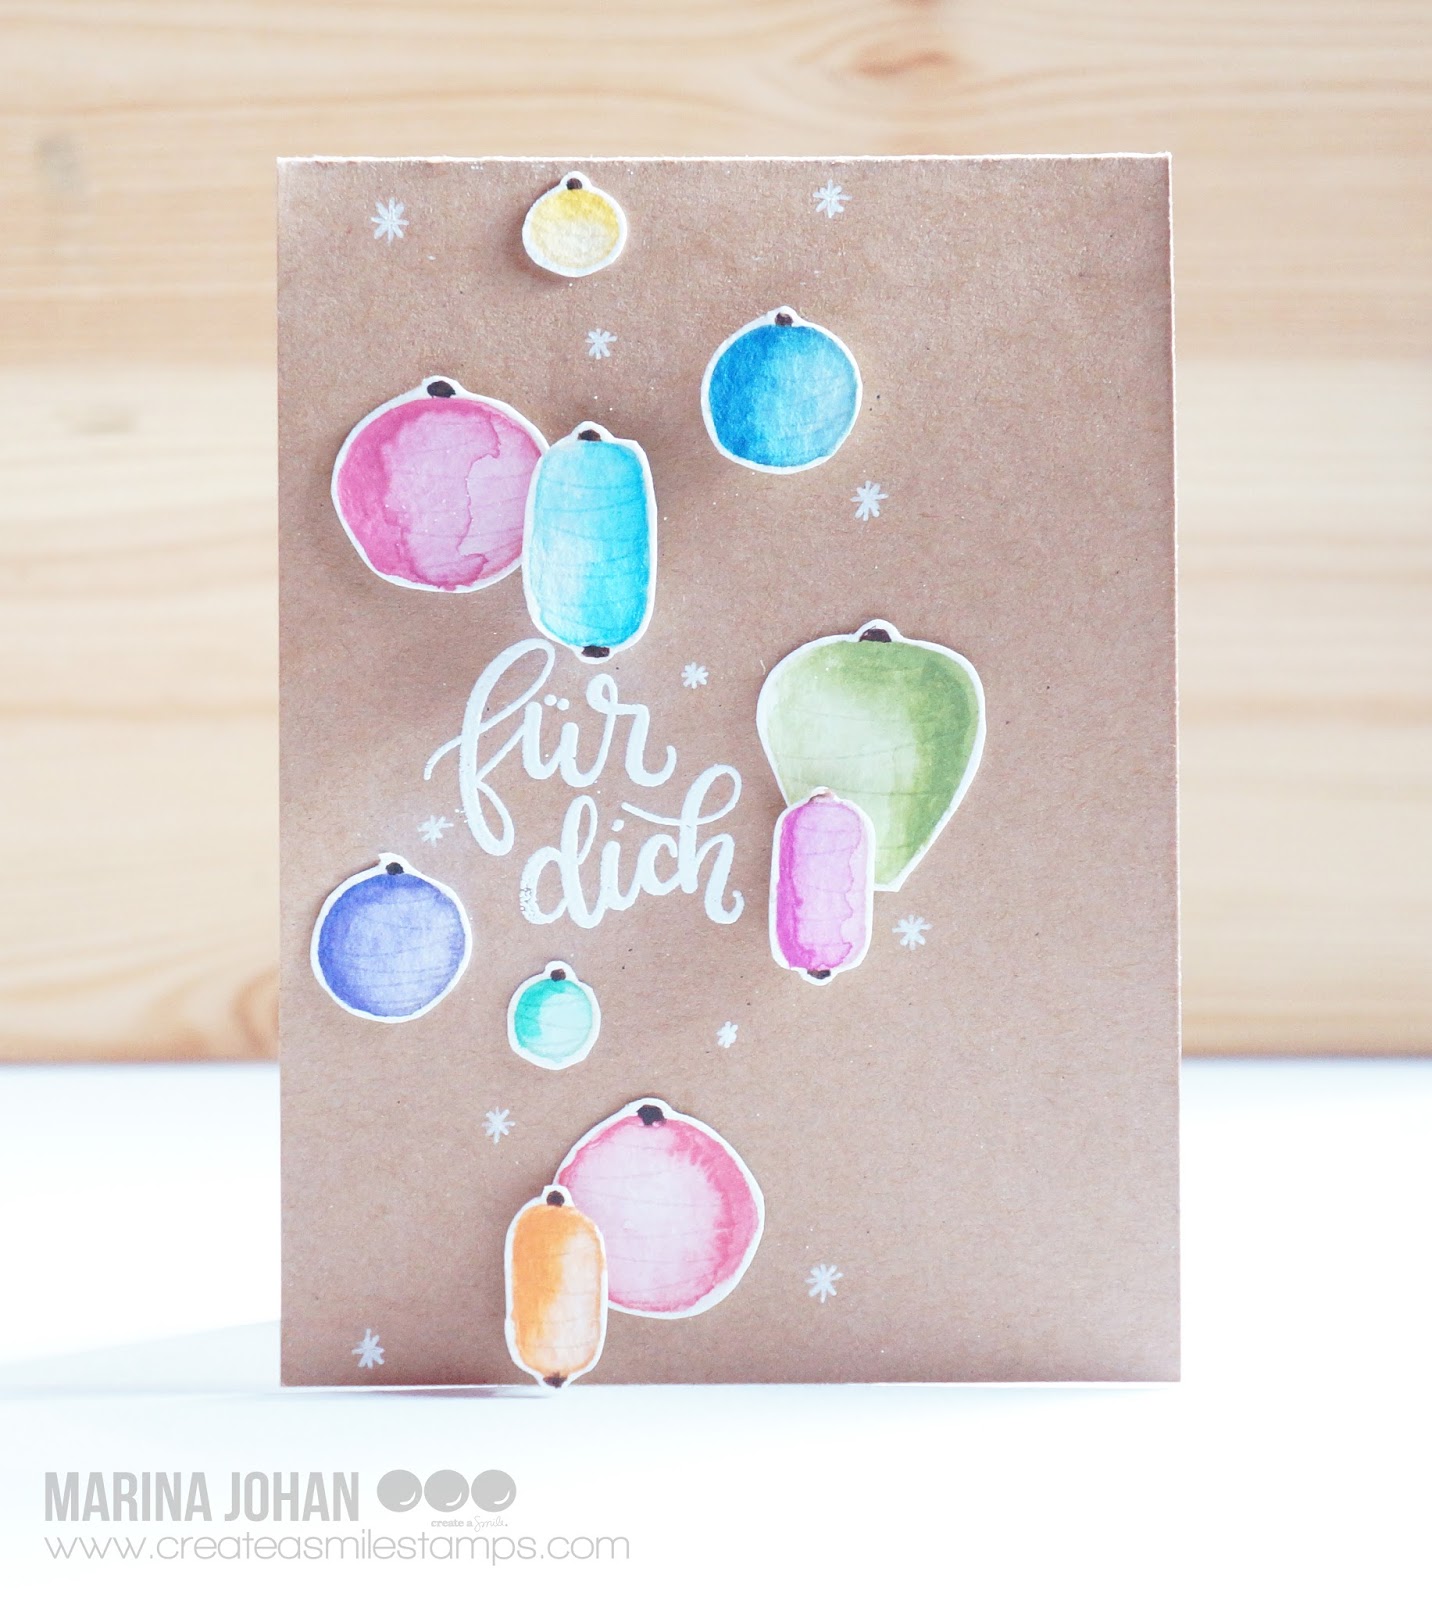
This card started by stamping as many lanterns as possible on a separate watercolour paper and colour them in with Distress Ink Markers. Next, I've stuck them on a kraft cardstock, mainly focusing on the left side. Some of the lanterns are stuck down directly and some of them are on 3D stickers :) 

I hope this looks like it's just floating down the card :) Using a white pen, I've drawn some sparkles on the card to make some "twinkle". 


Distress Ink Markers
White Pen

Follow Create A Smile on Facebook keep yourself updates on all the happenings and if you're an Instagram addict like I am, you can follow Create A Smile using this name : @createasmilestamps ! :)


Thanks for stopping by,

Sunday, October 1, 2017

Keep The Lights On

Hi everyone! I thought today I'd take a break from florals (was hard to stop using the floral stamps) and use some cute animals stamps. What type of stamps can you not get away from?


First, I've die-cut a stitched rectangle to place at the top of the card base. Then, I traced lightly with a pencil where the rectangle opening would be so that it would give me an idea where to stamp the images. 

I've used Antique Linen (Distress Ink) to stamp the images so that I can achieve the no-line effect. Trim away the edges of the top panel that's sticking out and added some stickles to parts of the cards.


Antique Linen - Distress Ink
Prima Watercolours
Archival Black Ink


Follow Create A Smile on Facebook keep yourself updates on all the happenings and if you're an Instagram addict like I am, you can follow Create A Smile using this name : @createasmilestamps ! :)


Thanks for stopping by,

Tuesday, September 26, 2017

Happy Halloween!

   Hi crafty friends and welcome back to our crafty space. Raluca here with a new card showcasing a few amazing products from Create a Smile Stamps.


   I don't know if you saw Francine's card from our Comeback Party, but I loved what she has done with the lantern, turning it into a Halloween lantern! 
   So I decided to make a card with more Halloween lantens :)


   First I prepared two white panels die cutting them using the largest stitched rectangle. On one of them I stamped in VersaMark the Skulls cling stamp and white embossed it and I added 3 Distress Inks using the emboss resist and ink blending techniques. Then I cut the inked panel smaller and adhered it on to the base panel.
   Next I stamped, colored and fussy cut the lanterns using orange and yellow colors. After I was done coloring, I added the googly eyes and draw on each a little nose and a smile. I mounted them on to the panel and stamped above them a string from the set. 
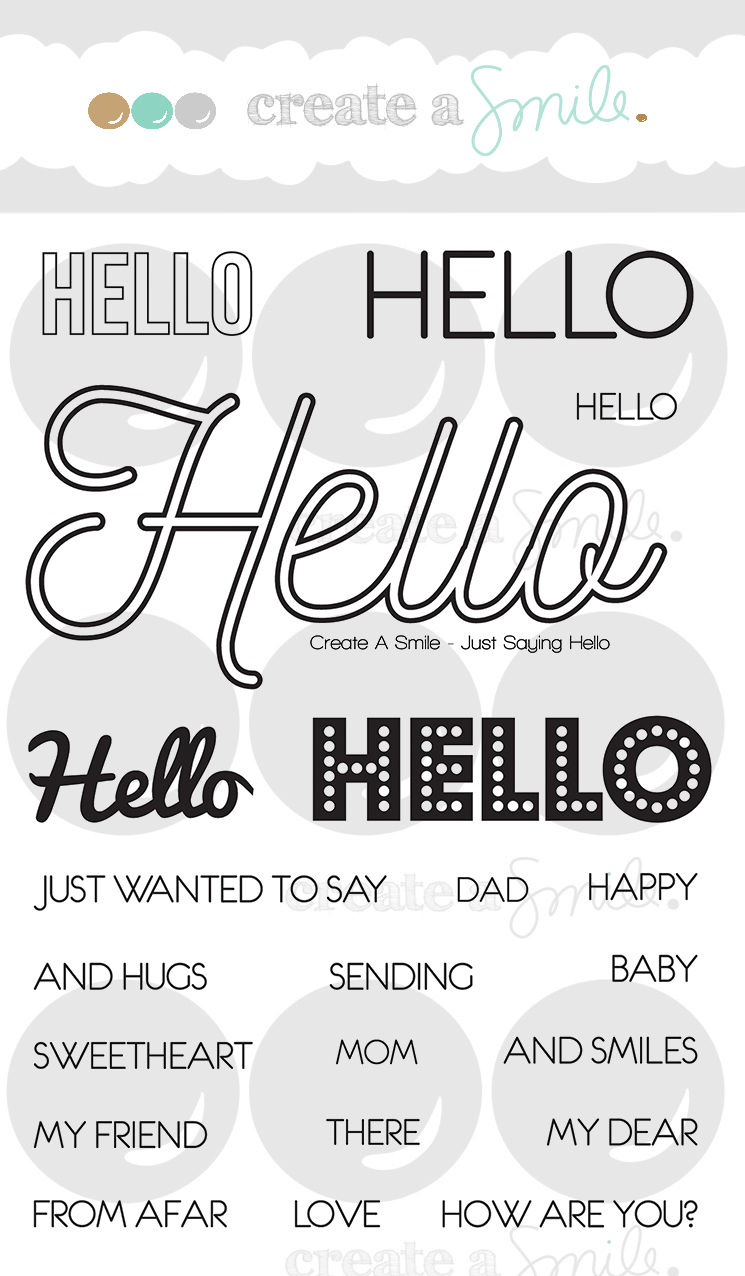
   For the sentiment I stamped a happy from the "Just saying Hello" set and formed the "Halloween" word using purple alphabet stickers (have you seen the collection of alphabet stickers that Christine carries in the shop?). 
   And my card was done. It was quite easy to make and I had a ton of fun creating these Halloween lanterns (thank you Francine for your clever idea!).


Skulls


   If you love Instagram like I do, you can follow Create A Smile using the name @createasmilestamps and if you have any questions about card making, techniques or products or if you want to share your creations with Create A Smile fans join us on our Facebook group Create A Smile - Friends & Family :).
   Have a lovely Tuesday!
   Thanks for stopping by,
   Raluca

Friday, September 15, 2017

To Brighten Up Your Day!

Hi there!
Samantha here with you, sharing a fun card! Well, I think so, anyway!


I couldn't resist using those new little light bulbs any longer!! And the paired with that sentiment, those images are just perfection together! 


Shall we get into making this? Let's do it!
- stamp and color your images, then fussy cut out (I used Zig Clean Color Real Brush Markers to color my images
- add foam tape to the coffee cup


- on your white cardstock, draw light dots with pencil where you want your light bulbs to hang.
- then add some the yellow watercolor 'glow' in those areas
- once dry, adhere down your lightbulbs and draw your wires in with a ruler and black pen
- stamp the sentiment and add the coffee cup, too!


You could turn this card into a one layer, with a little bit of masking! It wouldn't be hard, and then you don't even have to worry about mailing it! :)


I seriously  LOVE those little light bulbs from Lights On! And there are two sizes - bonus! The sentiment is from the cute Glowing Seaside stamp set! And you guessed it! The coffee to go cup is from Coffee First! 


Did you know there are card kits available in the shop!? Yes!!! There are letter stickers, enamel shapes, stamps, dies and stencils in each one!! Check them out here!

~Samantha