Friday, January 12, 2018

It Dawns on Me Card!

Hi there!
Samantha here today, and I'm sharing a card with a night sky! :)


I am in LOVE with this sweet, encouraging set. And the mason jar lamps are SO cute!! I had to make them shine!


Let's make this card together!

- stamp and color your image! I colored my image with Zig Clean Color Real Brush Markers!
- once they're dry, fussy cut out!
- add a thin layer of glitter to the edges of your jars (I used Stickles!)


- get ready to ink blend your heart out! Ha! I used Wilted Violet, Blueprint Sketch and Peacock Feather Distress Inks for the sky. And Squeezed Lemonade and Mustard Seed for the light! - then I splattered some water and ink color on top of the ink blending!
- I heat embossed the sentiment in black
- lastly, I added some foam tape to the jars for some dimension!



You could easily make this a one layer card! Instead of stamping and fussy cutting out the mason jar lamps, you could stamp them directly on the card and mask them off! Easy!


I used the super pretty and delicate Lights On stamp set!


The Create a Smile Friends & Family Facebook group has challenges!! Check out all of the rules and themes here! Hope to see you play along! :)


~Samantha


Thursday, January 11, 2018

clean and simple baby card

Hello crafty people, Nicole here.


Have you seen the news?! We have a fun challenge going on on our Facebook group! And the topic inspired me to make this "clean and simple" card.

  1. stamp your image, color it and cut it out
  2. create a simple background using Distress Inks and a blending tool. I created my owl stencil with some Sticky Notes
  3. stamp your sentiment using a matching ink color
  4. add your image to your panel with some foam tape
  5. since I really wanted my card to be very clean and simple, I just added some Glossy Accents on the little heart and nothing else


Chose one fun image as your focal point and leave the rest quite simple. This really makes your critter the star of your card and creates this "clean and simple" look.


Lovely Critters / Glück ist


... to join the fun! Check out the FB Group "Create A Smile Friends & Family" 
Thanks for stopping by!
Let's create SMILES 😀😀😀


Wednesday, January 10, 2018

Having Fun In The Ferris Wheel

Hey stampers, Anni here!

Today I am back sharing a card featuring the set Gute Aussichten / A Friendly Turn.


Does that happen to you, too? Christmas is over and you haven't used all these super cute winter themed stamp sets? Well, it happened to me. Gute Aussichten / A Friendly Turn was one of these sets. So I decided to make a card for a friend who's birthday is in January.


  • Die cut a tag from white alcohol marker friendly paper.
  • Stamp the ferrris wheel on it and color it with alcohol marker - also colour the background.
  • Stamp the ferris wheel another time on a die cut rectangle, this time not in black but in a more subtle colour.
  • Stamp the sentiment as well on the rectangle.
  • Add the name of the birthday girl (or boy) under the sentiment.
  • Assemble the card and add some sequins.


Follow Create a Smile on Facebook and Instagram to get all the news!


Clear Gute Aussichten         


Tuesday, January 9, 2018

You're Unfrogettable!

Hi everyone and welcome back to our crafty space.
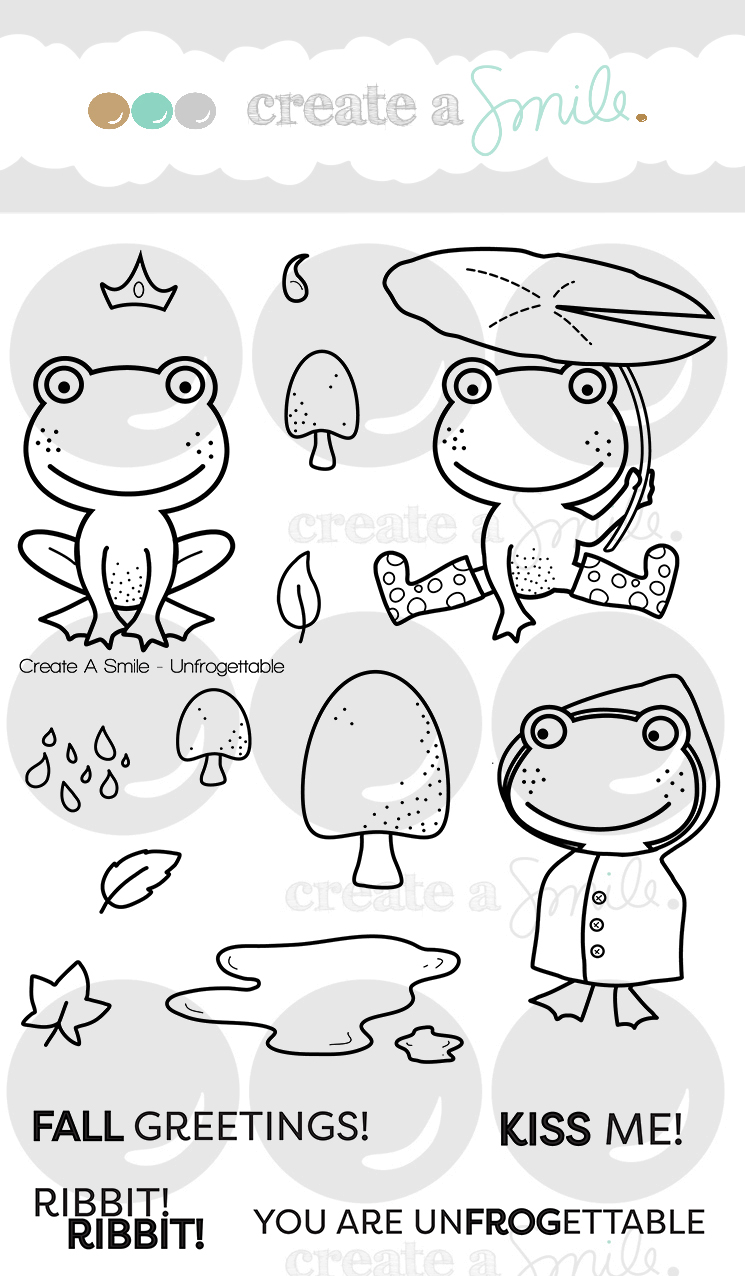
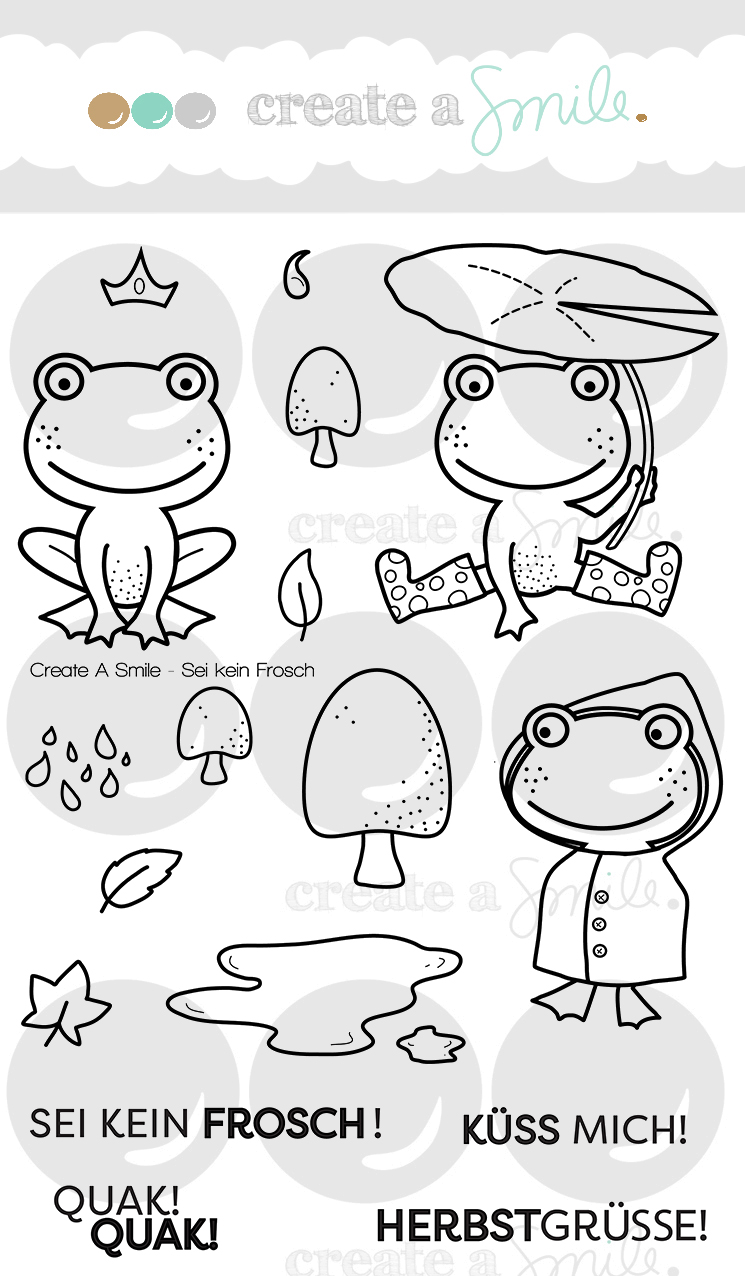
Raluca here with a new card showcasing the absolutely cute "Unfrogettable" stamp set.


Sometimes I just feel the need to create something cute and funny and this is the perfect card to give to a close friend.


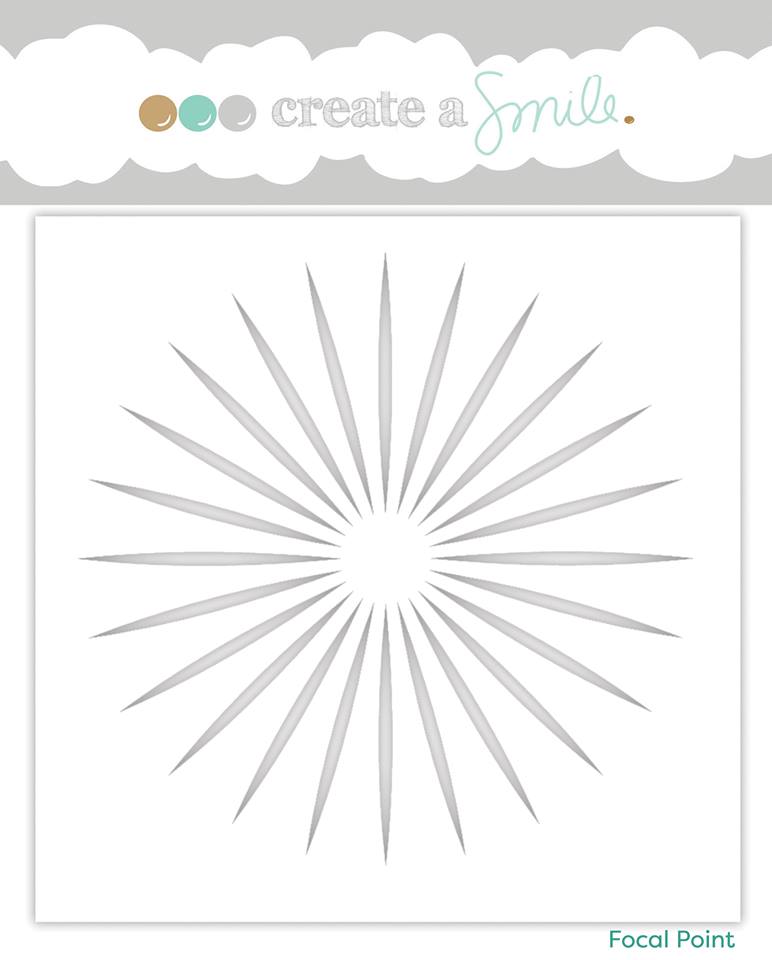
* Using the awesome "Focal Point" stencil I created the perfect scene for the king frog. 
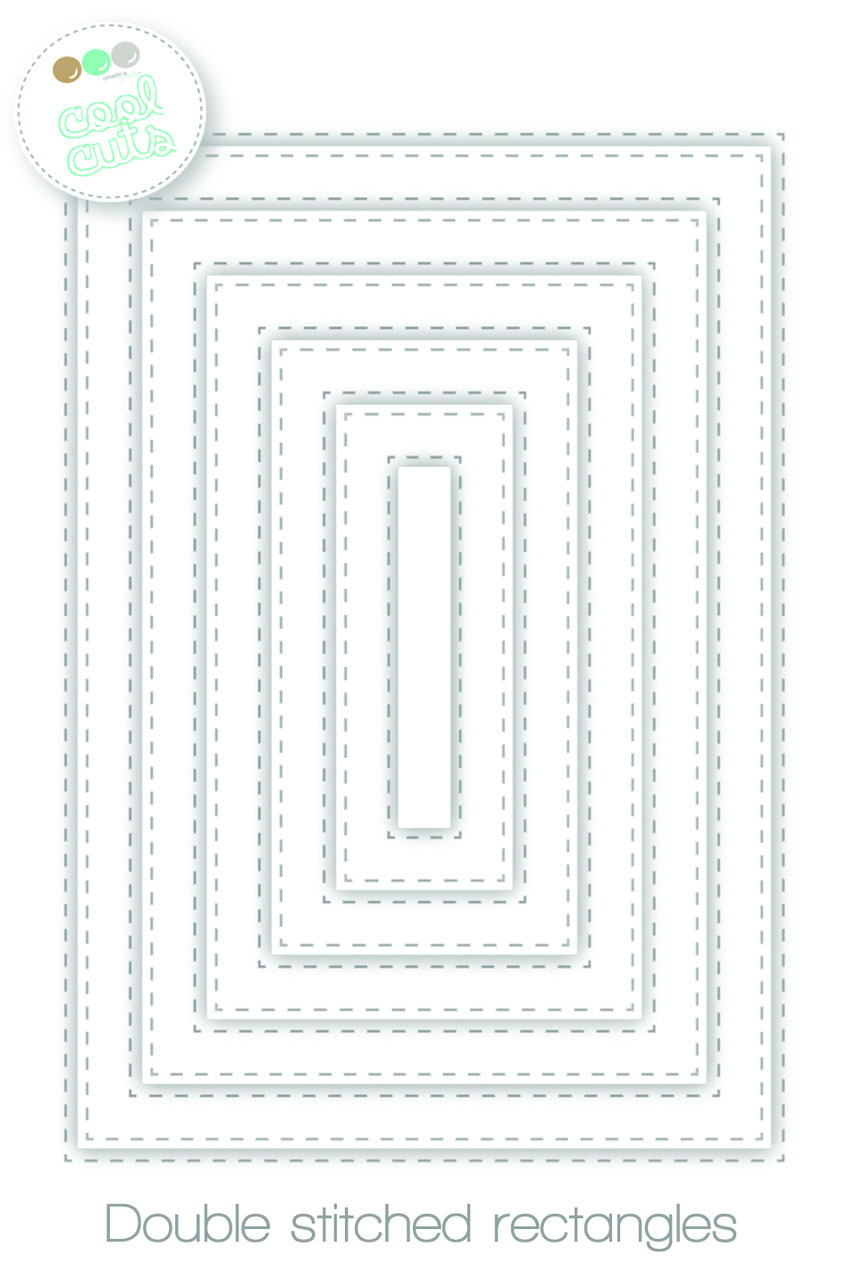
* I die cut the panel using the largest stitched rectangle.
* I stamped and colored the images with Spectrum Noir markers.
* After I fussy cut the images I mounted them on the panel using foam tape. 
* I white embossed a sentiment on a yellow strip of cardstock and mounted below the frog.
* I glued a few clear sequins and mounted the panel on a light grey card base and my card was done.


Quick, easy and super fun result. What do you think?


Pretty Pink Posh Sparkling Clear Sequin MIX


If you love Instagram like I do, you can follow Create A Smile using the name @createasmilestamps and if you have any questions about card making, techniques or products or if you want to share your creations with Create A Smile fans join us on our Facebook group Create A Smile - Friends & Family :).

Have a lovely Tuesday!
Thanks for stopping by,
Raluca

Monday, January 8, 2018

Hooray!!!!!!!

Hello here is Anja again with another card for you in this new year.
I hope you all had some great holidays and are eager to create again, so happy new year and may it be a very creative one.


First I wanted to make a christmascard for my stash since I got very stressed at the end of 2017 when I realized how many cards I still had to make. So for this year I am gonna make at least one christmascard a week. But when I finished the background and took out the monsters I thought it would make a great birthday card so here it is.


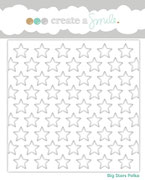
I started with the background using the star stencil and the stars stamp. Cut a strip of green cardstock for the sentiment and placed it upon a strip of patterned paper. Stamped the images and copic colored them.
Adhered everything to the panel and adhered that to the cardbase.


Stamps;

Beast feast, Season's greetings, Decorated wishes mixed add-on and Monsterparty.


Stencil;

Big star polka.


Cool cuts ( dies);

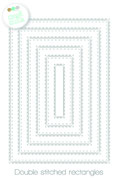
Double stitched rectangles.


Patterned paper;

Sending Sunshine


Sometimes you have to think out of the box and look at your stamps in a different way so you can use christmasstamps also for a winter theme or like here in combination with other stamps for a birthday card.
You can either make your card very colorful but for this card I choosed only two colors which gave the card a more clean and simple look.


Have a great week,

Hugs Anja

Sunday, January 7, 2018

Happy Shiny New Year

HAPPY NEW YEAR EVERYONE!
I'm really excited to this year because last year was loads of uncertainties and the dust has finally somewhat settled and I'm ready to polish up all my crafty side and make them better this year.

Firstly, I thought of trying a new style (for me) of photographing my card. This is my first time doing a proper flat-lay of my card. What do thing? Do you like it? I had fun doing this style and I would like to continue. 

Anyways, let's get to the card chatters. I've started out with a shiny card for the first card of the year.  


With the Big Stars Polka stencil, you can easily cover the entire card base to create your own background. Of course, you can "colour" in the stars using various medium but I've decided to go bold & gold with the Ranger Gold Embossing Powder. I find that kraft card stock & gold embossed images are such a classic combo. 

To bring the attention to the sentiment, I've decided to keep them simple and black. Simply with the use of the Just Saying Hello stamp & the alphabet stickers, I could make the message quick and easy. Finished the card of with a couple of dots using the Ranger Enamel Accents in white. 


Follow Create A Smile on Facebook keep yourself updates on all the happenings and if you're an Instagram addict like I am, you can follow Create A Smile using this name : @createasmilestamps ! :)

Mail Call : Christine is looking to decorate her office with your beautiful Create A Smile cards creation. Send your cards to Merremstr. 21, 47053 Duisburg, Germany.


Thanks for stopping by,