Showing posts with label Santa Clumsy. Show all posts

Saturday, November 28, 2020

Whoops! Santa Was Clumsy!

Hi there!
Samantha here, and today I am sharing a Christmas card that should make you laugh!


See? I told you it was silly!! Poor Santa got stuck!
Every year I have to make a few 'belated' style Christmas cards - you never know when life will get in the way, and I'll be late sending them! Ha!

Let's make this card together!

- I started by using the Basic Ovals Stencil as the background of my card! I used Distress Inks in Chipped Sapphire, Mermaid Lagoon and Cracked Pistachio to ink blend the colors of the sky!
- Then I splattered some water and white acrylic paint on top!
- Next, I moved on to the images! I stamped them all, and colored them with Zig Clean Color Real Brush Markers
- Once everything was dry, I fussy cut them out!

- I heat embossed the sentiment onto a strip of black cardstock, and then trimmed it to look like a banner!
- I also used white embossing paste and the beautiful snowflake stencil to add texture to the background!


I used the stencil to create the Oval shape for the sky, but the stencil is so versatile that you could use the Mask shapes of the stencil, and ink blend in all areas except the oval! That would be a fun twist on the scene!


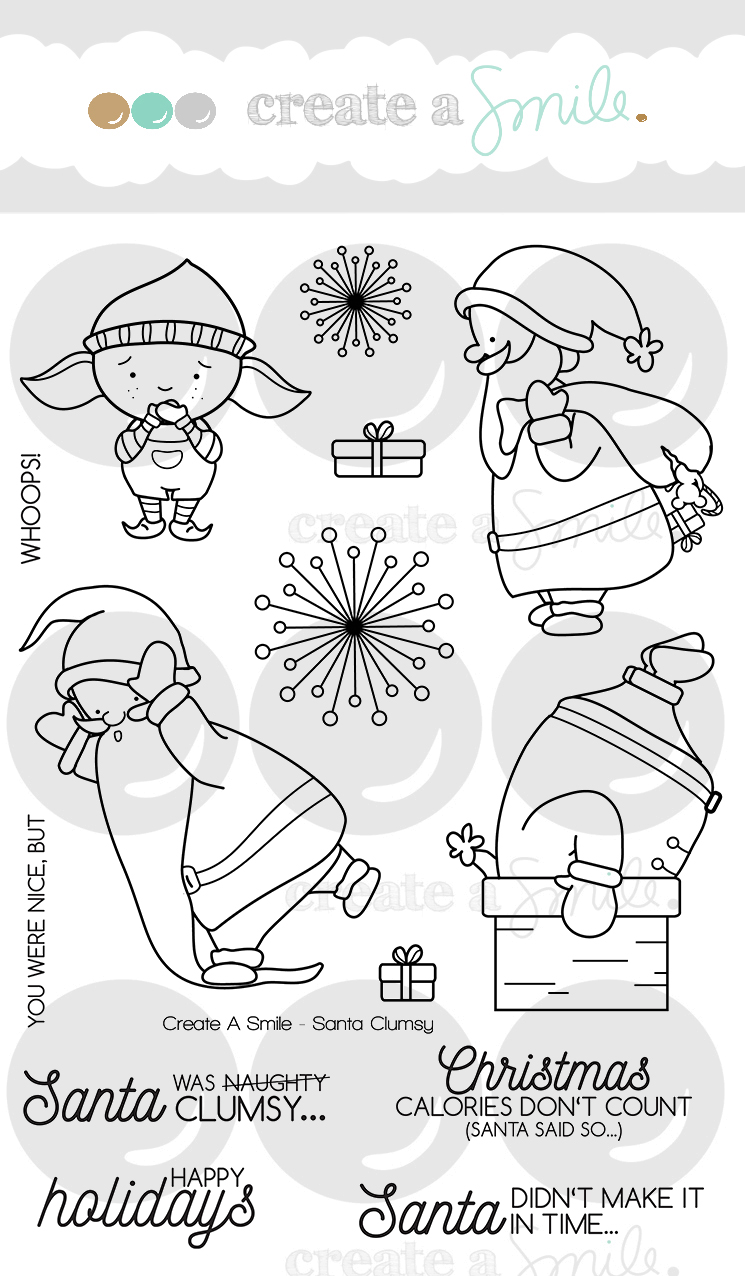
That beautiful snowflake stencil is from the GORGEOUS Frosty Fun Kit! I used the images from the hilarious Santa Clumsy stamp set! And for the background, I used the super versatile Basic Ovals stencil!


There is ALWAYS a fun challenge going on in the Create a Smile Stamp Facebook group page! It's fun and filled with prizes! I love seeing all of the incredible, unique and amazing inspiration!
 
~Samantha


Wednesday, November 11, 2020

Trio of Friends Using Masking!

 Hello, friends and welcome back! Laurie with you today to share a winter themed card featuring a trio of cold weather buddies!


I enjoy masking but it has to be simple. I'm not into creating complicated scenes although I'd like to try some day! I wanted to create a little winter scene featuring a trio of friends.


I started by stamping out the image that I wanted to be in the "front" of the scene. In this case, it was the large penguin from the Cool Buddies Stamp Set. I then stamped it again onto some masking paper.


I placed the mask over top then added my next stamp. I chose the crazy, cute walrus from Big Surprise. I also created a mask for him. After placing the mask on the walrus, I stamped the smaller penguin also from the Cool Buddies Set.


You can see how placing these simple masks create one solid image.  This is how the trio looks cut and coloured.


To create the background for my card, I white, heat embossed some snowflakes onto a white card panel. These came from the Cool Buddies Set as well as the Clumsy Santa Set. Over the top of the snowflakes, I used a combination of Spun Sugar and Tumbled Glass Distress Inks.  I wanted to switch things up and add some pink to the sky!


I had a snowbank cut from white cardstock on my desk already, so I decided to use it here.  Before putting everything together, I stamped the sentiment on the lower, right corner of the snowbank. I used quite a bit of foam tape on this card because I love having dimension of my cards.


If you're new to masking, I suggest you start with a simple project like this. Always remember, the image you want in front of your grouping, needs to be stamped first. This is a big tip and one I forgot to do on this card... if you want to add a hat to an image, you have to stamp that first! Because it's sitting on top of the head, it is in front. 


Another tip for winter cards is glitter! I love adding glitter (in this case, Stickles), to add the glisten of snow!


CAS is putting on a 10 Minute Christmas Card Challenge!! What a great way to get those Christmas cards done, right!! Visit the Create A Smile Instagram Page for the details and if you participate, use the hashtag #10minchristmascard!


Thank you so much for stopping by and happy card making!!

Laurie


Saturday, December 15, 2018

Santa didn't make it in time!

Hi everyone and welcome back to our creative space! 
Raluca here with a brand new card showcasing one of my favorite Christmas stamp sets from Create a Smile Stamps shop.


"Santa Clumsy" is one of my favorite Christmas sets cause of its funny images and clever sentiments. 


It's the perfect set for when you forgot to send out a Christmas card or to give a Christmas present in time.


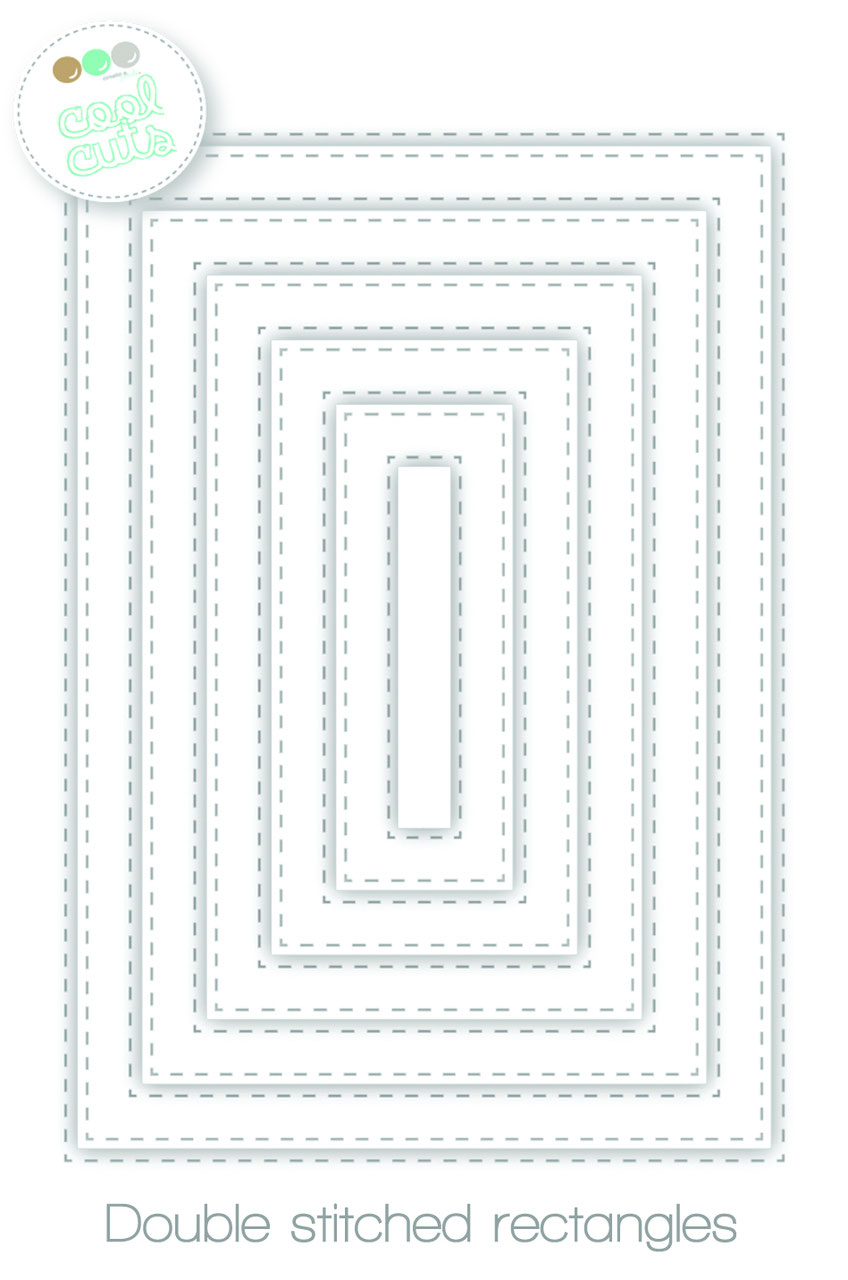
* First I die cut a panel from watercolor cardstock using the largest stitched rectangle die.
* I painted my panel using watercolors and I created a really vibrant blue sky.
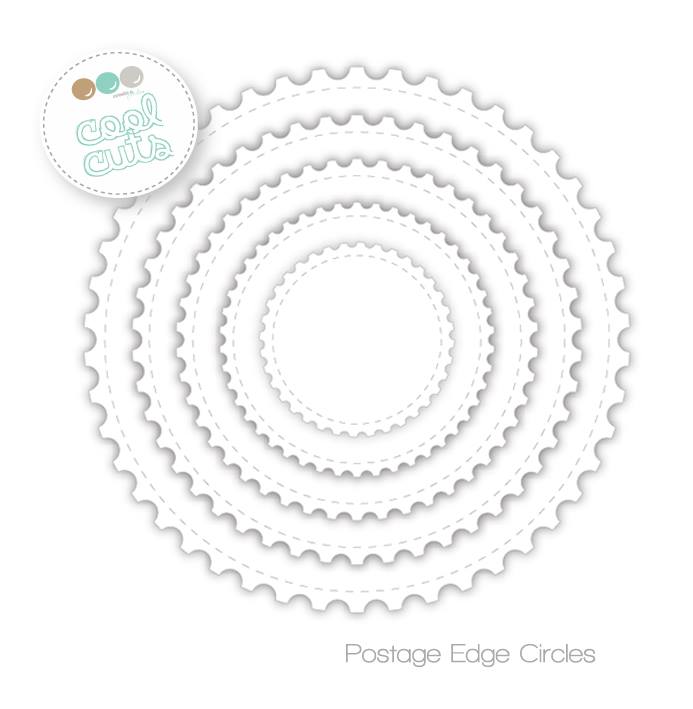
* I adhered the panel on a white card base and I die cut a snow hill and a circle from white cardstock.


* I adhered the circle and the hill on the card and added a white embossed sentiment on a red strip of cardstock.
* On a white panel I stamped the image for my scene and colored it with Spectrum Noir markers.
* After the coloring was done, I fussy cut the image and mounted it on my card, creating a fun wintery scene.


Glued a few clear iridescent sequins and my card was done!
Super easy and I had so much fun! 
Hope you've been inspired to create some non traditional Christmas cards using the awesome Create a Smile products!


If you love Instagram like I do, you can follow Create A Smile using the name @createasmilestamps and if you have any questions about card making, techniques or products, if you want to share your creations with Create A Smile fans or if you want to participate in our monthly challenge join us on our Facebook group Create A Smile - Friends & Family :).

Have a lovely Tuesday!
Thanks for stopping by,
Raluca

Saturday, November 24, 2018

Clumsy Santa

Hi everyone and welcome back to our creative space! 
Raluca here with a brand new card showcasing quite a few of the adorable stamp sets from Create a Smile Stamps shop.


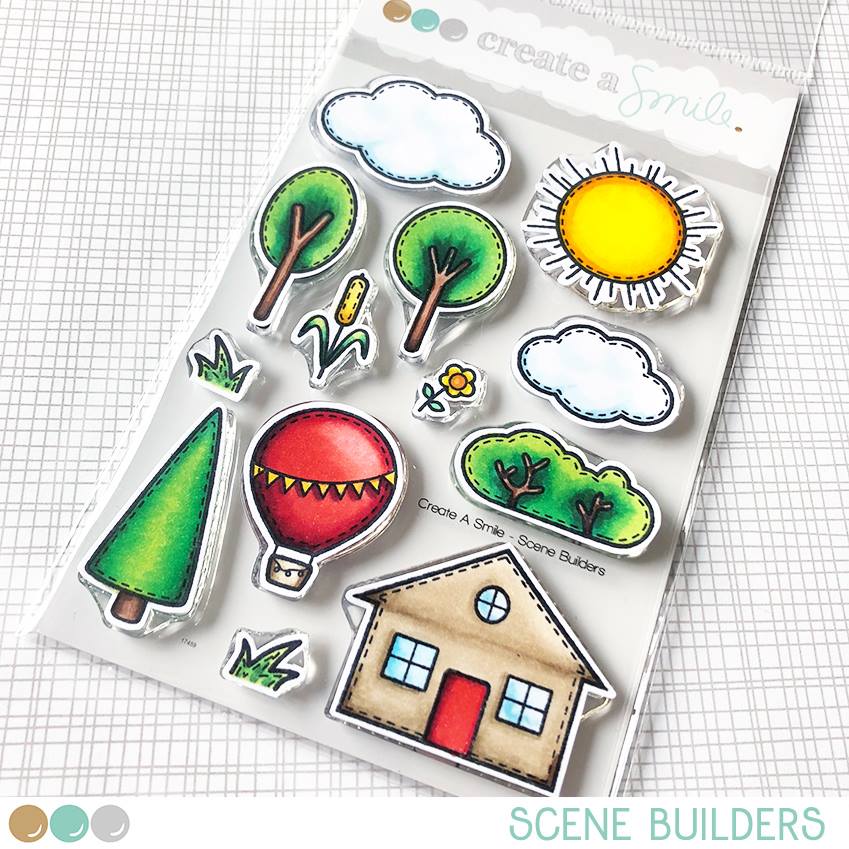
"Santa Clumsy" is one of my favorite Christmas sets cause of its funny images and clever sentiments. I really wanted to create a fun Christmas scene and the "Scene Builders" set helped me achieve my wish.


* First I die cut a white panel using the largest stitched rectangle die and stamped the snow falling from the Easy-breezy set all over it, using a light blue ink.
* To add more color to the panel I ink blended some teal ink at the bottom of the panel, where it'll meet with the snow hills.


* Using some hill dies I die cut two white hills and mounted them on the white panel using foam tape.
* On one of the hills I stamped in black a funny sentiment from the Santa Clumsy set.


* On a white panel I stamped all the images for my scene and colored them with Spectrum Noir markers.
* After the coloring was done, I fussy cut the images and mounted them on my card, creating a lovely and fun wintery scene.

* I added glued some small jewels on the house creating the illusion of Christmas lights and I love how cute it turned out!
* I mounted the panel on a light blue card base and my card was done.


Super easy and I had so much fun! Hope you've been inspired to create some lovely Christmas cards using the awesome Create a Smile products!


If you love Instagram like I do, you can follow Create A Smile using the name @createasmilestamps and if you have any questions about card making, techniques or products, if you want to share your creations with Create A Smile fans or if you want to participate in our monthly challenge join us on our Facebook group Create A Smile - Friends & Family :).

Have a lovely Tuesday!
Thanks for stopping by,
Raluca