Tuesday, June 19, 2018

Never Walk Alone

Hi everyone and welcome back to our creative space! 
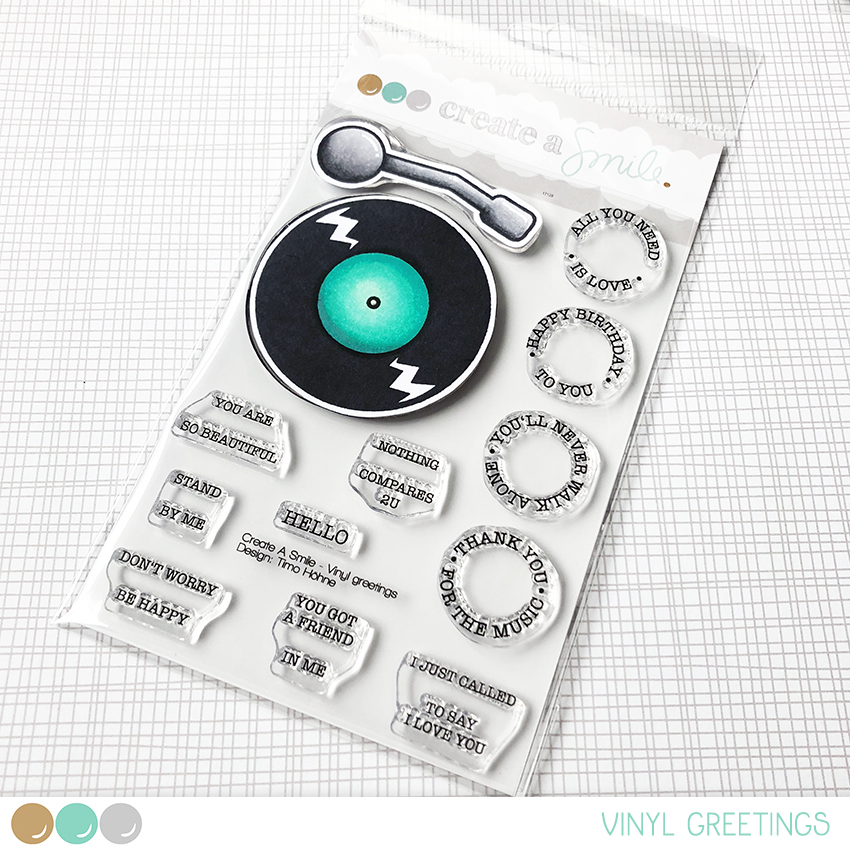
Raluca here with a brand new card showcasing the awesome "Vinyl Greetings" stamp set along with the "Music" cling stamp, both from the new Create a Smile Stamps release.



As soon as I've seen the new "Music" cling stamp I though about this design. The "Music" stamp coordinates so beautiful with the "Vinyl Greetings" and I love how this card turned out.


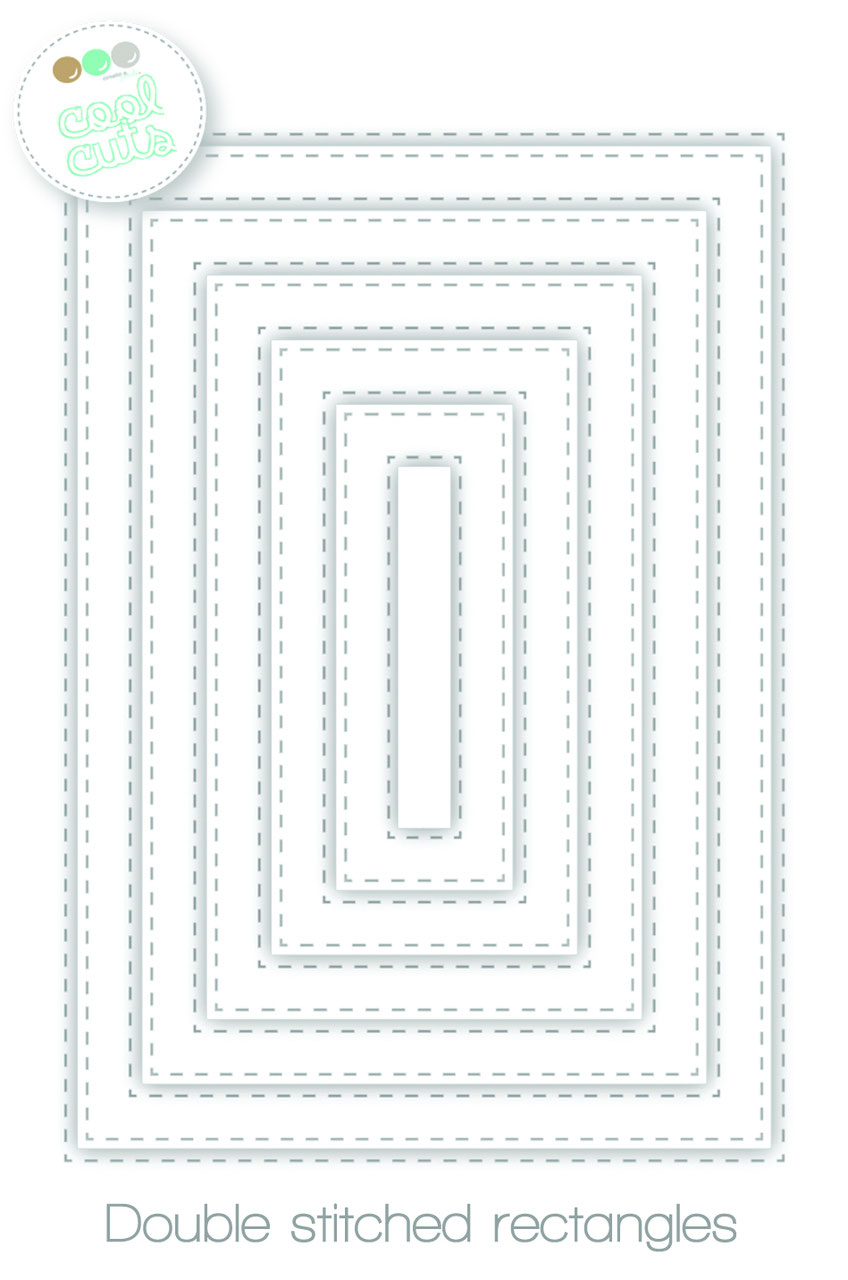
 * I die cut a white panel with the largest stitched rectangle die and mounted it on a bigger white card base using craft foam.
* On a panel painted by my 4 yrs old daughter I white embossed the "Music" cling stamp, die cut it using the same stitched rectangle die and trimmed it to be much smaller than the white panel.
* I adhered the painted piece on the card using double sided tape.


* On a piece of vellum I stamped and white embossed the vinyl and stamped one of the sentiments from the set.
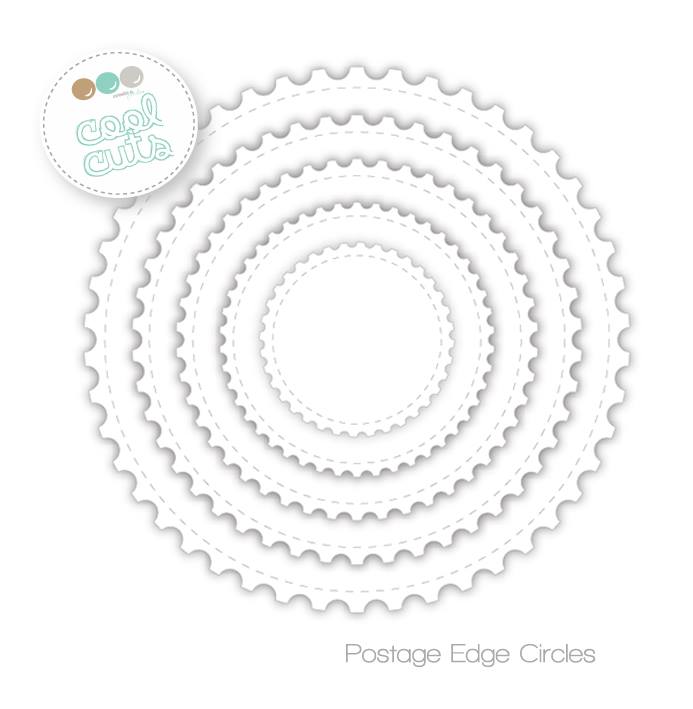
* I die cut it using one of the postage edge circles and mounted it on the card.
* Glued a few gold sequins and my card was done.


If you love Instagram like I do, you can follow Create A Smile using the name @createasmilestamps and if you have any questions about card making, techniques or products, if you want to share your creations with Create A Smile fans or if you want to participate in our monthly challenge join us on our Facebook group Create A Smile - Friends & Family :).

Have a lovely Tuesday!
Thanks for stopping by,
Raluca


Monday, June 18, 2018

Paperpiecing.......

Hi there it´s Anja again with another card for you.


Have you seen the new challenge over at the facebookgroup? It's all about paperpiecing. So for this card I gave that technique a try.


I used a horizontal cardbase and used a stencil for the background and a dotted clingstamp. Diecut some circles out of green paper and stamped the images onto different patterned papers and assembled the images. Placed it all onto the cardbase and stamped te sentiment.


Stamps;

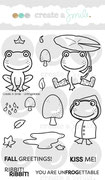
Unfrogettable. and Dots.


Cool cuts (dies)

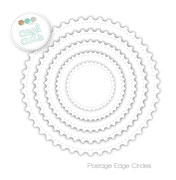
Postage edge circles;


This paperpiecing technique works best when you have bigger images with some details.
The easiest way is to stamp your image onto some printerpaper and use this as a background to build up your total image.


We love to see what you create and the ideas you come up with. So please share your projects either here or at facebook. There are several challenges going on. good luck and have fun.

Have  great week;

Anja

Sunday, June 17, 2018

Say What? Happy Birthday!!

Hiiii!! I would like to give a spotlight to another new stamp for this month and this one is the Say What? stamp set. I love these speech bubbles because they aren't bound to an occasion and you can it as it is or use it with your critters or other images. But today, I'm just going to use it as it is.


Simply put, I've just embossed almost all the speech bubbles on pieces of coloured cardstock along with the little words and icons in it. Trim them all and leave a little bit of border of colour around the speech bubbles. 


I've left the bottom part empty to stick on the sentiment using the Birthday Triple die. I've die-cut it 3 times to stack it up to thicken it up. Finished it off with dots of stickles and white enamel dots. 


I hope you like this card and give these stamps a try!


Birthday Triple die
Say What? stamp set


Follow Create A Smile on Facebook keep yourself updates on all the happenings and if you're an Instagram addict like I am, you can follow Create A Smile using this name : @createasmilestamps ! :)

Mail Call : Christine is looking to decorate her office with your beautiful Create A Smile cards creation. Send your cards to Merremstr. 21, 47053 Duisburg, Germany.


Thanks for stopping by,

Friday, June 15, 2018

The Daily Marker 30 Day Blog Hop

Hey crafty friends! 


A warm welcome to everyone who is new to Create A Smile - great to meet you!


We are super honored to be part of Day 1 of a two day hop to celebrate the tenth 30 Day Coloring Challenge. Have you heard of “The Daily Marker’s 30 Day Coloring Challenge” hosted by Kathy Racoosin? 
Kathy is a super talented and sweet lady who is hosting the super popular “The Daily Marker 30 Day Coloring Challenge” for the tenth time now. When she asked us to be part of this blog hop we squeaked in excitement :)
Right now it’s in the middle of the challenge and it’s a great time to take a leap, jump in and get your feet wet!  
The premise of “The Daily Marker 30 Day Coloring Challenge” is to color something everyday even if it’s for five minutes. However feel free to  jump in or out as time permits.
Any coloring medium is welcomed. Click here for DAY 1. TO UPLOAD YOUR COLORING  or here on Instagramor here on Facebook (FB is a closed group). Please remember to use the hashtag #thedailymarker30day  and tag @kathyrac
For kids & young adults #thedailymarker30daykids
If you have any questions about “The Daily Marker 30 Day Coloring Challenge” you can refer to this post.  

We recently started sharing Copic Color Combos on our Instagram account - many of your left lovely feedback on you you appreciate that we offer combos and share what works for us. If you haven't seen them so far - maybe check them out and let us know what you think!

Of course we prepared something for this special occasion as well, so let's see what we have for you:

For today's coloring we picked the Creepy Cute  / Gruselig bezaubernd stamp set and colored up the little zombie-piggie :)


First some pale green skin, zombie-like, you know?


I wasn't sure about the color for his shirt - thought about some dirty-gray combo fist, but I really wanted this image to pop and have some contrast. So I went for my most favorite red combo - it's so intense!


Then some brown/gray  for his feet and the cork:


Ta-Dah! That's it - the image is finished.


Hope you like this version - we'd love to see yours as well!

Here are the full stamp sets:


Now it's time for a 
GIVEAWAY!


We're picking one lucky winner who will receive a 25€ gift card to the Create A Smile store - yay!
All you have to do is leave a comment! We'll be picking a random winner on Sunday night - good luck!


BLOG LINE UP:


Wednesday, June 13, 2018

Coloured Pencils on Kraft Cardstock

Hey stampers, Anni here!

I am sharing an ocean card with you today featuring the new cling stamp Ocean Waves.


This new stamp called Ocean Waves is a must have!When I saw all my lovely team mates use this stamp I liked each and every card they made with it. Of course they are absolutely talented and make awesome cards all the time but I think it is the stamp, too. You can't do anything wrong with this stamp. So I needed to make an ocean card, too. And I combined it with another new passion of me: Colouring on coloured cardstock with pencils - love it!


  • Coloured pencils - especially Prismacolor and Polychromos - shine so bright on Kraft cardstock! And the colours get even brighter if you lay down a base coat of white pencil.
  • White embossing adds in to this effect.
  • Leave a wider border around your base layer. Then your images can hang over the edge. It adds intrest to your card.


We have a challenge on the blog (see sidebar) and one on our Facebook group - play along!


Tuesday, June 12, 2018

Part of my Gang

Hi everyone and welcome back to our creative space! Raluca here with a brand new card showcasing the adorable "Gull gang" stamp set along with the "Ocean Waves" cling stamp, both from the new Create a Smile Stamps release.


I created four cards for the new release and shared them over my Instagram account and this card is my favorite from all 4 so I decided to write a blog post for it.


The making of this card took me almost half an hour and I had a lot of fun. super easy to create and really cute.
* I die cut a white panel using the largest stitched rectangle die and stamped the Ocean Waves stamp on it using two blue inks.
* I stamped and colored two of the cute seagulls and the wood log from the Gull Gang set and colored them with spectrum Noir markers.


* I fussy cut the images and mounted them on the card using foam tape.
* I stamped the sentiment on the panel using VersaFine Onyx Black Ink.
* I mounted the panel on a white card base using craft foam, glued a few clear sequins and my card was done.


If you love Instagram like I do, you can follow Create A Smile using the name @createasmilestamps and if you have any questions about card making, techniques or products, if you want to share your creations with Create A Smile fans or if you want to participate in our monthly challenge join us on our Facebook group Create A Smile - Friends & Family :).

Have a lovely Tuesday!
Thanks for stopping by,
Raluca