Hey CAS friends!!
It's Ashlee here today and I've got some new CAS inspiration to get your crafty mojo rolling....
This one is pretty tweet.... hehe!!
I wanted to have a go at layering a couple stencils to create a scene perfect for some birdies, so I went through my Create a Smile stencil stash and found a couple that would work perfectly together!
- Start with a white card base and line up one of the squares over the card base so you can ink blend on one square for the background- Use distress oxide ink broken china and fill in the whole square- Remove that stencil and place there cloud pattern over there top and ink part of the stencil with distress oxide ink mermaid lagoon- Remove stencil and you then have a fun background scene ready for some images- Stamp, colour and fussy cut a bunch of the images from the Tweetheart stamp set- Add foam tape to the back of all the images and adhere them in place - Complete the card by stamping a sentiment and a touch of sequins
Have fun experimenting/layering stencils and see what you can come up with. I always love removing the stencils and seeing what it reveals!!
Enjoy the crafty process and experiment!!
Don't forget to come on over to the Create a Smile group on Facebook and share with us your creations, we would all love to see them - Create a smile friends and family
It's Ashlee here today and I've got some new CAS inspiration to get your crafty mojo rolling....
I wanted to have a go at layering a couple stencils to create a scene perfect for some birdies, so I went through my Create a Smile stencil stash and found a couple that would work perfectly together!
- Start with a white card base and line up one of the squares over the card base so you can ink blend on one square for the background
- Use distress oxide ink broken china and fill in the whole square
- Remove that stencil and place there cloud pattern over there top and ink part of the stencil with distress oxide ink mermaid lagoon
- Remove stencil and you then have a fun background scene ready for some images
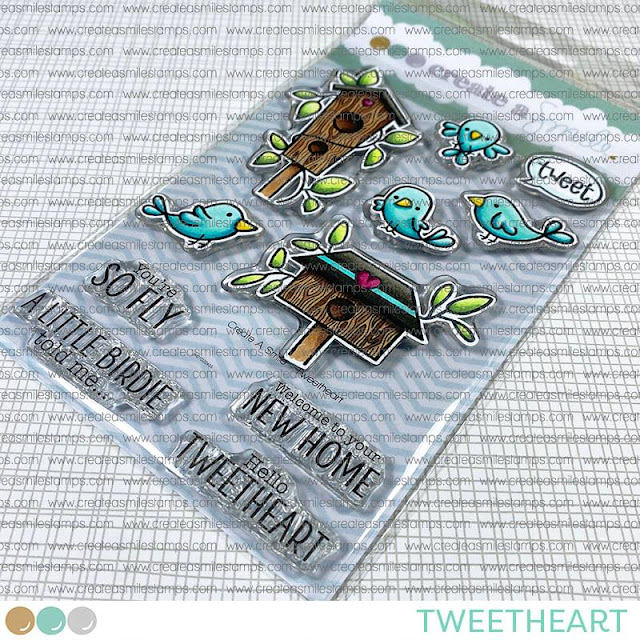
- Stamp, colour and fussy cut a bunch of the images from the Tweetheart stamp set
- Add foam tape to the back of all the images and adhere them in place
- Complete the card by stamping a sentiment and a touch of sequins
Have fun experimenting/layering stencils and see what you can come up with. I always love removing the stencils and seeing what it reveals!!
Enjoy the crafty process and experiment!!
Don't forget to come on over to the Create a Smile group on Facebook and share with us your creations, we would all love to see them - Create a smile friends and family
Hugs Ashlee.


No comments:
Post a Comment