Friday, April 7, 2017

Wish Big!

Hi there!
Samantha here and today I have a cute, and BRIGHT birthday card!


I really just wanted to use that FUN background stamp, so that's where I started with my card! Simple as that!


This is an easy card to make!

- stamp your image onto a white card front
- add watercolor! (I scribbled my Zig Clean Color Real Brush Markers onto a piece of old plastic packaging, spritzed with water, and then smooshed it onto my stamped panel! so easy, and so fun!)
- let the watercolor dry, then add more color on top! It's all about the layers!


- once dry, cut out some of the balloons!! there really was no rhyme or reason for which balloons were chopped, but i just wanted an unfinished edge around most of the card!
- lastly, I heat embossed my sentiment, and then added a thin shadow line in black to help it stand out!
- a few sequins finished it off!


You could also just stamp this image onto your card front, and only add color to parts of the image instead of cutting around some of the balloons!! 


Oh, I just LOVE that Balloons in the Sky cling stamp for the background! And the sentiment was from the Make a Wish stamp set! So perfect together! I also used some sequins from Pretty Pink Posh!


Did you know that Create a Smile Stamps is offering FREE SHIPPING WORLDWIDE for a limited time?! JUMP on that!!!!! It's such a fabulous deal!!

~Samantha


Thursday, April 6, 2017

Ahoi! * clean & simple 1/4

Hi there, Nicole here.

I'm finally back with new projects for you! Because I love series so much, I prepared some for you. To start off, I'm gonna have "clean and simple" cards for every Thursday in April. So let's get started with no. 1 :-)


I got asked many a time how I make my clean and simple cards. To be honest, I do not have a recipe. It's just the way I love making cards, it's kind of "natural" for me. But I found some guidelines/instructions for you that might help :-)


If you want to make "clean and simple" cards, try to stick to (some) of these points.
  • one focal point
  • a lot of open space
  • only one (or two) layers
  • no or minimal embellishements
  • minimal color palette
  • simple, uncluttered and easy to recreate

If you want to improve your clean and simple cardmaking, try playing along CAS challenges. You'll find many inspiring ideas and get to practice at the same time.


  1. stamp the boat and color it with watercolor pencils and a bit of water
  2. take the stencil and apply pigment ink with a sponge dauber
  3. move the stencil and add a second shade of blue
  4. additional: add clear and matte texture paste to give the ocean a bit of texture
  5. add accents like gloss on the windows
  6. let everything dry and add your sentiment

Underwater Love / Waves / clear droplets


Create A Smile is moving and they are taking a break. The shop will be closed from April 8th to May 7th.

Thanks for stopping by! See you soon :-)


Wednesday, April 5, 2017

This Must Be Love

Hey stampers, Anni here!
Today's card is a wedding card featuring the beautiful handlettered set called This Must Be Love.


My niece asked me to make a wedding card for friends. She wanted me to incorporate the names of the couple.


I started by making a water colour background with soft colours and a little bit of gold. I die cut a heart  and used the negative space. For the sentiment I heat embossed the word Love in with platinium embossing powder on vellum. For the "This Must be..." part I chose a narrow stripe of kraft cardstock and heat embossed it in white.
To include the names I die cut the letters from a piece of the same watercolour paper I used for the background to achieve a subtle look.
I went with a kraft cardbase and assembled the card.


Create a Smile is offering free shipping WORLDWIDE at the moment.


Video Hoppy Easter-Cards

Hi Everybody :-)

Only a view Days till Easter, that is why I will show you some very quick last minute easter-cards.


Sometimes its easier for me, to do 4 cards at one time. Especially when you NEED a lot of cards for christmas or easter. So I like to do a little mass production ;-)


Here you can watch my Video in english:


.... and here is my Video in German


Only two days left with FREE SHIPPING in our shop :-)


Tuesday, April 4, 2017

Time to be happy!

Hi crafty friends and welcome back to our crafty space. Raluca here with a new card using the adorable "Served Up!" stamp set.


I colored these images for #thedailymarker30day challenge and I wanted to use them on a card, but I also wanted to keep the hippo the focal point of the card.


This was an easy and fast card to make and I'm sure you'll love making one.
First thing was to stamp and color the images. For coloring I used Nuvo alcohol markers. Then I fussy cut them and I glued the sweet treats onto the cart.


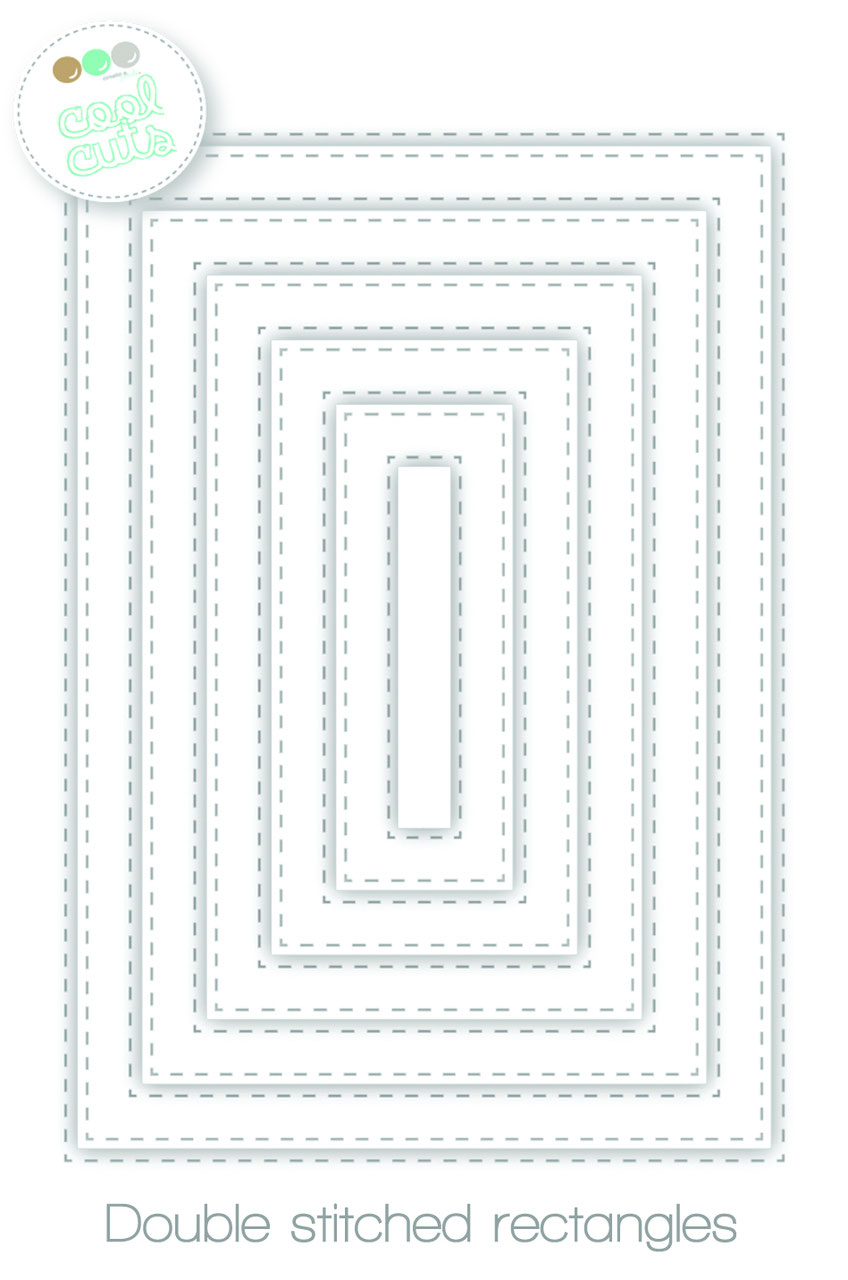
Next step was to die cut a white panel with the largest stitched rectangle and stamp the sentiment from the "Botanical love" set. Then I ink blended some Distress inks on the background for more effect and I mounted the colored images onto the card using foam tape. I added a few clear sequins and my card was done. 
Pretty simple, right? 


If you love Instagram like I do, you can follow Create A Smile using the name @createasmilestamps and if you have any questions about card making, techniques or products or if you want to share your creations with Create A Smile fans join us on our Facebook group Create A Smile - Friends & Family :).

Have a lovely Tuesday!
Thanks for stopping by,


Monday, April 3, 2017

Happy Easter # 4

Hi there it's Anja again and we have another new month already.


I am still in the mood making eastercards. Since Create A Smile has such lovely easterstamps it's an easy task to create these cards.
So for today another easter/spring card with the lovely crokisses set.


I used a topfolded white cardbase and stamped and masked the different images.
Copic colored them and stamped the sentiment.
Finally rounded the corners of the card and easy peasy my card was finished.


Stamps;

Crokisses;


New month so there will be another new challenge please join in the fun.
 
Have a great week, Anja


Sunday, April 2, 2017

All You Need Is A Background Stamp - Part 3

Hey crafters! How have you been? This is my part 3 of using only the background stamp as your focal image. They are many background stamps out there that covers the entire card panel but it's even better when it includes intricate and beautiful detail just like this mandala stamp I'm using this week. 


You can colour each layer if you want but you can also make a more loose watercolour effect like I've done. First, I stamped it using Versamark and cover it with white embossing powder.  I used my favourite prima watercolour to create splashes of pink and purple. 

Instead of stamping a sentiment, I've used the die-cut to cut out my sentiment in the middle of the design. Add some white enamel dots as embellishment to give a simple and clean look. 


Have fun!


Prima Watercolors
White Embossing Powder
VersaMark Ink


Follow Create A Smile on Facebook keep yourself updates on all the happenings and if you're an Instagram addict like I am, you can follow Create A Smile using this name : @createasmilestamps ! :)


Thanks for stopping by,