Showing posts with label Kleine Worte. Show all posts

Sunday, February 19, 2017

No Stamping Today

Hey crafters! Today, I'm using my previous card as an inspiration for today's card. Last month, I shared this card  where I used dies to create a background. For the card that you see below, I've used the same technique but instead of die-cutting for the entire panel, I've only did half. 


As usual, I've used my Prima watercolour to create a vibrate pink background. It's just a random wash of colour. Then, I took a cardstock and started my die-cutting. I've also added tiny dots of pink stickles all and die-cut sentiments. 

It was really that simple :) I'm actually looking forward to explore this technique further and hopefully I can share with you more ideas. 



Pocket Tag - Die Cut
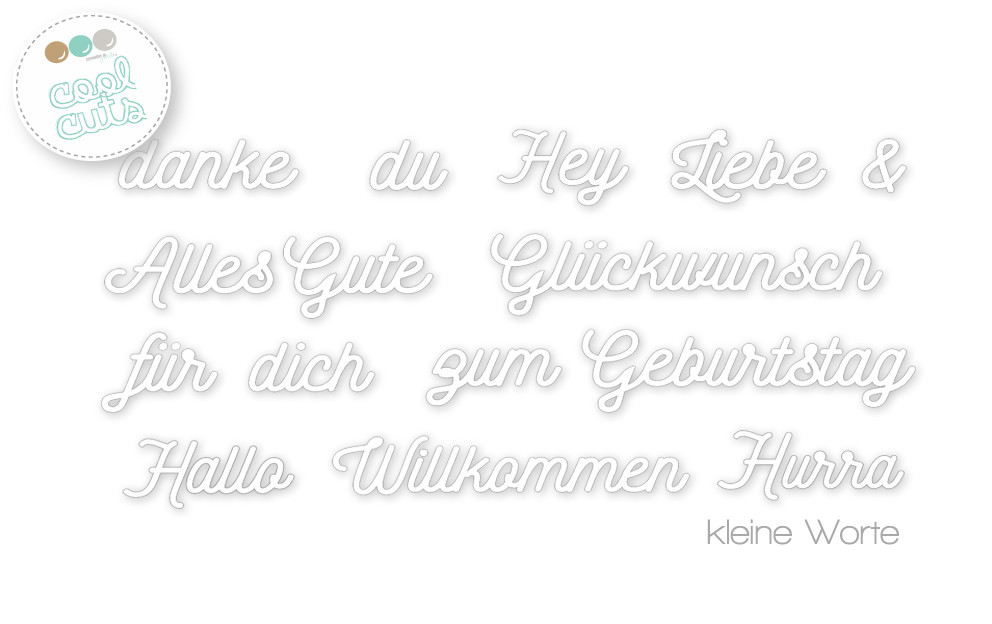
Kleine Worte - Die Cut
Prima Watercolours


Follow Create A Smile on Facebook keep yourself updates on all the happenings and if you're an Instagram addict like I am, you can follow Create A Smile using this name : @createasmilestamps ! :)


Thanks for stopping by,


Wednesday, June 1, 2016

Create A Smile: Guest Designer Jeanin Jügler #3

Hello everybody. Today is my last post as a guest designer for Create A Smile! I had so much fun and I hope you enjoyed the projects I made for you.
I am also hosting a giveaway on my Instagram account. You can find more information at the end of the post.


I recently got an embossing mat and in my head I always had the idea of embossing my sentiment dies. So this was the perfect opportunity. Also, a friend of mine is expecting her baby boy very soon so a baby card was ideal for this as well! Unfortunately, you can't really see the embossing in the picture above. There are some close-up pictures below where you can see it more easily. 


  • Using a ruler I drew a few lines that were evenly spaced along a piece of blue cardstock that I die cut previously using a stitched rectangle die.
  • I started off at one corner and placed down the word die "Willkommen" (English: Welcome)  from the "Kleine Worte" die set with washi tape.
  • Because I didn't want the word to be die cut from the card stock but only to be embossed, I used an embossing mat throughout the whole process.
  • I did that for the whole panel. Unfortunately, I didn't think about the fact that the already made embossings will be flattened out a little bit when ran through the die cutting machine again. But it is not too bad as you an still clearly see the embossed words.
  • The little parachute penguin from the "Penguin Party" stamp set was perfect for this baby card. I stamped the image with black ink and colored him with Spectrum Noir markers.
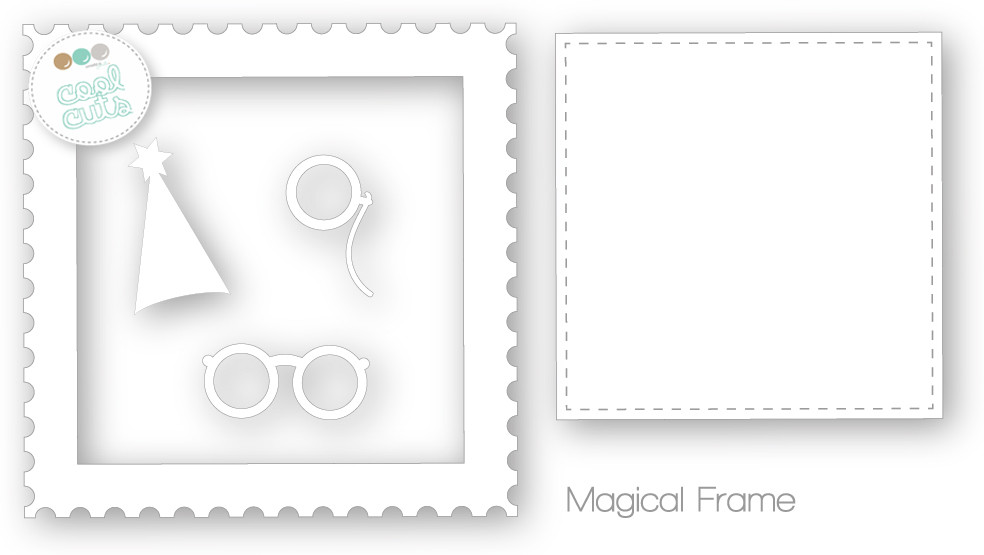
  • I didn't just want to place him on the embossed panel, so I went ahead and die cut the frame from the "Magical Frame" die set from white card stock and adhered it a little bit askew on the panel.
  • Using 3D foam squares, I also placed the little penguin directly over the frame. 
  • Furthermore, I used the word "baby" from the "Poppin' Over" set and stamped it with white pigment ink on black cardstock to create a complete sentiment.
  • I cut the black cardstock into a little flag and adhered it to the bottom right corner of the panel to create the sentiment "Willkommen Baby" (English: Welcome Baby).
  • To finish off my card, I also die cut a scalloped rectangle from white card stock and, using fun foam, adhered the embossed panel to it. 
  • Then I adhered a top-folding white notecard to the back of the scalloped rectangle. I cut it slightly smaller than the rectangle to make it look like a scalloped shaped card. 


An embossing mat is rather inexpensive (I got mine for about 8 dollar) and it gives you the possibility to make more out of your dies. 


Unfortunately, my guest design is over - but I still want to celebrate this amazing opportunity I was given with you. I am hosting a giveaway sponsored by Create A Smile over on my Instagram channel. Go check out my channel @some_bits_and_pieces.


Sunday, February 21, 2016

Watercolouring A Stamp

Hi everyone! Sometimes, one small image is more than enough for a card. For this card, I wanted to make something that only uses one image but at the same time make the card look "full". Watercolour is a big hype for a while now and I am a big fan. I hope you like this card!


To share with everyone that just one image can help to make a card look "full". Sometimes, I'll be on a budget and I try not to buy everything that comes out because I can't afford to keep buying everything. So, this is when I'll take the time make full use of my stamps and doing something like this can give a stamp a different look. 

I wanted to have a freehand watercolouring look and for this I always use the Antique Linen Distress Ink because it's one of the lightest ink I have. Distress Ink works well with water so you won't see any obvious ink lines anymore. 

I used a Daler Rowney paint set for this watercoloured card. Instead of just painting the shell or face with one colour and few shades of the same colour, I added some brown to the green. This gives more texture to the shell and it doesn't look so "flat". And I really like how it turned out. The beauty of watercolouring is that you can achieve this look easier than if you use copics/pencils.


Create A Smile Stamps - Lovely Critters
Create A Smile Stamps - Kleine Worte 


Follow Create A Smile on Facebook keep yourself updates on all the happenings and if you're an Instagram addict like I am, you can follow Create A Smile using this name : @createasmilestamps ! :)

Thanks for stopping by,


Sunday, February 7, 2016

Experimenting With Colours II - Rainbow!

Hi everyone! Last week, I shared a card with a colour combination that I'm not reaching out for very often, or even, ever. But today, I'm using a colour scheme that everyone is familiar with - RAINBOW! It's the easiest colour scheme but yet, it's makes something very eye catching. And also, you get to use a lot of your supplies that you've bought ;)


Creating and colouring a full background can be quite time-consuming. But sometimes, we might need a last minute card. Today, I'm sharing with you some tips on time saving when making a card.

Alphabet stamp sets are awesome for many reasons but one of my favourite reason is, they make awesome background stamps. If take a look at the image below, I have placed as much of the alphabets as possible on the watercolour paper. By doing this, I can use a stamping press to pick up all the alphabets are stamped all of them at once. If you don't have a stamping press, you can use the acrylic from your die-cut machine. 

I'm using VersaMark to stamp the alphabets and this method of stamping saved me a lot of time. If you stamped them one by one, you might have to heat embossed it very couple of alphabets because you can't see where you have stamped previously. Hope you get what I'm trying to say :) 


After I've heat embossed all the alphabets, I just added smaller signs from the stamp set to fill in some of the spaces. You can skip this step if you want to. 

Next is my favourite part. Choose any watercolour medium of your choice. Distress inks, markers, watercolour pencils/markers, etc. I used Daler Rowney Watercolour Set. If you scroll back up and look at the card, I wasn't colouring the individual alphabets. I just added the colours loosely :) 

Add your sentiment in a dark bold colour and you're all done!


Create A Smile - Kleine Worte Dies
Create A Smile - Crystal Letters (Lower Case)


Follow Create A Smile on Facebook keep yourself updates on all the happenings and if you're an Instagram addict like I am, you can follow Create A Smile using this name : @createasmilestamps ! :)

Thanks for stopping by,


Sunday, January 17, 2016

Stack Those Die-Cuts!

Hey everyone! I'm sure many of us have those stackable dies. It might be of a square shaped, or circle, or a banner one like the one in my card. But I rarely use them all at the same time, so I thought why not try and do that now? :D 


The idea behind this card is just to share with you that those stackable dies can be your main focus of the card.

Of course, I started the card with some die-cutting first. I started with the biggest & second biggest die. You can start in any order your prefer. I used some coloured paper I got from the bookstore. You can use, patterned paper or you can even create your own colours. 


When you position the dies like in the image above, you'll get 2 die-cuts; one - a border (shown below) and the other is a solid cut of the banner. You can keep this for your next project :) 


Once I have the die-cuts, all I have to do is assemble them. They fit into each other like puzzles! Simple! :) Add a big bold sentiment like I did to complete the card.


Create A Smile - Kleine Worte  (Dies)
Create A Smile - Stacked Pierced Banners (Dies)
Create A Smile - Stickers (Enamel Dots)
Create A Smile - ein riesiges Danke (stamps)


Follow Create A Smile on Facebook keep yourself updates on all the happenings and if you're an Instagram addict like I am, you can follow Create A Smile using this name : @createasmilestamps ! :)

Thanks for stopping by,


Saturday, January 16, 2016

Color Your Heart Out!

Hi stampers, Anni here with a colorful card in these grey days!


I love the name of this stamp set and tat's what I wanted to do with these stamps: Color my heart out. I instantly knewthat this row of hearts would be perfect for a rainbow color card!


  • Stamp the hearts directly on your card base.
  • Color the image with copics.
  • Die cut your sentiment and adhere it to the card - finished! A really simple card!

  • For extra dimension add highlights with a gel pen to the hearts.
  • To add dimension to the die cut I cut a few of the sentiment and stacked them up. At first I was a little bit worried because that is such a delicate die. But in the end it was very easy and worked out perfectly.
  • The row of hearts was easy to stamp two or three times with overlapping the hearts. I think you can't tell where the original image starts and ends!


Next week is release week and there are fabulous stamps ahead! Mr. Beaver is coming back - so cute!


Sunday, December 20, 2015

A Bunch of Hearts

Hey everyone! Did you catch the new release? If you didn't, I'm here to share with you a card I've made using one of the sets. Also, if you didn't know, the first kit that was released, Sending Sunshine, is still available! I'm gonna use one of the items in the kit for this card. So if you didn't get a chance to get it the first time round, head over to the store :) 


This card is where I mixed it the old and the new. Hopefully, this will inspire you to take a look at your older products and see how you can mix it with your new stuff.

When you look at the card, it's fairly obvious how I did it but I hope you'll still read on as I'll add in some tips along the way. 

I started off by colouring in the hearts with copics. Obviously, I'm not an expert on copics but I did find that to get a nice blended look, I, sometimes, touched the tip of the markers so that I could achieve the middle colour. Hope you get what I mean. 

Here's what I used an "older" product. I wanted something to attract the sentiment. I looked through my stash and realised that I have not used this chipboard from the Sending Sunshine kit. In the middle of the chipboard, there's a word sunshine but I cut it out so that I could use the "messy" circle. 

To add the gold (that I love), I die-cut the word using the Kleine Worte die using a strong metallic gold paper. I'm so obsessed with this paper. I got it from a local store (no brand was written on it). Added the rest of the message and dots of gold stickles and that was it! 


Create A Smile - Sending Sunshine kit
Create A Smile Dies - Kleine Worte
Create A Smile Stamps - Color Your Heart Out
Create A Smile Stamps - Ein Riesiges Danke
Ranger Gold Stickles
Copic Markers


Follow Create A Smile on Facebook keep yourself updates on all the happenings and if you're an Instagram addict like I am, you can follow Create A Smile using this name : @createasmilestamps ! :)

Thanks for stopping by,


Saturday, November 28, 2015

Gift Boxes


Hey stampers, with Christmas just a few weeks away I have some gift boxes for you today!


Gift boxes are a cute way to give away gift cards. So I wanted to make some to be prepared for Christmas.


  • When I make gift boxes, I always make a few at a time. I do the die cutting, stamping, coloring and assembling all in one step - it takes way less time.
  • Use a die cut to put the image on. It is easier to create a focal point this way! 
  • Choose the patterned paper for your gift bag first and then the colors for the image - in this way it is easy to match the colors.


Some of the cute stamps from Create a Smile won't be restocked! They are on sale right now - go and grab them, it will be your last chance!