Showing posts with label Snow Dance Kit. Show all posts

Tuesday, November 14, 2017

Happy Howlidays!


Hi crafty friends and welcome back to our crafty space.
Raluca here with a new card showcasing the "Beast Feast" stamp set from the new Create a Smile Stamps release.



I don't know if you saw the new release, but let me tell you that it's awesome!!!!! And the "Beast Feast" set is so adorable! I had to make another card with it!


For this card I also used the two winter kits from Create a Smile: Snow Dance & Frosty Fun (this one is still available, so grab it while you can).
From the Snow Dance kit I chose one pattern paper and from the Frosty Fun I used the gorgeous ornament die.
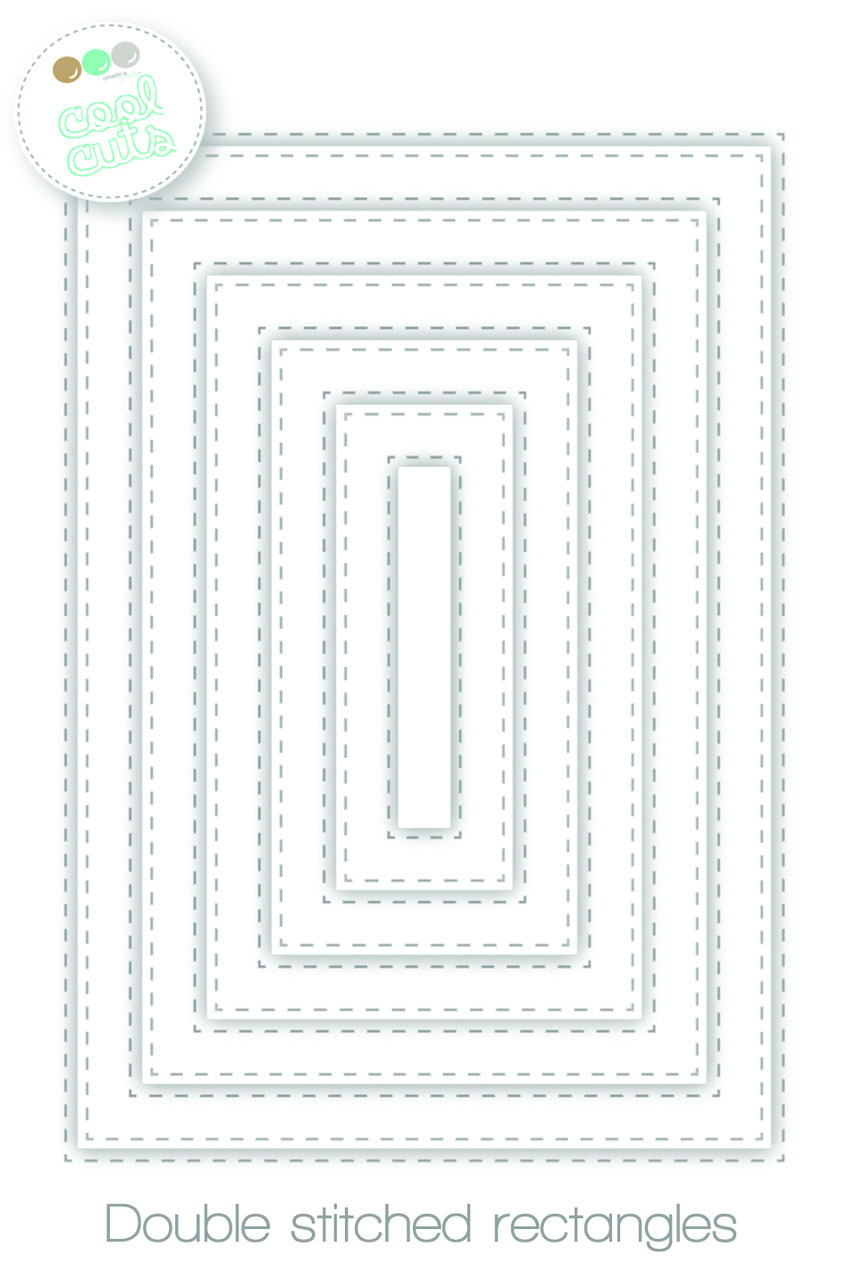
First I die cut the paper using the largest stitched rectangle (these dies are back in stock!!!) and adhered it to a white card base leaving two white borders on the sides. 
Then I die cut the ornament from gold glitter cardstock and glued it on the panel, adding a white circle inside it. 


Next I stamped these two cute monsters and colored them using colored pencils and alcohol markers. I then fussy cut and mounted them inside the ornament, finishing the card by adding a sentiment stamped on a white strip.
Super easy and super fast!!


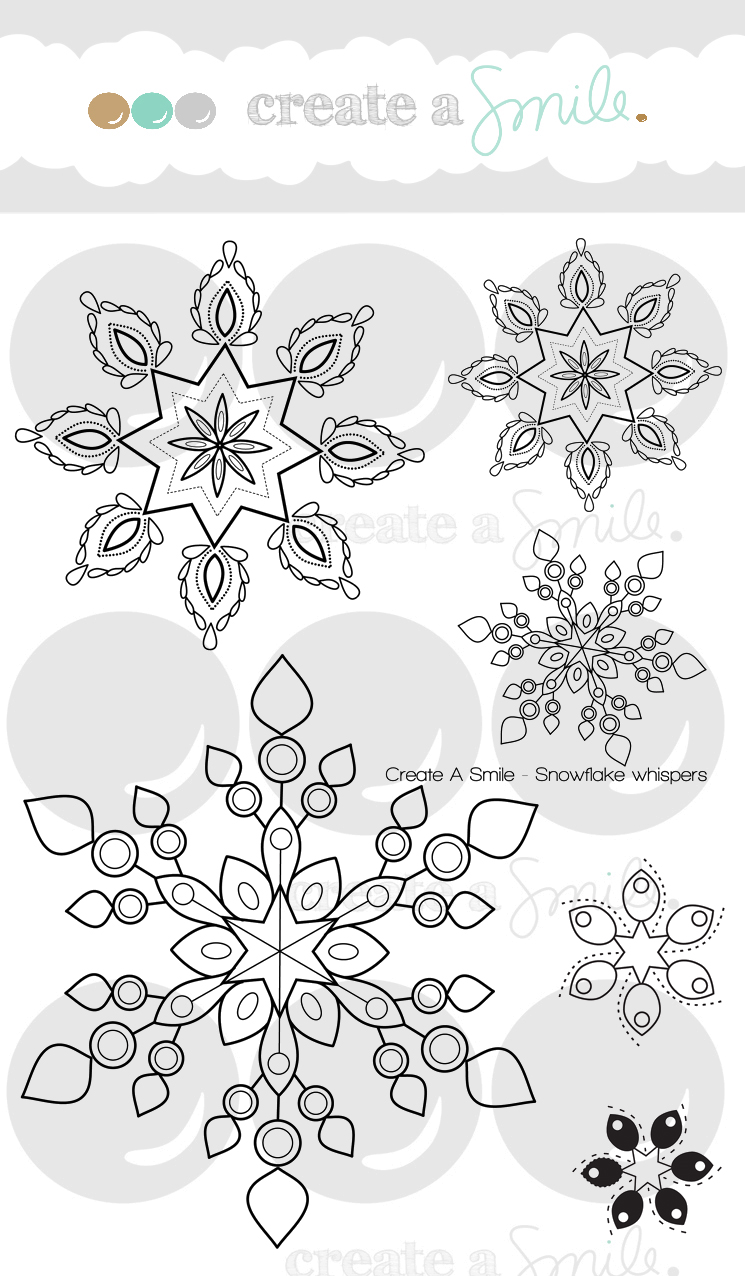
For the panel you can use any paper that you have at home or you can create your own pattern by stamping some snowflakes on a colored cardstock. We have some gorgeous sets that include beautiful snowflakes: Winter FunSnowflake whispers & Santa Clumsy ( from the new release ;) ). 
Would you try creating your own background or do you prefer to use a pattern paper?


Frosty Fun Kit


There is currently a MAIL CALL!!
We just LOVE our new office, but some more decoration would be nice... Would you like to create a smile on our faces and also see YOUR card displayed in our headquarter?
We'd love to receive some beautiful projects using Create A Smile products.

Please send them to:
Create A Smile
Merremstr. 21
47053 Duisburg
Germany
We'll of course be sharing the received projects - on Instagram, Facebook and on our blog!

Have a lovely Tuesday!
Thanks for stopping by,
Raluca

Tuesday, October 10, 2017

You're on a roll!

Hi crafty friends and welcome back to our crafty space. 
Raluca here with a new card showcasing the adorable"On a roll" mini stamp set from Create a Smile Stamps.


The moment I saw this set and the cute rolling armadillo I knew I wanted to make it spin.


I knew that I wanted to make a simple and fast card so I looked through the Snow Dance Kit for the perfect pattern paper and I chose the one with a lot of small circles. I trimmed it and glued it onto a light blue card base.
Next I stamped and colored the armadillo and using a mini brad I attached it to a white square where I stamped two ants from the set.


I mounted the square onto the card and I added a sentiment stamped on a light blue piece of cardstock. 
And my card was done! I told you I went for a fast card :)  


   If you love Instagram like I do, you can follow Create A Smile using the name @createasmilestamps and if you have any questions about card making, techniques or products or if you want to share your creations with Create A Smile fans join us on our Facebook group Create A Smile - Friends & Family :).
   Have a lovely Tuesday!
   Thanks for stopping by,
   Raluca

Monday, September 18, 2017

Warm thoughts.....

Hi there it's Anja again with another card for you today.


Before you know it's that time again we are going to send christmascards to our loved ones. So better start early creating a stash of cards.
Since there are so many lovely Christmas related stamps I gave it a go.


I started with a topfolded cardbase and cut a panel out of white cardstock.
I stamped a "tree"by using the triangle stamp from the going graphic set.
Stamped the cling stamp with snowflakes at the background and white heat embossed it. Smooched some distress ink to make the stamp more visible.
Stamped the figures and colored them with copics. Cut tthem leavind a little white outline and adhered a twine at the snowman and the sleigh.
Adhered everything to the panel after I created a snowhill by tearing some cardstock.
Stamped the sentiment and rounded the corners.


Stamps;

Going Graphic, snowdance miniset and snow flurry, frosty fun kit.


Have a great week;

Hugs Anja


Tuesday, January 3, 2017

Tags for Christmas presents :)


Happy New Year everyone!!! Raluca here with a new project.


This Christmas I had to wrap 15 presents for my family and I really wanted to make some simple yet gorgeous tags for them.
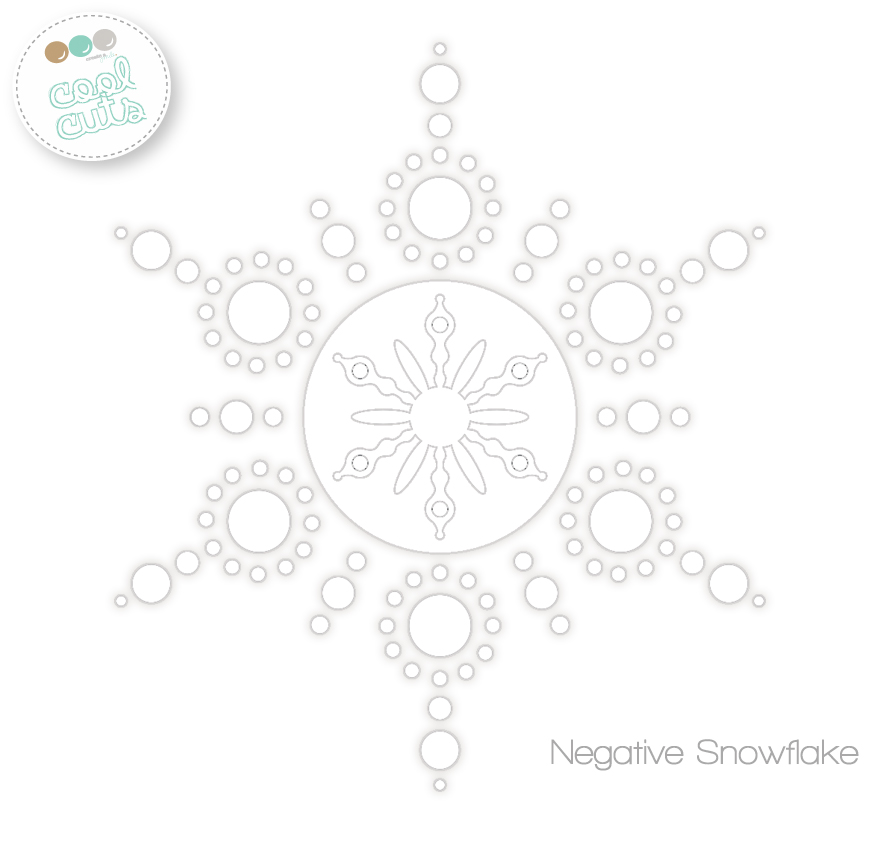
Going through my stash my eyes stopped on the gorgeous die included in the Snow Dance winter kit.

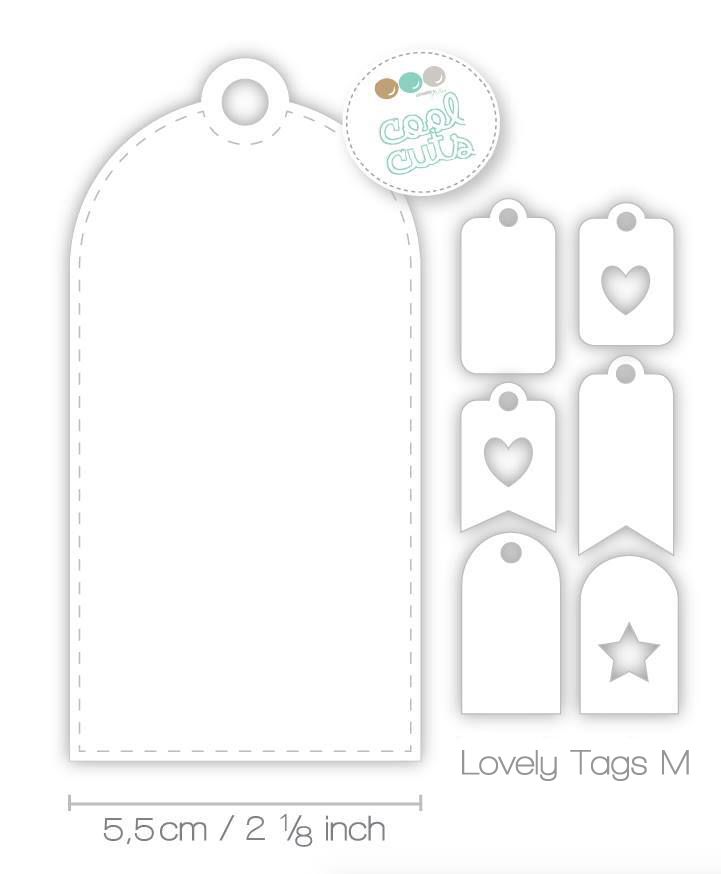
First, I cut a tag (you can use the die tag from Create a Smile - link included at the end of this post) and then I die cut the snowflake from it. I added red glitter behind it and a sentiment on it. 
On the back of the tag I wrote the name and stamped a few snowflakes from the "Snowflake flurries".


I love, love, love the results so much! I think these tags look so glamorous and they are really easy to make.
I hope you like them to and that you'll give them a try.
You could use this design for some thank you tags for the Christmas presents you received using some purple and blue glitter.


Snow Dance Kit (stencil)


If you love Instagram like I do, you can follow Create A Smile using the name @createasmilestamps and if you have any questions about card making, techniques or products or if you want to share your creations with Create A Smile fans join us on our Facebook group Create A Smile - Friends & Family :).

Have a lovely Tuesday!
Thanks for stopping by,
Raluca


Friday, December 23, 2016

Santa and His Merry Rainbow

Hi there!
Samantha here and today I'm sharing a very festive and fun Christmas card, since we're T-minus 2 days and counting! Lol! 


I love Christmas! I love Christmas cards! And I love rainbows! COMBINE ALL THE LOVES! lol!


Let's make this card! It's easy!

- stamp and color the images; I stamped the presents 6 times and used Zig Clean Color Real Brush Markers to color images
- once dry, fussy cut and set aside!
- cut down your favorite patterned paper to the size of a card front, and then tear about 2-3 inches along the bottom! I used some patterned paper from the Snow Dance Kit! Love Create a Smile paper!


- I popped up the santa and heat embossed the sentiment onto a black strip of cardstock! 
- the presents were tucked behind the santa and under the banner! 
- a few clear sequins finished the card! 


Since the images are so small, it's easy to color! I tried to add some dimension, but really, you could get away with one marker per color and be just fine here!


I used the super cute Snow Dance Mini Set for my card! I LOOOOOVE that little Santa!


Did you know that you can get WAY more than just stamps and dies at the Create a Smile Stamps store? Oh yeah! There's paperwashiflairsequins and more!!!!