Wednesday, April 28, 2021

Winners from April mood board

Hello everyone !


Wow we got so many outstanding entries to our latest challenge and we are so glad that you liked so much the mood board. It's time to pick our winners and i can tell you that was pretty hard to pick them as all your creations were so amazing!


Also wanted to let you know that by playing along with our challenge you get the chance to win a 25€ gift certificate to Create a smile store and to be guest designer for our next challenge!


The winner of a 25€ gift card is Andrea with this fabulous card using  Dicke Freunde stamp set


Congrats  please send an email to challengeteam@createasmilestamps.com to claim your prize ! Is so well deserved !

Our featured artist from the mood board challenge is Lisa with this wonderful card using Zuckerschnute stamp set


Congrats !! You can take the badge and display it on your blog is so well deserved ! if you would like to guest design for our next challenge please send an email to challengeteam@createasmilestamps.com so i can let you know the details.


 Make sure to check the blog for the new challenge and I hope you are inspired to play along with us. 
Until next time have a great day!

Alexandra

We dare you to create a smile : April Sketch

 Hello everyone 

We are sharing with you today a new challenge and this time we have an awesome sketch to make your creative juices flow :)  


Also don't forget that by playing along with our challenge you get the chance to win a 25€ to Create a smile store

 Our guest designers made such fabulous cards using today's sketch to bring you inspiration. Let's check their cards out!

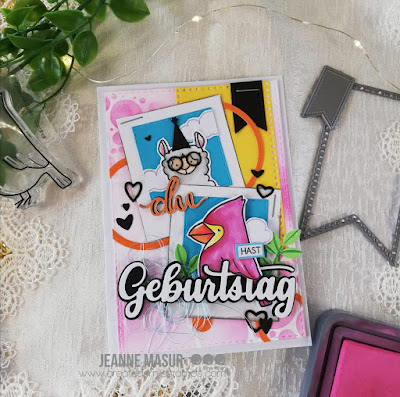
Claudia made this fantastic card using Best bugs stamp set


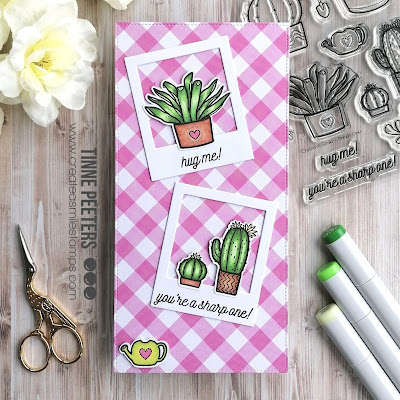
Marieke made this wonderful card using Sharp one stamp set                                                                                                                                        

                 
Thank you for guest designing for our challenge ! Make sure to check their amazing creations and leave them some love.

Let's see what our design team created inspired by the sketch 


Candice  made this cute card using Best bugs stamp set


Claudia  created this adorable card using Eggstraordinary Egghunt stamp set


Joke  created this wonderful card using Stencil Small Polka Dots , Tea time stamp set


Maaike  made this lovely card using Best bugs stamp set


 Tinne created this beautiful card using Sharp one stamp set


Vicki made this adorable card using Cool cuts Double Stitched Rectangles , Best bugs stamp set , Gull Gang stamp set , Unmatched stamp set , Scene Builders stamp set


Before you enter our challenge please make sure to check the rules below 


Thank you for stopping by ! Have a great day 

Alexandra 


You are invited to the Inlinkz link party!

Click here to enter

Wednesday, April 21, 2021

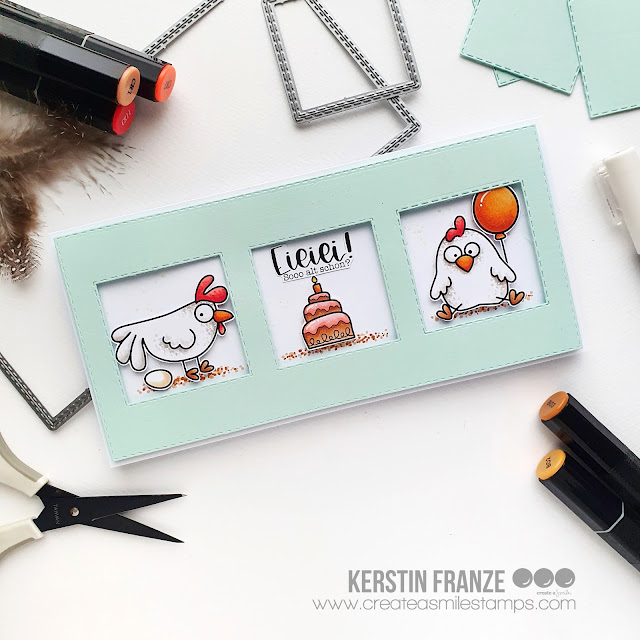
Happy Birthday Crazy Chick

Hello crafty friends, it's Kerstin here!

Today I have this crazy chick birthday card for you. 


When the new release arrived I had to try out the new stuff right away. 


  • use the din lang double stitched cool cut for cutting the panel
  • cut out three windows with the smaller double stitched cool cut from the set
  • stamp, color and fussy cut the chicks and the cake
  • adhere the panel to your card base
  • place the images in the windows


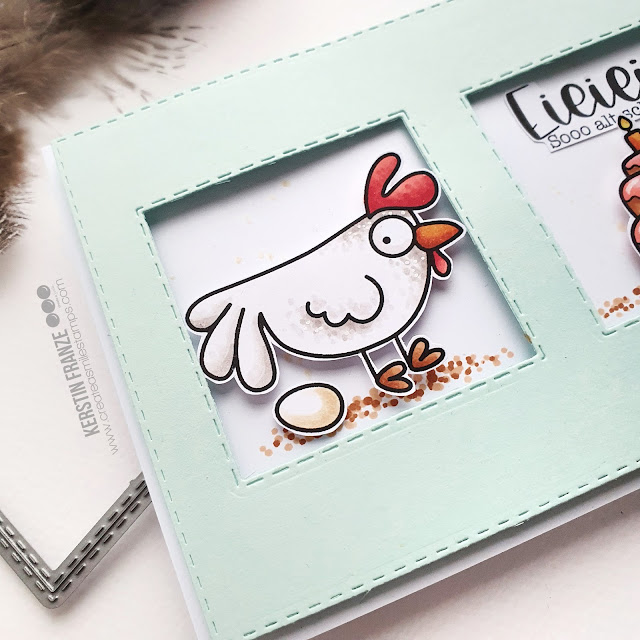
To add some interest you can add dots with a white (gel) pen to your colored image. Handdrawn dots are also a perfect way "ground" your images on the card.


Available April 23rd!
DIN Lang Double Stiched Cool Cuts
Crazy Chicks/ Verrücktes Huhn


We love to see your creations. Please use the hashtag #createasmilestamps when you're sharing your projects on instagram.

Thanks for stopping by and happy crafting,
Kerstin


Saturday, April 17, 2021

You're Awesome!

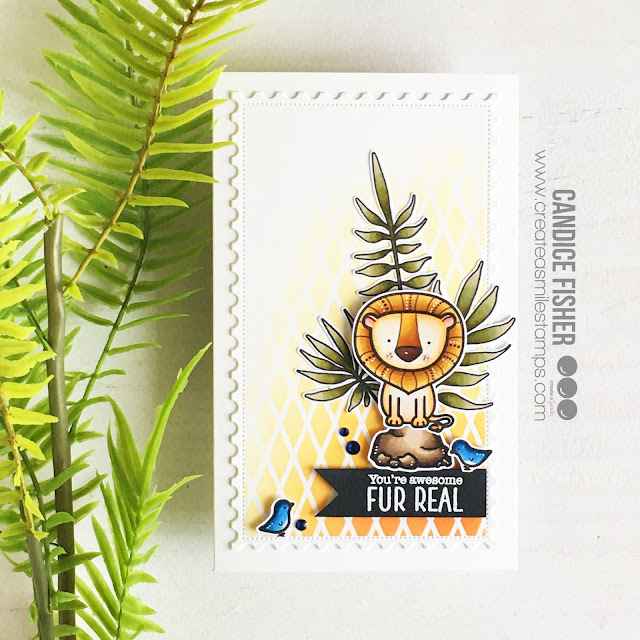
 Hello!  It's Candice happy to be joining you today on the Create a Smile blog with a sweet mini slimline design!


I wanted to create a smaller scene than what would fit on a regular slimline size, so I shrunk it to a mini slimline size!

I began my mini slimline with a 4 x 6 1/2 card base.


For the background, I first die cut the new slimline postage die shortening it by using the partial die cut method (cut half way through the machine, rotate and line up, and run it half way through again!)

I then taped off the edges and inked with the diamond stencil using crackling campfire, spiced marmalade & scattered straw oxide inks.

Next, I stamped the images from the Fur Real & Fine Ferns stamp sets, colored them with copic markers and fussy cut them out.


I finished by clustering my images on the banner with my heat embossed sentiment and sprinkled some blue gems for sparkle!


Fur Real stamps


Fine Ferns stamps


DIN Lang Postage Slimline dies


Diamond stencil


I am a huge fan of slimline dies and if you are too remember that you can also shorten them for a smaller scene into a mini slimline size!

Thank you for visiting with me today!

Candice

Wednesday, April 14, 2021

Mini Slimline Card with Easy Colouring!

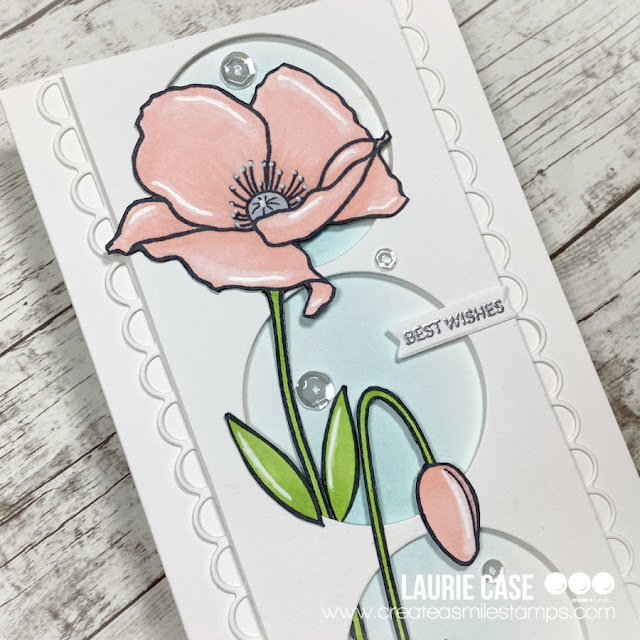
Welcome back and happy Wednesday! Laurie with you today to share a fun, floral card with you!


I wanted to try something new. Well, new to me. We all know that slimline cards are "hot" right now but Mini slimline cards are getting to be quite popular as well! And after making this card, I can see why!


This card measures 3.5" X 6". I trimmed down a piece of white cardstock to approximately 3" wide and used one of the new DIN Lang Borders Cool Cuts to create that adorable scalloped edge. Next I trimmed another piece of cardstock to layer nicely on top. I took the second smallest circle from the Stitched Circle Frames Cool Cuts and basically "eye balled" where to place the die. Thankfully, it worked out pretty well!

For the focal image, I stamped a couple poppies from the Pure Poppies stamp set along with a couple leaves from the Doodle Flowers Set. For the colouring, I used ONE shade of pink, ONE shade of green and a colourless blender. I wanted to see what results could be achieved by keeping things VERY simple!


I did two washes of colour then added a bit more towards the bottom of the leaves and petals. I then swiped the colourless blender along the tips to create a highlight. As you can see, I did go back and add more white with a gel pen.

Now it's time to put all the pieces together! I did some simple ink blending on the scalloped panel. I did try to get a darker shade near the bottom of each circle. I just kept laying the circle panel over top and added ink as needed.

I added the floral images to the circle panel first using liquid glue. I added foam adhesive to the back of the panel as well as areas of the flowers and adhered it to the scalloped panel. I used liquid glue again, to adhere everything to the card base.

The sentiment comes from the Small Sentiments Set which I silver heat embossed onto a small banner.


I really tried to not overthink the colouring on this card. I try not to overthink a lot of things, haha! If you want to try this colouring technique, remember to add layers of the same shade and that the colourless blender and white gel pen are your friends!


Be kind to yourself! Don't compare you or your skill level to others...just create and have fun!!


Thank you for stopping by today!! See you soon!

Laurie