Showing posts with label stacked pierced ovals. Show all posts

Wednesday, November 1, 2017

Going Graphic

Hey stampers, Anni here!

Today I have a Thank You card for you! It is quite simple to make but I really like the watercolour effect.




I had this idea of combining the set Going Graphic with watercolours in my mind for a long time. The set Going Graphic is so versatile and it has so many possibilities.


  • Die cut a rectangle from watercolour cardstock.
  • It is very helpful to use a stamping tool for this technique: Ink up your stamp with Distress Ink and spray it with water - stamp very carefully, don't press too hard or the water (and ink) will squish out. Repeat a second time.
  • If you use a stamping tool, it is easy to achieve a even pattern.
  • Fill up the whole reactangle.
  • Die cut a oval from vellum and a few danke from black cardstock and stack them up for some dimesion.
  • Add a stripe of black cardstock and adhere the panel to black cardbase.
  • Add some enamel dots for the finishing touch.


Some stamp sets are on sale right now. We have some super deals with 30% off. Hop over to the shop to treat yourself.


Monday, August 28, 2017

More flowers......

Well the vacation is over and the school starts again so we are back in bussiness and creating. So here is another card I would like to share with you.


I don't know about you but I really love all those flowerstamps. They are so versatile you can color them, emboss them, use watercolor or simply stamp them onto your project. Here I used white embossingpowder on vellum and copic colored the flowers.


I used a horizontal cardbase and cut a panel out of whitw cardstock slightly smaller then the cardbase.
I used a stencil for my background embossing and also a pierced oval die. I diecut a smaller pierced ovaldie and adhered it to the panel after I randomly stamped some flowerimages. I stamped the flowers on vellum using watermark ink and white heatembossed them. I colored the flowers with copic markers and adhered them to the panel.
Stamped the sentiment onto a white banner and to finish of the card I placed some Pearls in the hearts of the flowers.


Stamps;

Botanical Love, In Bloom and Lights on.


Cool cuts (dies)

Stacked pierced ovals;


Stencil;

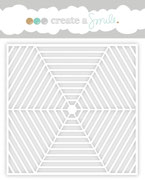
Hexagon web.


Try to combine the different flower stampsets and you'll be surprised how versatile they are.
You can also incorporate sentiments from other sets and you will have a very different card.
About the different stencils try to use them in another way you can easily use them to emboss your papers. You first have to experiment a little to figure out which sandwich you have to use for the different diecut machines and which effect you will get and like.
If you use copics to color your embossed vellum flowers Always color at the backside of your images otherwise you will ruin your copics.


Please visit the create a smile stamps shop if you haven't done already to see all those lovely new stampsets for the month august and as Always we love to see what you create.

Have a great creative week;
Hugs Anja

Monday, February 6, 2017

From the heart......

Hi there it's Anja again with another card for you today.

 
It's that time of the year almost where we want to send some love to our dearest friends or secret lovers!!!!!!!!
And what could we better use for those cards then the lovely heartcritters by create a smile stamps?


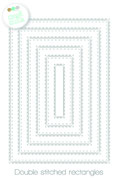
I started with a white topfolded card and diecut a white panel using the double stitched rectangle dies.
I randomly stamped some heart shapes at the background.
I diecut a oval with the dies out of white cardstock and stamped the little pig onto a scrap of copic friendly paper.
Copic colored it and cut it leaving a thin white outline. I stamped a heart and also cut it. I made some slits in the pig to put the heart into his paws.
White heat embossed the sentiment onto some black cardstock and adhered everything together.


Stamps;
 
 
Cool Cuts (dies)
 
 
To give your images even more interest make sure you use light ink for your background stamping so the images pop against your background.
It's so much fun creating your own background by randomly stamping different images.


Join in the fun over at our monthly challenge and share what you create.
 
Have a great week,
 
Hugs Anja

Thursday, August 4, 2016

one pattern paper - three cards

Hello crafty friends, Nicole here.

This is for all who love to use pretty paper but do not like all the leftovers piling up or if you want to make thee cards at once. :-)


I wanted to try if I could take one (almost) 6x6 paper and make cards without having leftover scraps.


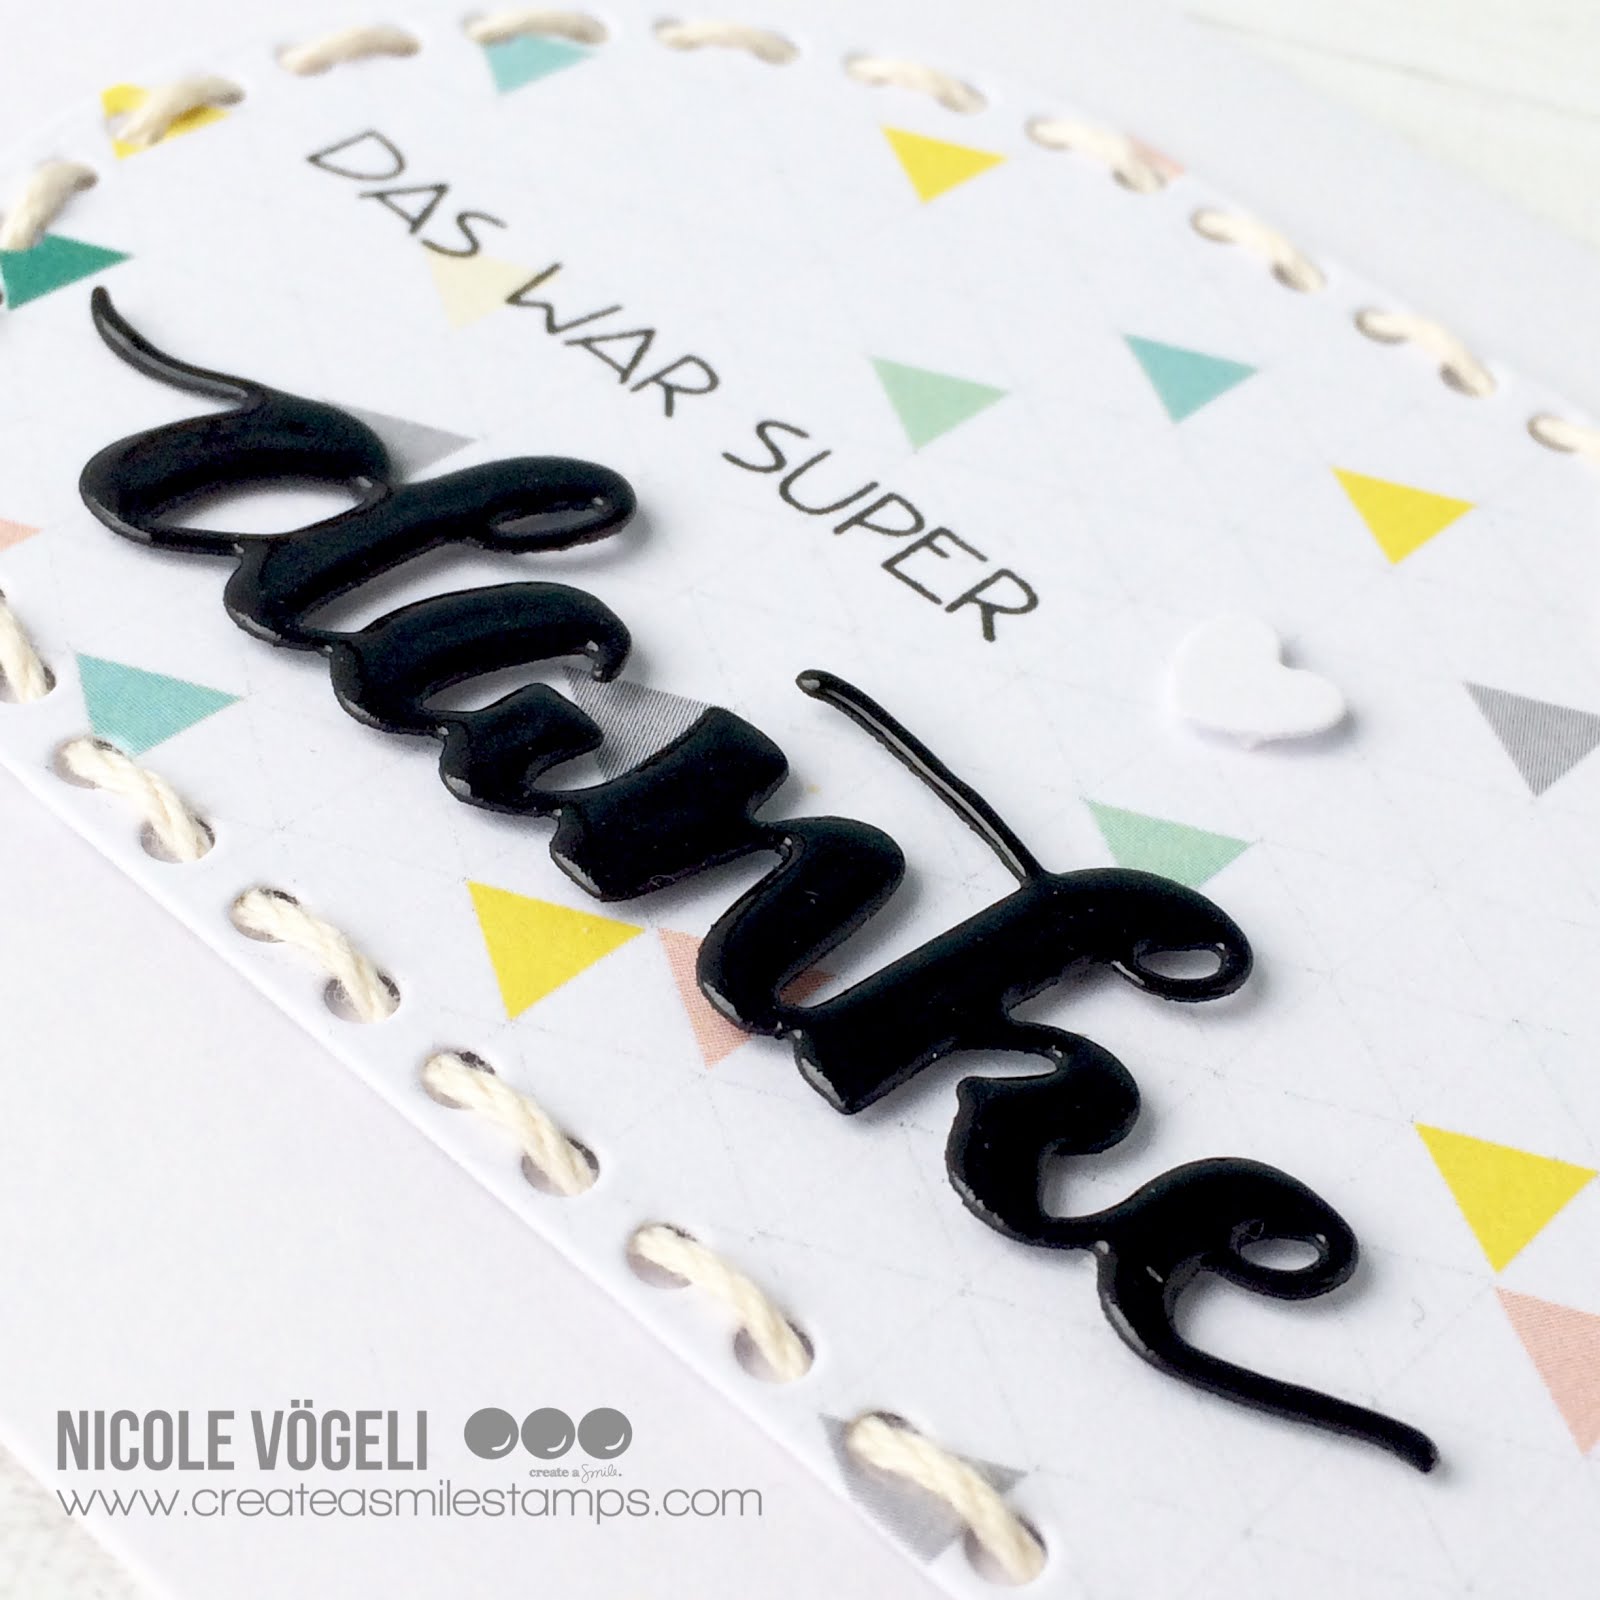
  • Stacked Pierced Ovals
  • Kaffee / Danke Chipboard
  • pattern paper from the Sending Sunshine Kit
  • clear droplets by Pretty Pink Posh
  • lovely tags XS
  • Grüsse XS / sentiments XS
  • Jungle Fever
  • doppeltes Danke / thanks twice
  • mini Danke / mini thanks


Use shape dies to get a frame and an inside part of your pattern paper to make two cards. Stripes of paper can be used as a simple background. Spice it up with a cute critter. :-)

If you use pattern paper with a lot of different colors and you don't own matching inks, papers or pens, try to add neutrals like white, gray or black. They make your cards less busy and help the paper to stand out. These chipboards that look like wood veneer act like neutrals as well.


There's a new monthly challenge going on and we would LOVE to see what you create. Just grab your blue supplies and have fun :-)


Have a lovely day! Thanks for stopping by :-)
Nicole

Monday, June 6, 2016

Underwater love........

Hi there it's Anja again with another card for you today.


I wanted to make an interactive card using those lovely narwhale's from the underwater love set. They are perfect for a slidercard and building a scenery.


I started with a watercolor paper and created with some distress ink colors an underwater background. In the middle of this paper I diecut the two biggest stacked pierced ovals. Stamped different images from the set on copic friendly paper and colored them with copics. Fuzzy cut the images and adhered the little narwhale at the bigger. Adhered evrything onto the card and adhered the panel onto a cardbase with foam tape so it gave me some space to let the narwhales slide through the two ovals. I placed a coin behind the narwhales and placed it between the two oval diecuts.
Stamped some airbubbles and the sentiment and my underwater scene was ready.


Stamps;

Underwater love;


Cool cuts; (dies)

Stacked pierced ovals


We have a monthly challenge going on with the theme; Favorite so join in the fun and let us see your favorites. You can find all the deeds HERE

Have a great week;

Hugs Anja