Showing posts with label colored pencils. Show all posts

Saturday, December 29, 2018

Cool Friends (in Colored Pencils) Card

Hi there!
Samantha here, and today I am sharing a simple, but fun, friendship card!


I really LOVE the image from this set! And usually I fussy cut it out, which takes some time, but is totally worth it, in my opinion! But I wanted to experiment and practice coloring with colored pencils, so this time I stamped it on some kraft! 


Let's make this card together!

- stamp and heat emboss the image onto a light kraft cardstock
- color your images (I used crayola colored pencils, if you can believe it! nothing fancy!)
- add some details to the images with a white gel pen


- heat emboss the sentiment and then add some clear sequins
- so fun, and i LOVE the dimension you can add! 


Guys, this is almost a one layer card!! Which is something I hardly ever do! But I really wanted to try my hand at coloring this adorable image with colored pencils! you could easily have paper pieced those ferris wheel carts! what a fun pop of color that would have been!


That adorable winter image is from A Friendly Turn stamp set! I also used some clear sequins to a little shine! 


There is ALWAYS a fun challenge going on in the Create a Smile Stamp Facebook group page! It's fun and filled with prizes! I love seeing all of the incredible, unique and amazing inspiration!

Friday, September 14, 2018

You Always Amaze Me Card

Hi there!
Samantha here, and today I'm sharing a card with something I've never done before...rainbows! Ha! Just kidding, I meant coloring with colored pencils on a card!


That mandala guys...I am SO in love with it! I've heat embossed it, watercolored, used Copics...I was trying to think of a new way for me to use this stamp and...COLORED PENCILS for the win! Ha!


Let's make this card together! (it's actually pretty easy!)

- I heat embossed part of the stamp onto a piece of light grey colored cardstock
- once it was cool, I started to color it in with colored pencils! I love love love, the little pops of color!


- I heat embossed the sentiment onto a strip of black cardstock
- and then I added a sprinkling of sequins to the background for some shine!


And let me tell you, I don't have ANY fancy colored pencils! These are just plain old faithful-Crayola colored pencils! Ha!


That sentiment is created with the All About You stamp set! LOVE the versatility of the set!
The beautiful background image is the Mandala Cling Stamp Set!


The Create a Smile Stamps shop is closed for a few days since they'll be attending the a trade show in Germany! But feel free to head back September 19th when the shop reopens!

~Samantha
  

Tuesday, November 28, 2017

Deck the Halls!

Hi crafty friends and welcome back to our crafty space.
Raluca here with a new card showcasing the "With Candles and Glitter" stamp set that you can find in the SALE section.


I just love this elegant Christmas stamp set and I haven't played too much with it. I felt like it was time to get it inked :)


First I prepared a white card base and created an ombre background using the Dots cling stamp ad three shades of blue.
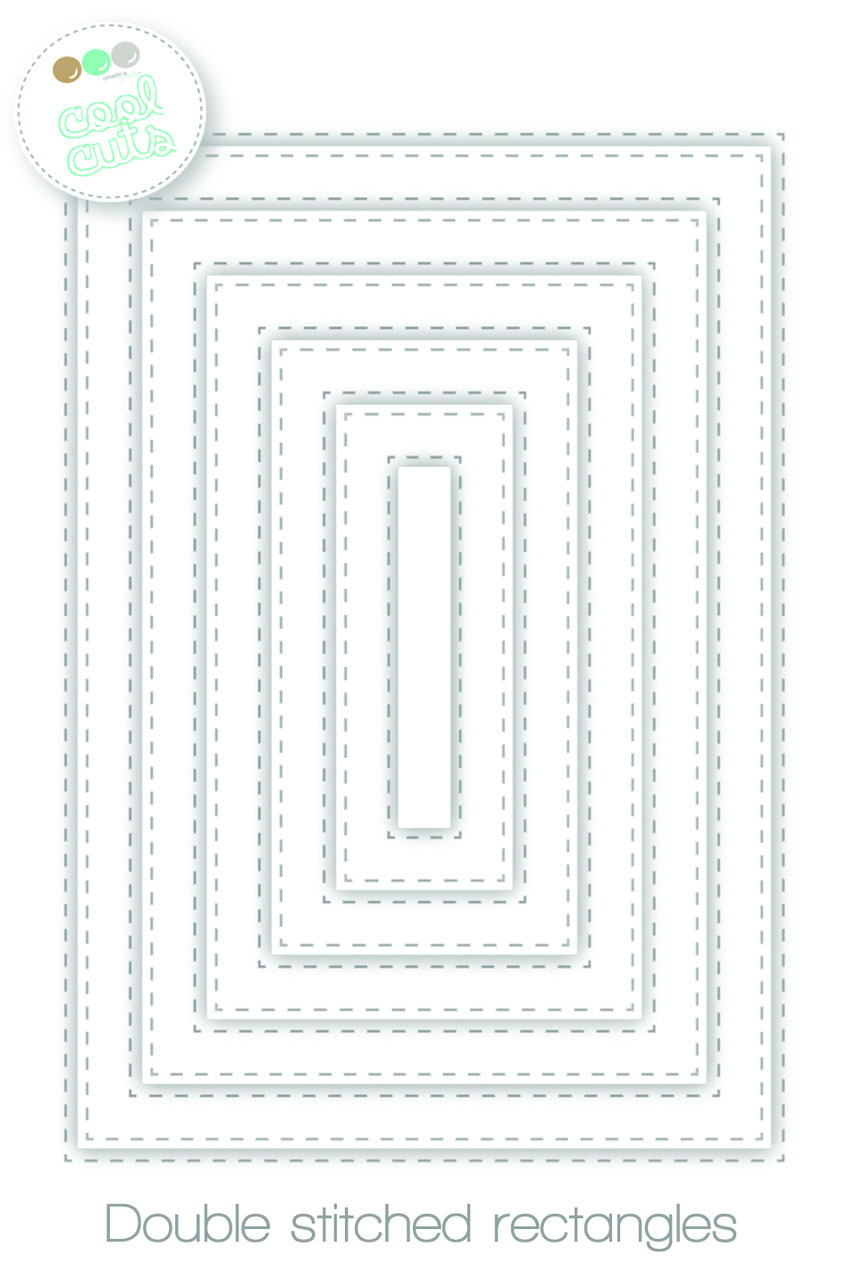
Next I created a white frame using two of the stitched rectangles ad mounted it onto the card base.
Then I stamped the candle and colored it with pencils, fussy cut it and mounted it on the card.
The final step was to stamp and white heat embossed the sentiment on a red strip of cardstock and then adhered it to the card.
And my card was done. Super easy and super quick.


Don't forget that this set is on SALE along with so many more awesome stamp sets. You could expand your Create a Smile Stamps stash and still have some money left in your wallet! ;) Go check it out!


There is currently a MAIL CALL!!
We just LOVE our new office, but some more decoration would be nice... Would you like to create a smile on our faces and also see YOUR card displayed in our headquarter?
We'd love to receive some beautiful Christmas projects using Create A Smile products.

Please send them to:
Create A Smile
Merremstr. 21
47053 Duisburg
Germany
We'll of course be sharing the received projects - on Instagram, Facebook and on our blog!

Have a lovely Tuesday!
Thanks for stopping by,
Raluca

Tuesday, January 17, 2017

Best Wishes (sneak peek)

Hi everyone! Raluca here with a new card that it's also a little sneak peek of some stamps that are soon coming to the store.


I had the middle stamped piece from a project that I worked before and I really wanted to use it, so I decided to make it the focal point of this card.


* on a mint cardstock I stamped the Solid Hexagons stamp using VersaMark and I heat embossed it with clear embossing powder.
* I took the leftover piece with the stamped floral wreath and I added a few sentiments and then I colored it using some colored pencils from my stash.
* I added two black glitter strips to the middle panel and popped it to the mint panel using craft foam.
* I added some craft foam on the back of the mint panel and adhere it to my white card base.
* I embellished my card using a few clear sequins from Pretty Pink Posh and my card was done. 


If you love Instagram like I do, you can follow Create A Smile using the name @createasmilestamps and if you have any questions about card making, techniques or products or if you want to share your creations with Create A Smile fans join us on our Facebook group Create A Smile - Friends & Family :).

Have a lovely Tuesday!
Thanks for stopping by,
Raluca


Tuesday, November 8, 2016

Thanks for everything!!


Hi everyone, Raluca here with a colorful and easy to make card.


I wanted to make a Thanksgiving card using some fall colors and the gorgeous "Time to say thanks" stamp set.


* on a piece of kraft cardstock I stamped all over it, in VersaMark, some of the word stamps from the "Time to say Thanks" stamp set.
* on a piece of watercolor paper I embossed in gold, three times one of the leaves, then I added color with Distress Inks using the ink blending technique and fussy cut them.
* I adhered the leaves on the kraft cardstock using craft foam.
* for the sentiments I embossed in white the word "thanks" on a piece of vellum and "for everything you did" on a strip of black cardstock.
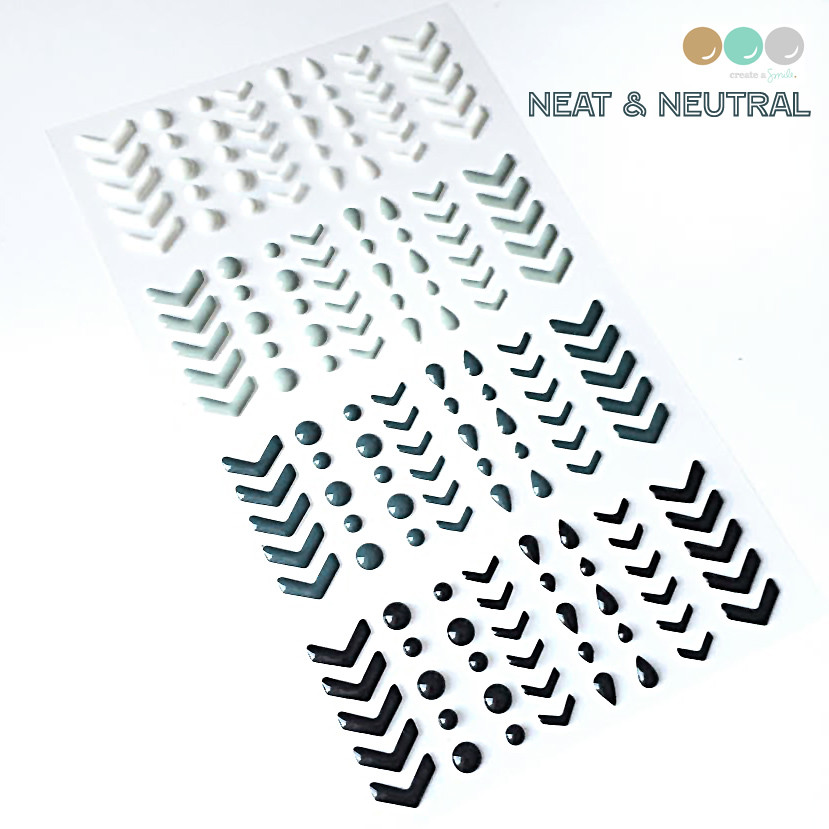
* I glued the sentiments on the kraft panel and added some enamel accents to add more interest to the card.
* I also added two strips of gold glitter paper and mounted everything on a white card base.


If you want the leaves to pop out more, add a white line around the leaves.


Time To say thanks


Double Stitched Rectangles


Neat & Neutral Enamel Stickers / Snow Dance Enamel Stickers


If you love Instagram like I do, you can follow Create A Smile using the name @createasmilestamps and if you have any questions about card making, techniques or products or if you want to share your creations with Create A Smile fans join us on our Facebook group Create A Smile - Friends & Family :).

Have a lovely Tuesday!
Thanks for stopping by,
Raluca


Tuesday, November 1, 2016

Not feeling goat?!


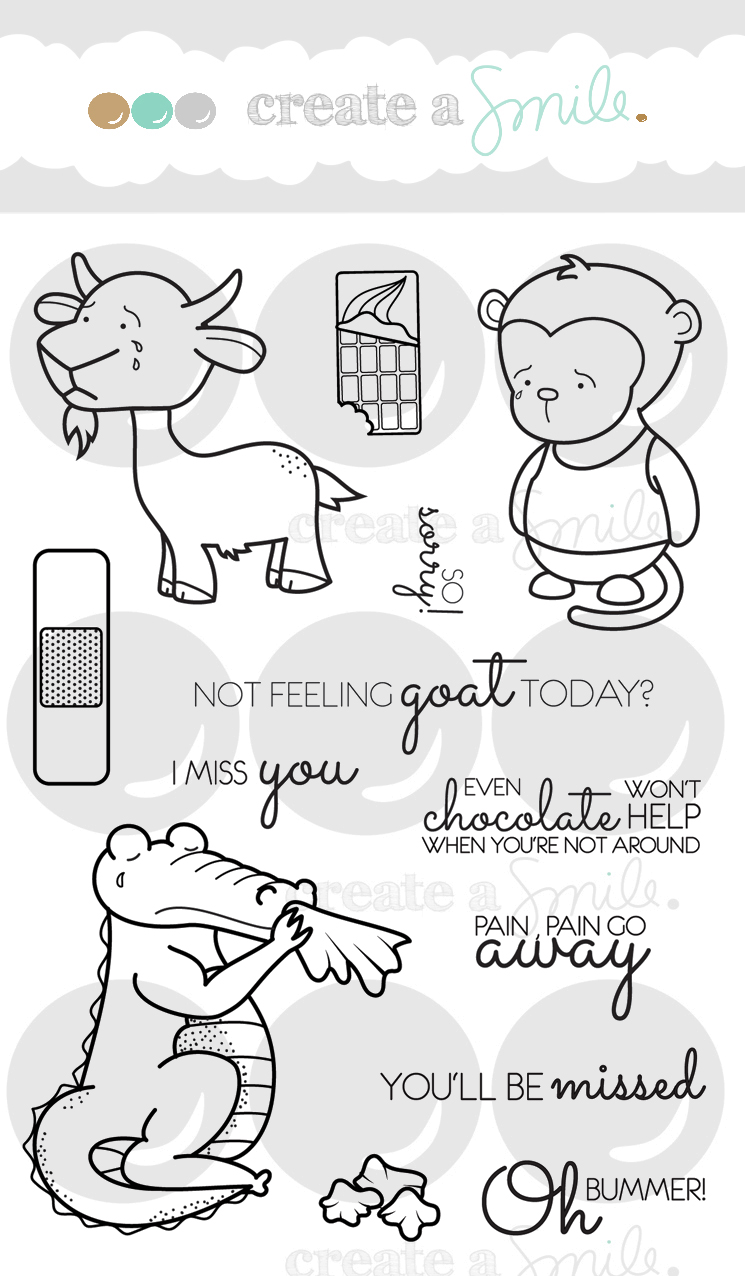
Hi everyone! Raluca here with a clean and adorable card using the cute goat from the " When you're not around" stamp set.


I really wanted to use this fresh color palette and I thought that it goes well for brighten up someone's day.


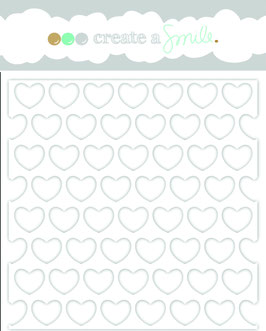
* I die cut a white panel using the largest stitched rectangle, I placed my stencil over it and I added some white texture paste on it. After it dried I added color on the hearts using a few Distress Inks.
* Then I die cut a frame using the next 2 stitched rectangles and I mounted it using foam tape.
* I stamped and colored the cute goat and I added a vellum circle behind it. I adhere everything using foam tape.
* Then I stamped the sentiment on a yellow strip and I adhere it to the panel.
* I added a few clear sparkling sequins and I mounted everything on a white card base.


When you're not around


If you love Instagram like I do, you can follow Create A Smile using the name @createasmilestamps and if you have any questions about card making, techniques or products or if you want to share your creations with Create A Smile fans join us on our Facebook group Create A Smile - Friends & Family :).

Have a lovely Tuesday!
Thanks for stopping by,
Raluca