Showing posts with label Where your heart is. Show all posts

Wednesday, June 20, 2018

We dare you to create a smile - Mood board

Hello everyone!


I can't believe how fast time is flying by when you have fun! Is almost 6 months since we started '' We dare you to create a smile '' challenge and boy! we had fun and lots of inspiration along!

As you may know we are going to have a new challenge team starting next challenge , but I really wanted to take a moment and say a big Thank you to the current team! I had such an amazing time with these fabulous ladies <3 they are incredibly talented and such good friends! Thank you for making this challenge so much fun my lovely friends I will sure miss you .

Now let's see the theme for this challenge! Yay! Mood board ! Christine created this stunning mood board that is so awesome!


Can't wait to share with you what our design team created !

Alexandra made this card using Fun flowers stamp set  , Cool cuts Hello Twice , Scattered hearts stencil


Chris created this gorgeous card using In Bloom stamp set Nur mal hallo sagen stamp set


Galina created this beautiful card using Unfrogettable stamp set


Kaja made this awesome card using Served up! stamp set , Just because stamp set


Laura created this adorable card using Lights on stamp set , Where your heart is stamp set and she also created a video 


Nicky made this beautiful card using Where your heart is stamp set


Hope you got inspired to play along with our challenge! Please take a moment to read the rules which are posted below


Thank you for stopping by today! Have a great day! 


Sunday, March 25, 2018

Slider Video Tutorial


Hi Everyone!

Today I have a slider tutorial for you! Hope you'll like it!


While looking through my stamps my eyes got caught on this little party hat, and I just couldn't stop thinking about how it looked like a cheese! And just needed to make a pile of cheese in the cart on the same stamp set, Cart Full Of Treasures, but you can't have cheese if you don't have a mouse. So I dived into my stash once again, and found this adorable little mouse on the Where Your Heart Is stamp set. And of course I needed to add some movement. And that's how the card came together.


To see how I put the card together see the video below.


STAMPS:
Cart Full Of Treasures
Where Your Heart Is

COPICS:
Mouse & Koala: C0, C2, C4, C6, C8, C9, E57, E59, E49, B91, B93, B95, R30, R32
Cart & Cheese: B91, B93, B95, Y13, Y15, Y17, C0, C2, C4, C6, C8, C10

Polychromos:
White, Payne's Grey, Cold Grey IV, Cold Grey II, Black, Ivory, Sky Blue, Light Ultramarine, Ultramarine, Dark Cadmium Yellow, Dark Chrome Yellow, Burnt Siena, Walnut Brown, Dark Flesh, Light Flesh


You can put anything in the cart, the stamp comes with flowers, gifts, moving boxes and baby koalas, but with a little masking you can fill it with any other stamps. Combining stamp sets are always fun.

Tuesday, October 17, 2017

Merry Christmas!


Hi crafty friends and welcome back to our crafty space.
Raluca here with a new card showcasing a few of the mini stamp sets from Create a Smile Stamps.


I wanted to make a Christmas card and playing with more products from the store so I chose 3 mini sets and combined them into a card.


First I prepared a night winter sky using my daughters markers. Just scribbled some blue, purple and pink and I added clean water, I let it to dry ad my sky was done. For more effect I added a few white splatters. Next I stamped in VersaMark and white heat embossed the gorgeous sentiment. I die cut two snow hills and mounted them onto the panel.


Then I stamped the images, colored them and fussy cut them. I added them to the panel and I mounted the entire panel to a white card base. I felt that something was missing so I added some snowflakes stickers that I had in my stash ad my card was done.


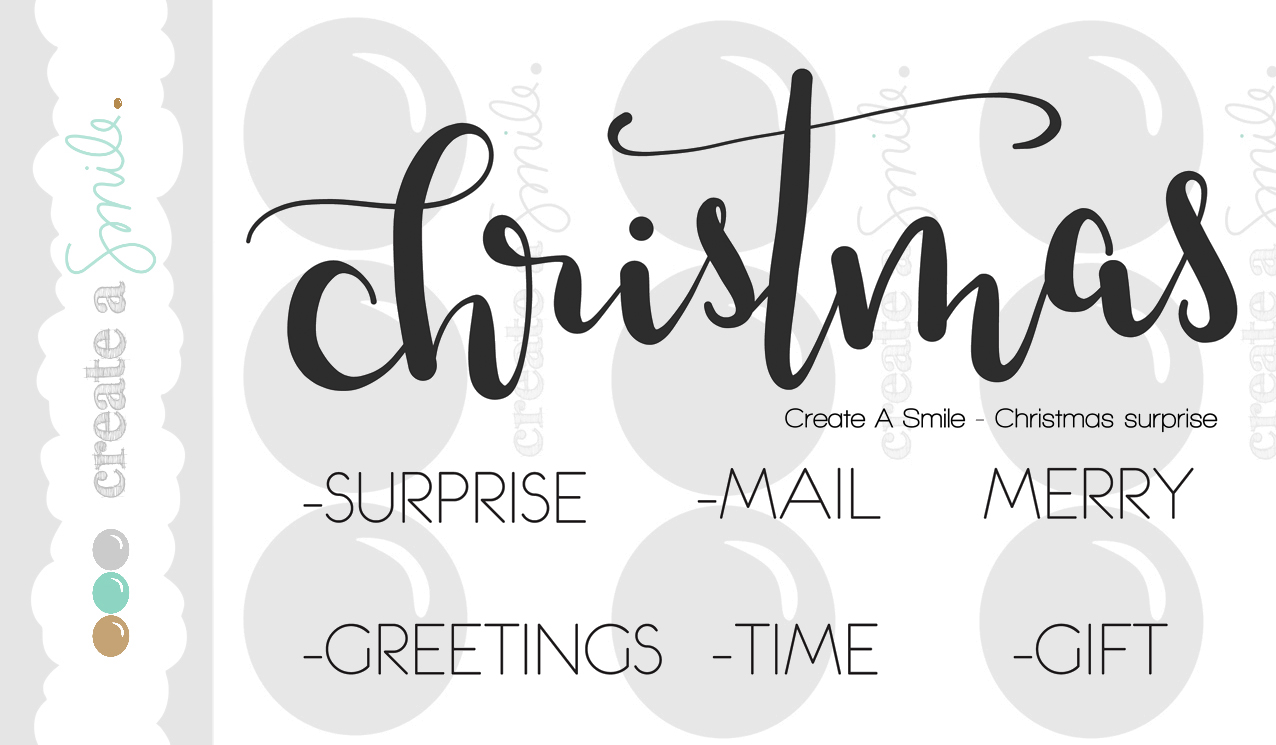
Christmas surprise


Snow Dance Mini Set


Where your heart is


If you love Instagram like I do, you can follow Create A Smile using the name @createasmilestamps and if you have any questions about card making, techniques or products or if you want to share your creations with Create A Smile fans join us on our Facebook group Create A Smile - Friends & Family :).

Have a lovely Tuesday!
Thanks for stopping by,
Raluca

Thursday, August 17, 2017

Comeback Party #3 (+Guest Designer and Freebie!)

Good morning crafty friends,

what a great week so far. We've had so much inspiration and your comments about the cards and stamps really make us happy (keem 'em coming ;) )


It's time for #3 of our fabulous release party!

For those of you who have not heard yet, all info can be found here


Here's a short roundup of everything going on this week

1. Instagram-Challenge
You can win a 10€ gift card EACH day this week!

2. Giveaways
There will be a fantastic giveaway on this blog on friday

3. Freebies:
There will be a new digital freebie later today and you can get free products with each order placed between August 18th and August 20th that hit a particular amount. For example this exclusive mini stamp set:


Release:
We are releasing some cute and fun sets this month.
They will be available in the stire on Friday, August 18th (my birthday) at 10am CET /4am EST


We are happy and honored to welcome Vanessa Amann back as our Guest designer today - please give her a warm welcome!


______________

Hello everyone,

Vanessa here on the Create a Smile Stamps Blog to show you a light up card using some stamps from the new release and the Chibitronics Starter Kit. 


When I first saw the lampion Sets I knew I had to use it for a card that lights up. Long time ago I saw Jessica creating a card with a slider switch and I wanted to recreate it. This was the perfect opinion. 


- Stamp the mole with Memento Tuxedo Black Ink on Copic friendly paper and color him in. I used E42, E44, E82 and E84 and  for the glasses I used B000 and the glas frame R39. Then fuzzy cut the image. 
- Stamp all the lampion images on your panel in the way you want it to look like later. Then cut the lampions out and ink the panel and the grassy border in using distress inks (chipped saphire, mowed lawn, twisted citron) and distress oxides inks (wilted violet, faded jeans, broken china). At the end just spritz with some glitter spritz over the panel, so it would have a nice shine. 
- Emboss the lampions on vellum and the sentiment in the card panel. And glue the lampions behind the cut part from the card panel. 
- you have to create the circuit on the card base. It is a little bit hard to explain written but in the video it is explained in German and linked to the video from Jessica, who explained in English. 
- to finish the card put everything together and give it a little finishing touch using sequins from Pretty Pink Posh. 


Creating LED cards can be tricky sometimes especially when the circuits are a bit complicated. It is helpful the create a sketch before making the card. 

I hope you found that tutorial helpful and you enjoyed this card. I wish you all a great Create a Smile welcome back event and hope to see you again soon.

Vanessa 

_____________

I think this card is so much fun and I love that each lantern can be lit up seperately! Thank you so much Vanessa for sharing your art with us!

Make sure to visit Vanessa's blog to find more inspiration and amazing projects!


The DT also has some more fabulous inspiration for you, let's check that out:


This card by Raluca using Cart full of treasures/Wagen voller Schätze is a true stunner - look at that layout and at the colors she used. I think this card is true perfection!


Nicole made two cards using the In Bloom stamp set, both cards are pretty simple, but perfectly balanced and eye-catching.


I especially love the way she added a black/white image to a colorful background. And did you notice that she used the challenge-moosboard as inspiration! It's simply wonderful!
(You have 3 more chances to win a 10€ gift card if you play along!)


What a super cute scene by Raluca! She used where your heart is /Wo dein Herz ist and used all the images on one card - fabulous! She managed to have a bright red trailer without overloading the card....!


She also made another card with the cute mole from Light up the dark/ Licht ins Dunkel. I think that strip of a nightsky makes this layout special!


 I  also made two cards for you. The first one uses the new FREEBIE "Lemonade" that is up on our freebie-page now - we can't wait to see what you create with it. Please share with us! <3
The background was made with Fruit Salad - the mini set that comes FREE with orders over 60€ placed between August 18th and August 20th ;)


this is the freebie:

I also used Fruit Salad for my second card and used the mood board as an inspiration:


I have one last card for you.... This was made by Tanja (@tanja.kabel)  and she was the second winner of our moodboard challenge over at Instagram.... :)

Remember, this is the moodboard for the challenge:
and this was Tanja's card that we just LOVE:


She used Crokisses/Kroküsse and Friends like you for her card and used the color scheme from the moodboard. We thought that this card was really pretty and extremely well executed! Well done, Tanja!

Tanja won a 10€ gift card and if you want to win one as well - go ahead and play along in the challenge on instagram, don't forget to follow the rules (posted below the moodboard-picture on IG).


Thanks for checking back - I am pretty sure you found some great inspiration on the DT's cards - if you did - please let them know!


Have a wonderful sunny day