Showing posts with label Christmas Surprise. Show all posts

Saturday, September 25, 2021

Candy Cane Trees and Christmas Greetings Card

Hi there!
Samantha here, and today I am sharing a cute little Christmas card!


As soon as I saw those horizontally striped trees, I knew I wanted to make them like candy canes!! (Honestly, my first thought was rainbow...but then came candy canes! lol!)

 

Let's make this card together!

- first, I stamped colored all the images with Zig Clean Color Real Brush Markers and then once they were all dry, I fussy cut them out!
- I used Distress Oxide Inks in Blueprint Sketch, Mermaid Lagoon and Cracked Pistachio to add the ombre colored background


- then I used the stencil and some white embossing paste to add the textured stars! loooove that stencil!

- I made sure to stagger the trees, so they weren't all the same height


- I heat embossed the large scripty phrase in black onto vellum and then fussy cut it out! Then, I heat embossed the rest of the sentiment in white onto a strip of black cardstock!



I went with complimentary colors for my card, but this would be just as beautiful with tone-on-tone colors, as well!


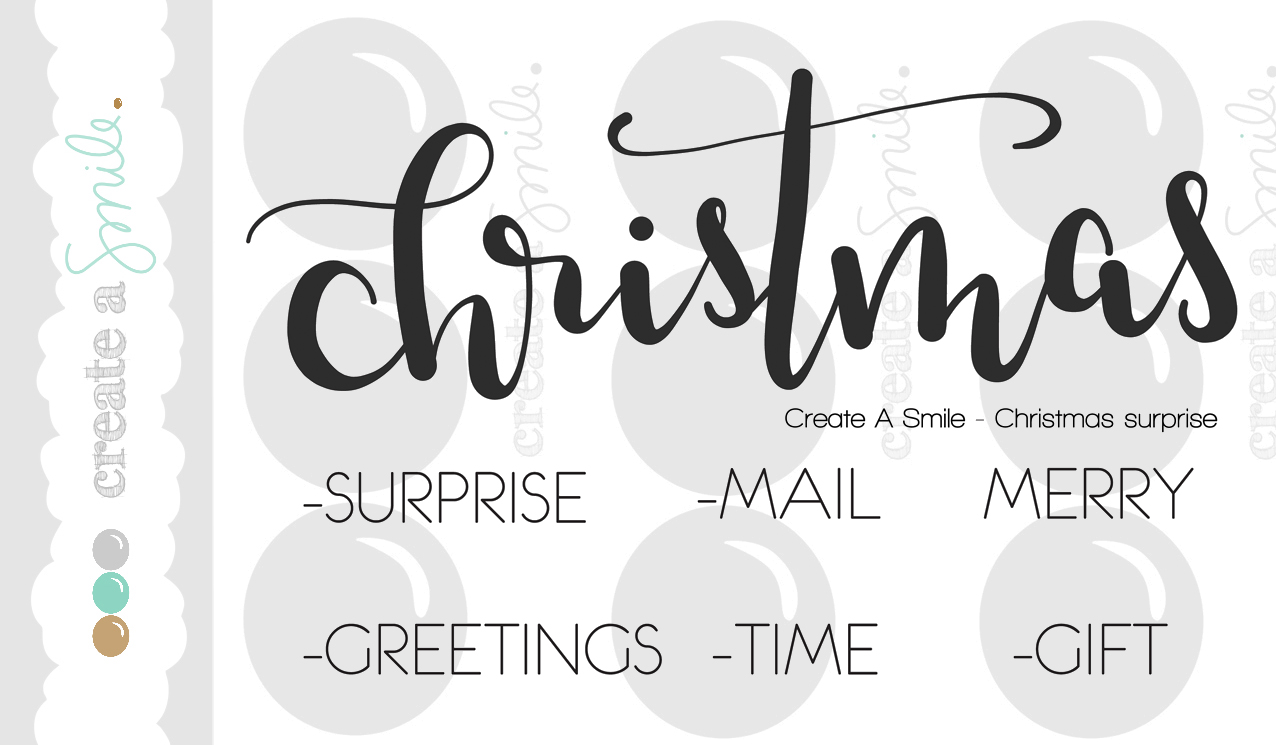
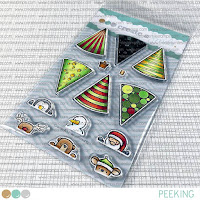
The trees and cute little reindeer are from the new Peeking stamp set! The background was created with that Twinkle stamp set and the sentiment is from Christmas Surprise!


There is ALWAYS a fun challenge going on in the Create a Smile Stamp Facebook group page! It's fun and filled with prizes! I love seeing all of the incredible, unique and amazing inspiration!
 
~Samantha


Saturday, October 24, 2020

Rainbow Snowmen in the Snow Card

Hi there!
Samantha here, and today I am sharing a bright and cheery christmas card!


See? I told you it was bright! Lol! I really LOVE those adorable snowmen together, and I thought it would be SO cute to create a huge line...long enough for a slimline card...all colored with rainbow hats!

Let's make this card together!

- first, I stamped colored all the images with Zig Clean Color Real Brush Markers and then once they were all dry, I fussy cut them out!
- it actually seems like a lot of little images, but it wasn't hard, most of the images are easy to cut, and I didn't do any complex coloring or shading!
- then I used a hilly mask along the base of the card front to do a little Distress Ink Blending. I only used Mermaid Lagoon and Tumbled Glass.
- then I splattered water, white acrylic ink and ink on the background!


- I die cut out the 'merry' letters from black cardstock and then very delicately glued them on the background! lol!
- next, I heat embossed the scripty Christmas in black onto some vellum, and fussy cut around it. 
- and contrary to what I usually do, I ONLY popped up the Christmas word with foam tape! everything else is flat on the card! 


- I also sprinkled sparkling clear sequins from Pretty Pink Posh to finish it off!


If you want to add some more dimension to your card, you should die cut out the letters multiple times and glue them all on top of each other! that will add some added, extra height to your sentiment!


The "merry" letters were die cut out with the Cherry Lowercase Cool Cuts and the beautiful, scripty font is from the mini Christmas Surprise stamp set. And those adorable snowmen are from the Easy Breezy stamp set!


There is ALWAYS a fun challenge going on in the Create a Smile Stamp Facebook group page! It's fun and filled with prizes! I love seeing all of the incredible, unique and amazing inspiration!
 
~Samantha


Saturday, December 23, 2017

Heat Embossing Background Stamps

Hi Everyone!

Marika here with a new video tutorial. Today I have a Heat Emboss Background Stamps Technique, which is a very long name for something very quick and simple.


When I saw the Stars and Scribbles Backgroud Stamp I just fell in love and I knew I just had to have it, and being a just a day before Christmas (in Sweden we celebrate on Christmas Eve) I thought a quick and simple card was in order.


This card is super easy to make, and I made a video showing you step by step how I did. You can watch the video in HD HERE.


I recommend doing the blending on the edges at the very last, as then you don't need to wait for it to dry before adding the sentiment. One of the great things with embossing powder is that if you get any ink on it, you can use a dry or nearly dry cloth to wipe the ink off it when you are done.


Stars and Scribbles
Christmas Surprise
With Candles and Glitter

Tuesday, December 12, 2017

Stars 'n scribbles

Hi crafty friends and welcome back to our crafty space.
Raluca here with a new card showcasing the absolutely gorgeous "Stars 'n scribbles" stamp set.


For this card everything started with me wanting to play with Distress Inks and this gorgeous cling stamp.


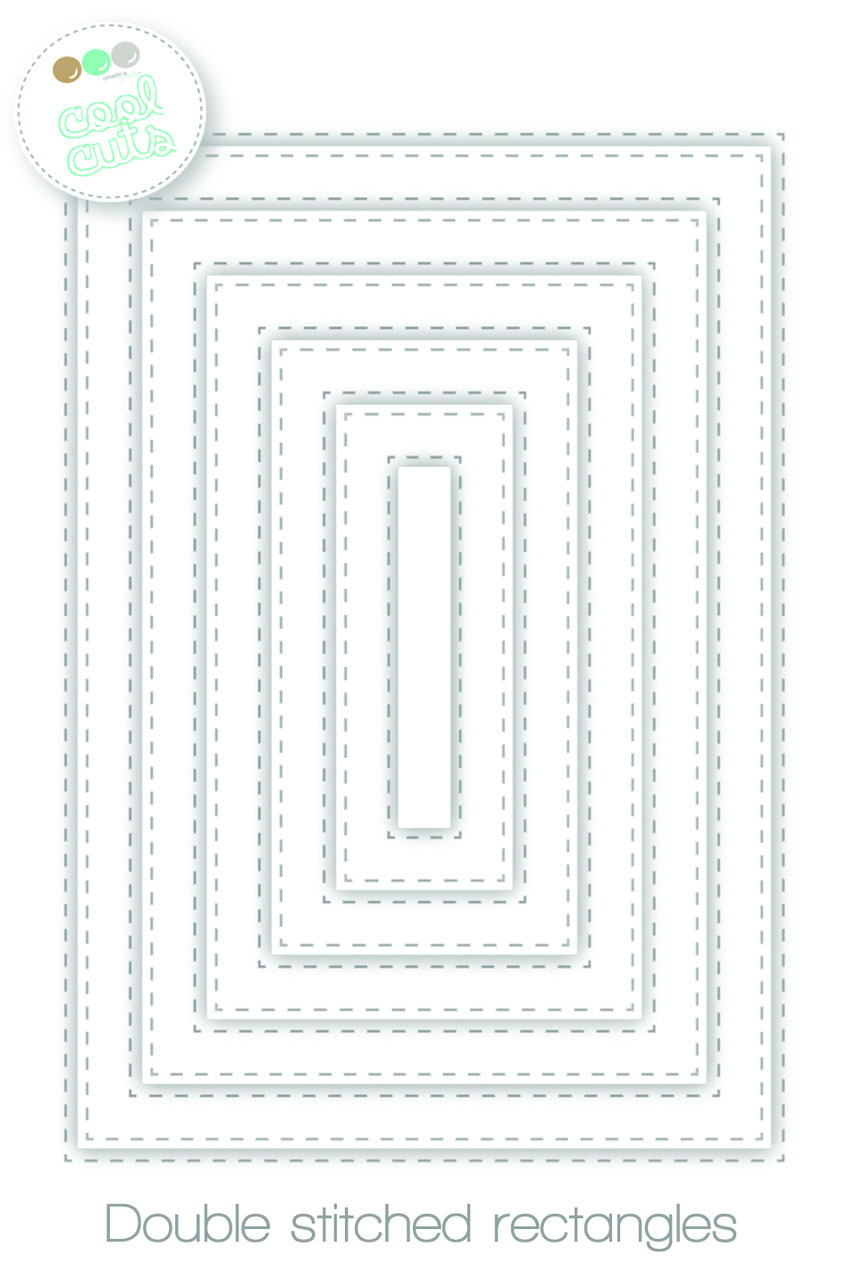
First step into creating this card was to create a watercolor panel using Mini Distress Inks. On a watercolor cardstock I smooshed Chipped Sapphire, Peacock Feathers, Mermaid Lagoon, Seedless Preserves and Picked Raspberry Ink pads directly on the panel and sprayed it with clean water. The colors started to spread and blend and it created a gorgeous background. Then I die cut it with the largest stitched rectangle.
Next I stamped in VersaMark and white heat embossed the "Stars 'n scribbles" stamp on the panel. For more effect I added white splatters all over it. Then I stamped in VersaMark a few snowflakes and added Perfect Pearls on them.


Next I stamped the sentiment on a piece of vellum and white heat embossed it. I mounted it on the panel using craft foam and I added the second part of the sentiment white embossed on a purple strip of cardstock.
To finish my card I mounted the panel on a white card base and my card was done.


Double Stitched Rectangles


There is currently a MAIL CALL!!

We just LOVE our new office, but some more decoration would be nice... Would you like to create a smile on our faces and also see YOUR card displayed in our headquarter?
We'd love to receive some beautiful Christmas projects using Create A Smile products.
Please send them to:

Create A Smile
Merremstr. 21
47053 Duisburg
Germany

We'll of course be sharing the received projects - on Instagram, Facebook and on our blog!
Have a lovely Tuesday!

Thanks for stopping by,
Raluca

Friday, October 27, 2017

A Magical Christmas Background

Hi there!
Samantha with you today, sharing an easy, fun and magical Christmas card! 


*swoon* that scripty font is just GORGEOUS!! I had to try to make a background worthy for it! 


Let's make this card!

- on a piece of cardstock, add watercolor! (I used Ken Oliver Color Bursts to create that beautiful turquoise color!)
- set aside to dry
- heat emboss the scripty word onto a piece of vellum and fussy cut 
- also heat emboss the rest of the sentiment onto a piece of black cardstock


- once the background is dry, use your stencil and two colors of embossing paste! (I used gold and white and LOOOOVE how it looks!)

- attach the phrases to the card


I love combining two different embossing pastes together! the tranisitons from gold to white add so much magic and fun! Just be sure not to contaminate the containers of embossing pastes together! Ha! 


I am in LOOOOOVE with the scripty font of the Christmas Surprise stamp set! I combined it with a small phrase from the Cool Buddies stamp set! I used the Waves of Snowflakes stencil in white and gold embossing paste! 


We want your opinion!!! Should the Create a Smile Shop also carry basic stamping supplies like acrylic blocks and ink? We want to know what YOU want!! Hit us up with your opinions!

~Samantha


Tuesday, October 17, 2017

Merry Christmas!


Hi crafty friends and welcome back to our crafty space.
Raluca here with a new card showcasing a few of the mini stamp sets from Create a Smile Stamps.


I wanted to make a Christmas card and playing with more products from the store so I chose 3 mini sets and combined them into a card.


First I prepared a night winter sky using my daughters markers. Just scribbled some blue, purple and pink and I added clean water, I let it to dry ad my sky was done. For more effect I added a few white splatters. Next I stamped in VersaMark and white heat embossed the gorgeous sentiment. I die cut two snow hills and mounted them onto the panel.


Then I stamped the images, colored them and fussy cut them. I added them to the panel and I mounted the entire panel to a white card base. I felt that something was missing so I added some snowflakes stickers that I had in my stash ad my card was done.


Christmas surprise


Snow Dance Mini Set


Where your heart is


If you love Instagram like I do, you can follow Create A Smile using the name @createasmilestamps and if you have any questions about card making, techniques or products or if you want to share your creations with Create A Smile fans join us on our Facebook group Create A Smile - Friends & Family :).

Have a lovely Tuesday!
Thanks for stopping by,
Raluca