Showing posts with label Season's Greetings. Show all posts

Saturday, December 4, 2021

Pining for You This Christmas Card by Samantha Mann

Hi there!
Samantha here, and today I am sharing a sweet Christmas card with you!


Those cute, chubby little pine cones are some of my favorite images, and I couldn't wait any longer to make a Christmas card with them!

Let's make this card together!

- first, I stamped colored all the images with Zig Clean Color Real Brush Markers and then once they were all dry, I fussy cut them out!
- I used Distress Inks in Pine Needles, Mowed Lawn and Twisted Citron to ink blend the background
- then I used placed the Blizzard Stencil on top and used the same colors, but with more pressure
- once that was done, I used the Twinkle Stencil and some white embossing paste to add texture!


- I also splattered some white acrylic ink on top
- I heat embossed the scripty part of the sentiment in white onto some vellum and then fussy cut out around it.


-finally, I finished off the card by heat embossing in white onto black cardstock, the tiny phrase to finish it off!!

 

Stamping out the custom phrase took some time, but I really love making my own punny phrases! It would be quicker to recreate this card to use one of the many amazing phrases from Create a Smile Stamps!


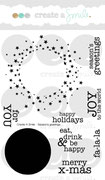
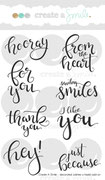
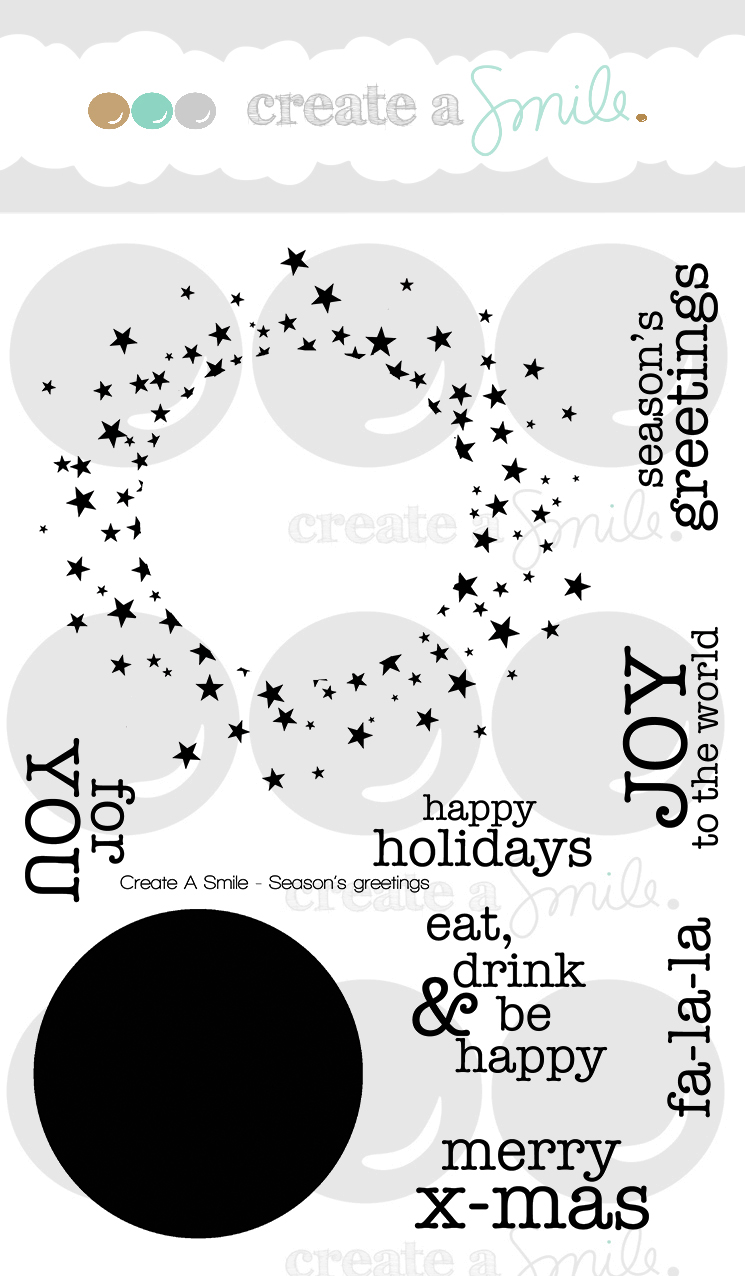
For the background, I used the Blizzard Stencil and Twinkle Stencil. Then I used a combination of the Lettering Alphas, Clear Letters, Season's Greetings and Small Christmas Sentiments. And of course, who could forget the adorable Cones!


There is ALWAYS a fun challenge going on in the Create a Smile Stamp Facebook group page! It's fun and filled with prizes! I love seeing all of the incredible, unique and amazing inspiration!
 
~Samantha


Saturday, July 14, 2018

((VIDEO)) Christmas in July: 1 Card 3 Ways

Hello crafty friends! It's Jess and today I have three cards created with very similar materials with some accommodations depending on your supplies. I am featuring the Season's Greetings stamp set.


As I was reorganizing my craft room recently I came across the Season's Greetings stamp set and really wanted to play with it but didn't want to wait until the winter months. So I decided it would be perfect for a Christmas in July feature.


I decided to use some metallic cardstock because I love a little shimmer on Christmas cards. But it presented a challenge because most inks will not dry on metallic cardstock. So I decided to do some heat embossing. I had a dilemma though because I wanted to layer a sentiment on top of the inner circle and layering embossing powder created a fuzzy sentiment so I experimented with some other ways to create a similar card. You can get more details in the video:


If your first idea doesn't work out, don't get frustrated. Think about how you can switch up some of the supplies to get a similar effect.


Be sure to join the latest Create a Smile Challenge.

Monday, March 5, 2018

Welcome little one......

It's already March can you believe it? Are you ready for some spring weather well I am. So for today I made no not a spring card but it's about new life.


Sometimes you really have no idea to make a card. I often visit YouTube or several blogs and look for inspiration. For this card I came across a card made by Therese and I really liked the idea.


I started with a topfolded white cardbase and two panels of white cardstock. I first stamped the circles on two panels using the misti to make sure that I positioned the circles in the same way.
I stamped the images onto one panel and cut them out. You can use the negative to position your cut out images on the other panel. I adhered them with some foamtape so they stood out.
Stamped the other images and adhered some water droplets to finish of the card.


Stamps;

Eggstraordinary egghunt, sending Sunshine, underwater love and Season's greetings.


Clear water droplets;


We have a new challenge going on so please join in the fun and stay tuned for the new release in a couple of weeks and it's another great one I promiss.

Have a nice week;

Hugs Anja

Monday, January 8, 2018

Hooray!!!!!!!

Hello here is Anja again with another card for you in this new year.
I hope you all had some great holidays and are eager to create again, so happy new year and may it be a very creative one.


First I wanted to make a christmascard for my stash since I got very stressed at the end of 2017 when I realized how many cards I still had to make. So for this year I am gonna make at least one christmascard a week. But when I finished the background and took out the monsters I thought it would make a great birthday card so here it is.


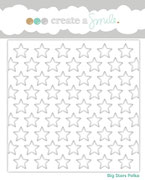
I started with the background using the star stencil and the stars stamp. Cut a strip of green cardstock for the sentiment and placed it upon a strip of patterned paper. Stamped the images and copic colored them.
Adhered everything to the panel and adhered that to the cardbase.


Stamps;

Beast feast, Season's greetings, Decorated wishes mixed add-on and Monsterparty.


Stencil;

Big star polka.


Cool cuts ( dies);

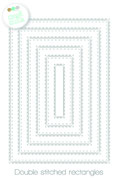
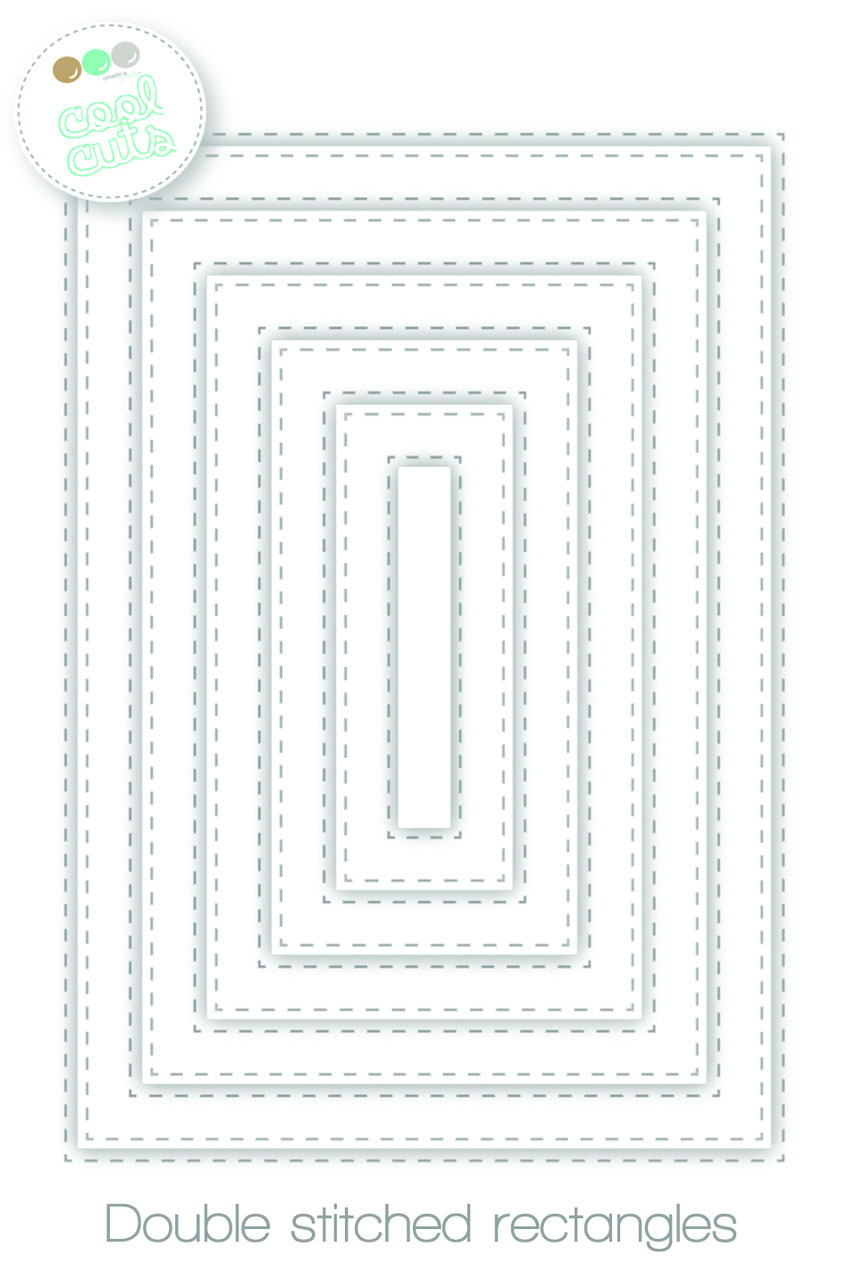
Double stitched rectangles.


Patterned paper;

Sending Sunshine


Sometimes you have to think out of the box and look at your stamps in a different way so you can use christmasstamps also for a winter theme or like here in combination with other stamps for a birthday card.
You can either make your card very colorful but for this card I choosed only two colors which gave the card a more clean and simple look.


Have a great week,

Hugs Anja

Tuesday, January 2, 2018

Happy New Year!

Happy New Year everyone! Welcome back to our crafty space.
Raluca here with a new card showcasing the absolutely gorgeous "Hocus Focus" & "Season's Greetings" stamp sets.


Since this is my very first card this year I wanted to wish all of you a Happy New Year! May this new year be the best you have ever had!


Now let's talk about the process of making this card:

- I die cut a white panel using the largest stitched rectangle
- On the panel I stamped the focal stamps using 3 different colors, creating the idea of fireworks. I just love how they look together and they really do look like fireworks, right?
- In the center of the panel I stamped a sentiment from my stash.
- In the middle of the fireworks I added some sequins coordinating the colors of them with the colors of the fireworks.
- I mounted the panel onto a white card base using craft foam and my card was done.

Super easy, super quick and with a beautiful result!


How do you use these focal stamps? Have you thought about creating fireworks with them?


You can also use this design for birthday cards, graduation cards, Independence Day cards by just changing the sentiment and the colors of the fireworks. 
And these would be really easy to mass-produce especially if you decide to make them one-layer cards.


Create A Smile is looking for Challenge DT members!
Term: January 2018 - June 2018 and the call is open worldwide! Check out https://www.createasmilestamps.com/  for more information and good luck! ;)

If you love Instagram like we do, you can follow Create A Smile using the name @createasmilestamps and if you have any questions about card making, techniques or products or if you just want to share your creations with Create A Smile fans join us on our Facebook group Create A Smile - Friends & Family :).

Have a lovely Tuesday!
Thanks for stopping by,
Raluca