Showing posts with label Big Stars Polka. Show all posts

Saturday, April 25, 2020

How About an Update?

Hi there!
Samantha here, and today I'm excited to share a cute card that would be perfect to send to a friend you wanted to check in with! 


I honestly LOVE those robots! I wish there were other sets with the robots (hint hint Christine!! Ha!)!  So I knew I wanted to color use them for this fun, shaped card!


Let's make this card together!

- I started by stamping and coloring the images with Zig Clean Color Real Brush Markers! Once everything was dry, I fussy cut them out!
- I did a small amount of masking to remove the 'stamp' from one of the robot's hands, and replacing it with the other, open one!


- I taped off the area I wanted to stamp on his arm, then stamped the whole image. 
- then I cleaned the stamp, taped off the arm only, inked up the stamp, removed the tape, and lined up the arm to my stamped robot image! 
- then I used Distress Oxide Inks to ink blend a little sky in the background! I used Wilted Violet, Blueprint Sketch, Mermaid Lagoon and Peacock Feathers!
- then I used some white embossing paste and the stars stencil to add the texture to the background!


- I also used Vintage Photo and Fossilized Amber Distress Oxide Inks to ink blend some color to the 'floor' of this little scene! 

- finally, I popped up all of the images before attaching them to the card, then added some white accents with a gel pen!



Instead of die cutting a separate piece of cardstock for the 'floor', I could have taped off/masked the bottom area, but I didn't mind just die cutting a new piece and placing it on top of the stenciled area! 


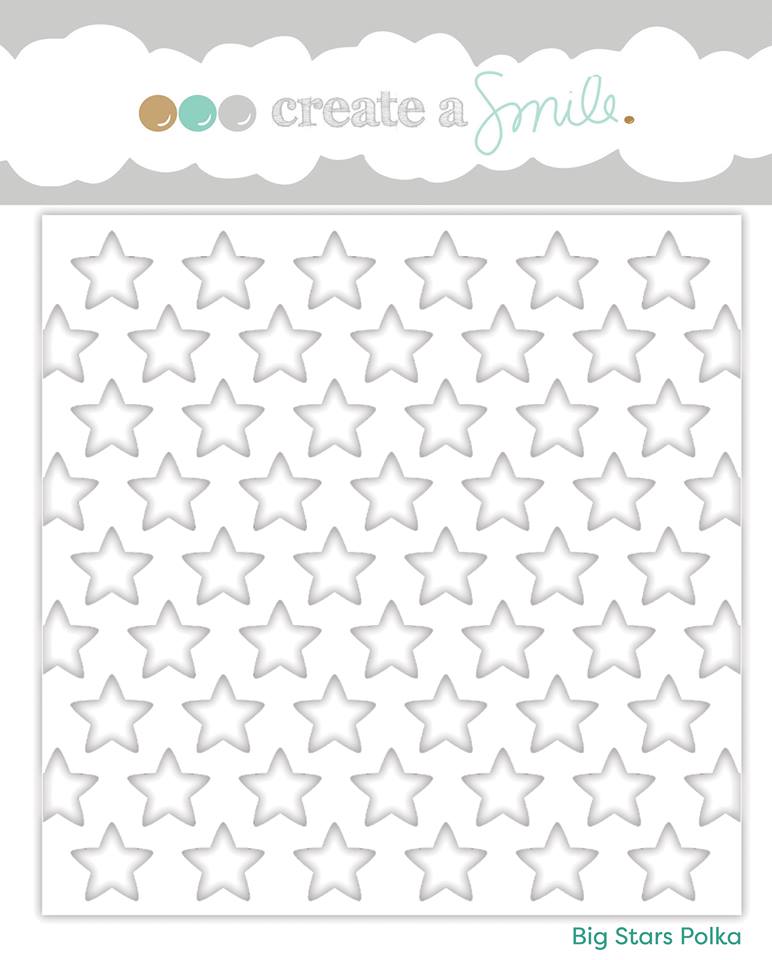
The background features the awesome Big Polka Stars Stencil.  The card shape was die cut with the Postage Edge Circles Cool Cuts! I used a combination of images from Bear Mail, Same Frequency and Say What?! stamp sets! 


There is ALWAYS a fun challenge going on in the Create a Smile Stamp Facebook group page! It's fun and filled with prizes! I love seeing all of the incredible, unique and amazing inspiration!
~Samantha


Thursday, November 8, 2018

Winners from Create your own background challenge

Hello everyone!

We had so many amazing entries for our Create your own background and we are so happy that so many of you like this challenge !

We picked our two winners and let's start with the winner of 25€ gift certificate to Create a smile store : Kuni Congratulations! You are the winner !
And she created this beautiful card using Flauschige Weihnachten stamp set Big stars Polka stencil


Make sure to send and email to challengeteam@createasmilestamps.com to claim your prize!

Our featured artist this week is Anja

Love this awesome card that she created using Big stars polka stencil Geheime Zutat stamp set

Congrats Anja ! You can add your badge to your blog! Is so well deserved !

Thank you everyone for entering our challenge! Make sure to check our current challenge which is Giving thanks for a chance to win a 25€ gift certificate to Create a smile stamp store and  to be our next guest designer !

Have a great day!

Saturday, September 8, 2018

((VIDEO)) Super Hero Card

Hello crafty friends! It's Jess and today I have a super hero card but I'm also showing you how to use up some scraps by coloring a few extra images. I am using the Superpowers and All About You stamp sets as well as the the Big Stars Polka stencil and Stacked Pierced Banner Dies.


I hadn't used the Superpowers stamp set yet and I knew it would be perfect for the cards I make the donate. I love to make encouragement cards to send to children and adults through various organizations.


I wanted to use the Big Stars Polka stencil because it was perfect to pair with the super hero mouse so I went through my mental list of mediums to add color through a stencil and remembered how quick and easy it is to use Distress Stain plus the clean up is really fast. Once I had my star pieces the rest of the card came together really fast.  You can get more details, including the Copic colors, in the video:


If you've picked out all the colors and gotten out the stamping supplies you may as well color a few more images and make cards from your scraps.


Be sure to join the latest Create a Smile Challenge.

Friday, July 27, 2018

Tinted Embossing Paste on a Card

Hi there!
Samantha here, and today I have this cute little guy to share with you!


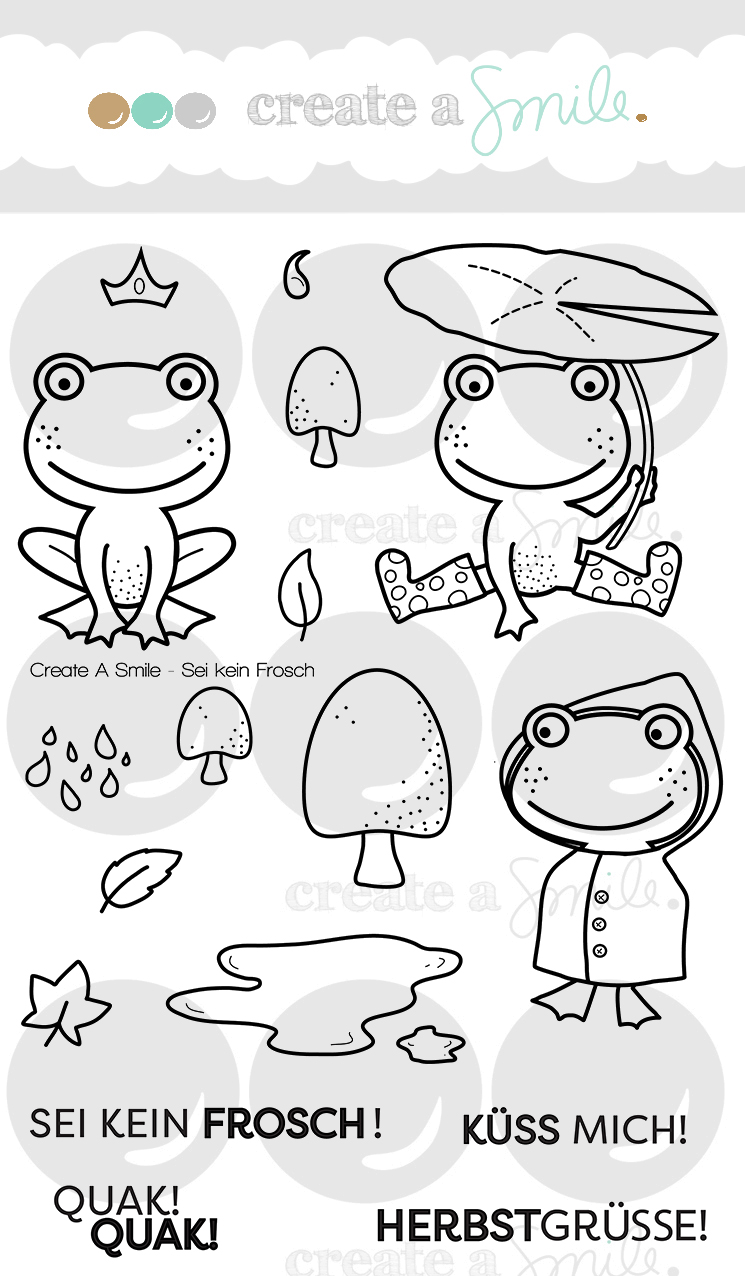
Guys, that frog is SO cute! But the real reason I decided to make this card...is those mushrooms!!! I think they are adorable! Ha! And I am in LOVE with the fact that there are 3 different sizes!


Let's make this card together!

- stamp and color your image (I used Zig Clean Color Real Brush Markers) 
- once dry, fussy cut and set aside
- on your card front, use the stencil and some embossing paste
- I tinted my embossing paste with a light grey ink by smooshing the ink onto my Kraft mat, mixing in a tiny bit of embossing paste, and then smearing that through the stencil


- I heat embossed the sentiment onto a strip of black cardstock

- then popped up the sentiment strip and the frog image with foam tape!


You could finish off the card with some glossy accents over the rainboots - I totally thought of doing that! Rainboots should be shiny and fun!


That cute little frog with his mushroom patch are all from the Unfrogettable stamp set. The stencil I used is the Big Stars Polka Stencil!


Have you joined our Facebook Group Community? The Create a Smile Friends and Family group is such a fun group complete with challenges and daily inspiration! 


~Samantha


Friday, June 29, 2018

A Mixed Media (lite!) Scrapbook Layout

Hi there!
Samantha here, and today I'm sharing another layout using (mostly) the same supplies as last week's scrapbook page!


Since last week I made my littlest Mann's school year page, it was only fair to make one of my oldest little Mann's year! 


Here's how I made this layout!
- first I spread some gesso onto the patterned paper. once ti was dry, I used a stencil and some white embossing paste to add the stars! 
- when the embossing paste was dry, I sprayed some Abandoned Coral and Carved Pumpkin Distress Sprays over it! LOVE how that looks! 
- I used similar colors of patterned paper to back my photo and then popped it all up on my background!


- I heat embossed part of the sentiment, and combined it with some very 'proper-school-like' thickers! love the script and straight contrast in the title!
- the pencils were stamped and colored with Zig Clean Color Real Brush Markers and then added as embellishments all around the page! 


- I finished off the page by heat embossing the 'school boy' phrase onto a banner of black cardstock to tie everything together!


I have to admit, I only love this layout 98%. I really thought about tearing half of the patterned paper and then adhering it to a white piece of cardstock, just to add more white space and it make it look easier on the eyes...I don't know. I may still go back and do that. 
Do you ever feel that way about your projects? 


I used the First Day of School stamp set, and part of the title was created with the Clear Lettering Alphas! I also used the Big Stars Polka Stencil!


Next week is the July release week!! And I can't wait for you all to see it!! It's AMAZING!


~Samantha


Saturday, May 19, 2018

Quak! Quak!

Hey stampers, Anni here!
Last weekend we had such a fun gathering of German (and one Austrian) stampers in a former monastery. I can't tell you how much I laughed and learned and how much fun it was. I didn't get a lot of sleep but my heart is full! There are so many talented, kind and generous people among the stampers that makes the hobby so much more fun.
And of course there were goodies involved. Today I want to show you the gift boxes I made for the men.


I wanted to make something you could use after unwrapping the little gift. So I turned the decoration of the bag into a bookmark with a small magnet.


  • These bookmarks are easy to make: Just cut a stripe of paper, score it and fold it in half. Put one magnet on one side under the image and one on the other side. This way the bookmark can't get lost.
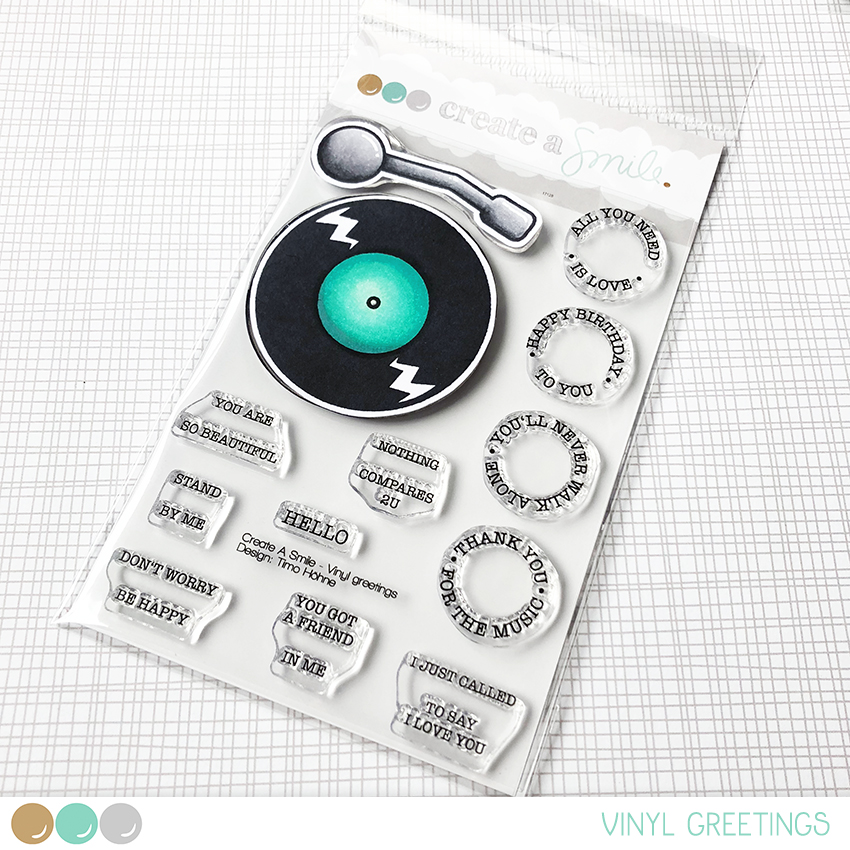
  • I think the record looks best when you heat emboss it. It doesn't have to be a realistic colour (here I chose turquoise).
  • To make the gift boy a little bit more intresting I used white pigment ink through a stencil on the kraft cardstock - I love the effect.