Hello friends and Happy New Year! Laurie with you today sharing a fun technique using stencils. I'm not sure if you're familiar with a Gel Press but it is a super cool tool to help you create mono prints. It's basically a gelatin plate that you can apply paints, inks and stencils to. By applying these mediums and placing a piece of paper over top, you can achieve amazing "prints" or "pulls". It's called mono printing because you will never get the same background twice. I'm VERY new to this tool and am still learning but what I know so far is that it is SO MUCH FUN!
I really wanted to use some of my favourite CAS stencils along with the Gel Press to create an interesting and fun background. My original plan didn't involve making four cards but it worked out in the end.
First thing I did was create a simple background. I placed a light pink and white paint onto the press and spread it out using a brayer.
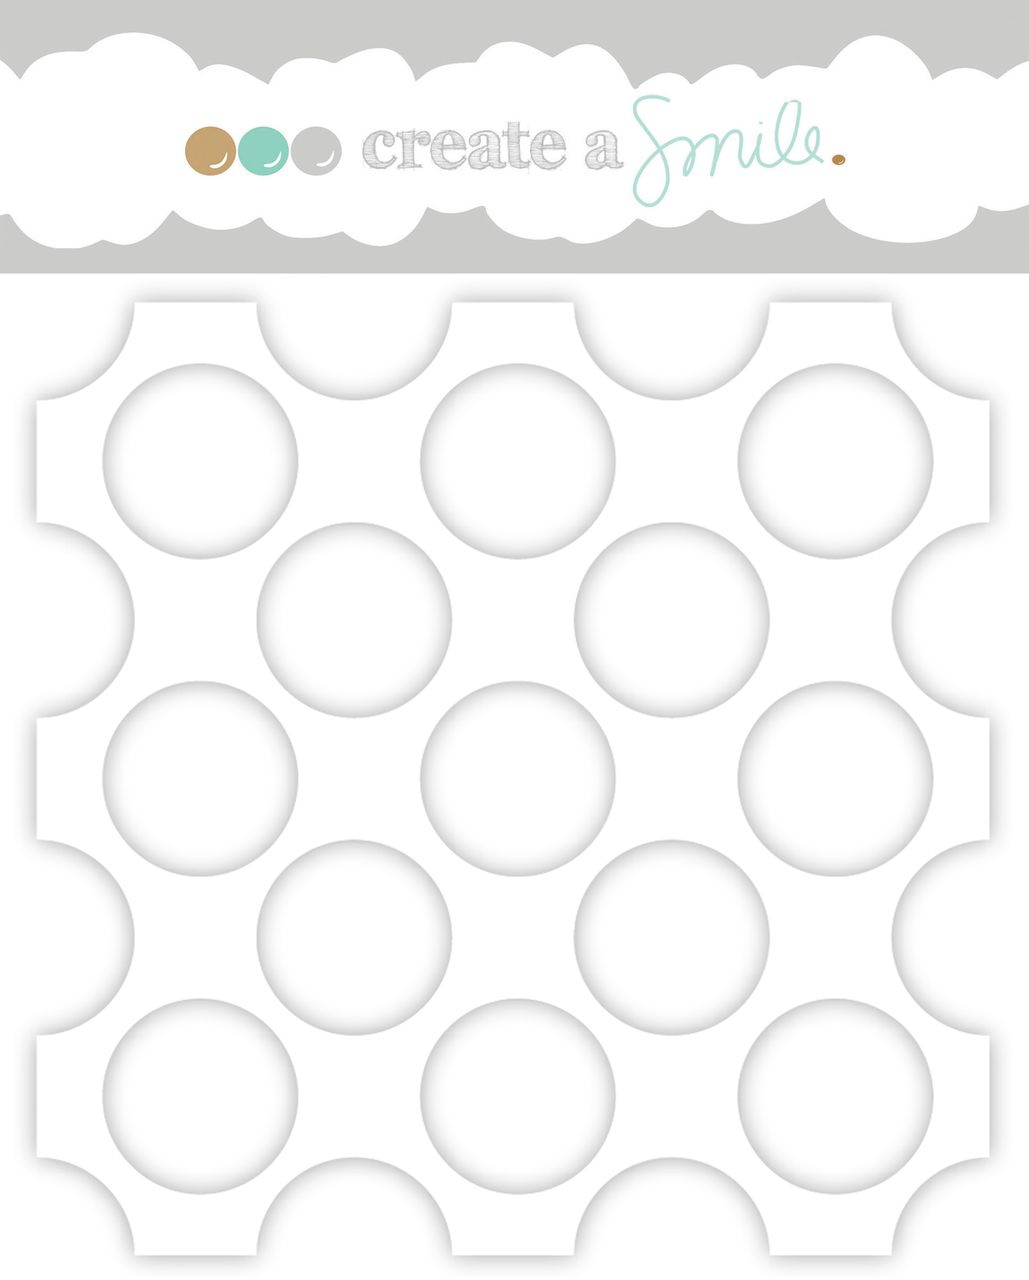
I then placed a stencil over the gel plate and added a darker shade of pink paint. I spread the paint over the stencil with the brayer then removed the stencil. I placed the same paper over top and pulled.
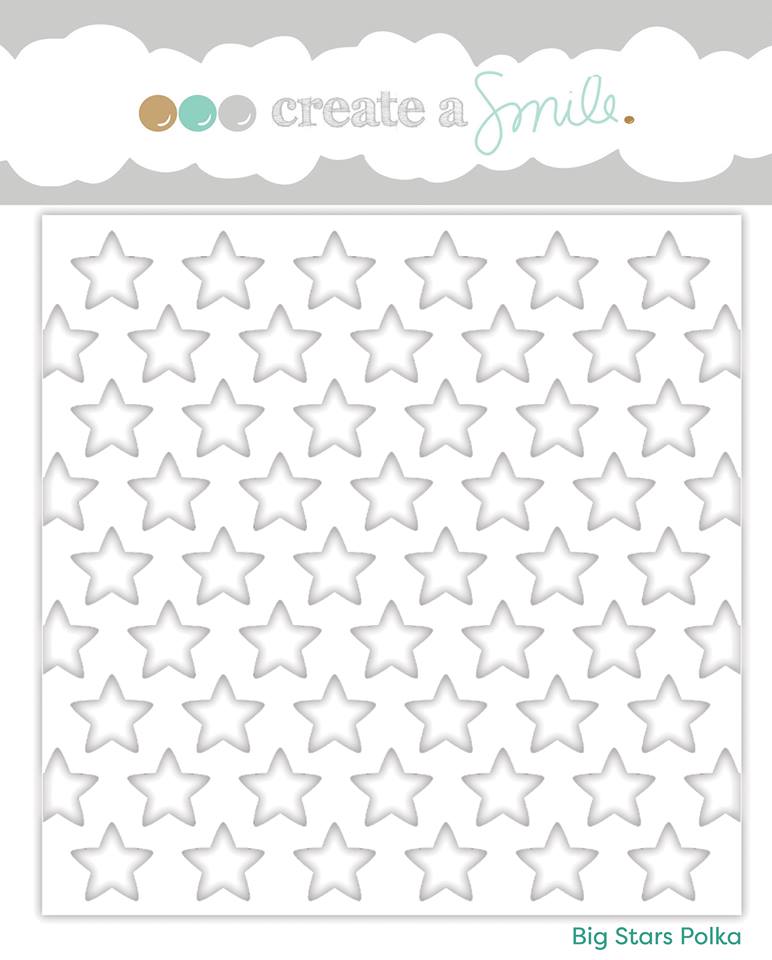
I took the next stencil and yellow paint and repeated the process.
The paint dries very quickly because it's such a thin layer so this goes fast! I used quite a few stencils and different paint colours. This is what I ended up with:
I always use white paint last to lighten and break up some areas. I didn't use the Gel press for the white circles. I love the grungy, imperfect look of this. But what comes next increases the beauty of this background!
To bring out some of the details of the stencils, simply use a white gel pen and a black pen. Simply trace certain areas as well as add random dots and line!
Before:
After:
These sketchy dots and lines add so much!! Because the background is quite busy, beautiful but busy. This is where I decided to cut it up and make four cards.
I used a couple different dies and got four different panels. I made 2 white card bases and 2 ivory card bases to fit these panels. I used a kraft layer on two of the four cards and used foam adhesive to adhere the pretty background panels.
This is a very neat trick!! Instead of stamping a sentiment directly onto a panel that has a lot of texture and risking a poor image, you can use tissue paper!!! Simply use a permanent ink and stamp slowly. Try not to wiggle the stamp too much as tissue is slightly slick.
Trim around the sentiment...it doesn't have to be perfect. You will need Gel Medium to adhere it.
Because I used acrylic paints for my background, they are not going to smudge as they are permanent. Apply gel medium, lay the tissue over top and apply a thin layer over top. The tissue paper virtually disappears into the background...cool, right?!!
I didn't add any sentiments to the smaller cards. I'll wait for a specific occasion when I need them!
I just love how these turned out!
Don't be afraid to try new things! Also, while I used acrylic paint on my Gel Press, you can use your ink pads or reinkers!
Thank you so much for stopping by today! I hope you got inspired and maybe learned a new tip or trick!
Laurie