Showing posts with label Feel Good. Show all posts

Saturday, June 6, 2015

We All Live In A Yellow Submarine

Hey, Anni here! Are you all singing?
Today I have a card with a yellow submarine for you!!




I have to admit Mojo hasn't been my friend lately. It's always the same, isn't it? Too much work and Mojo stays away...
So when I am in the lack of inspiration I tend to grab the same products again and again. But I didn't want to show you another card using the Sending Sunshine Kit again! That would have been mean because it isn't in stock yet again. But I was inspired by the theme and so I decided to use the awesome set Underwater Love and the paper pad Feel Good. Because we all know the paper pad in the kit is fabulous but we have other fabulous patterned paper, too!
I have to be honest I am not sure if I like the card. Let me know what you think!



  • Maybe you noticed I added some pearls to the sequins (an idea I stole from Jennifer McGuire). I think it totally changes the look of the sequins.
  • Try combining different colors of your marker! It is so much fun and you get so much more out of your markers! Just experiment!
  • So what do I do when the mojo is lacking! I try to use my favorite products, look for challenges that inspire me, use ideas that worked well on older cards - or just stop crafting if it is possible.




Did you already subscribe to the Create a Smile newsletter? No? Hurry! You want to be the first to know when the kit is back in stock!

What do you do when your mojo is on vacation? Let me know! I could definetly use some tips!



Wednesday, April 15, 2015

I'm Here For You

Hello there Michelle here. I am to share another card and video with you. I used the Botanical Love set last month and I couldn't resist using it again this month. I just love that large flower image!


I wanted to use the Botanical Love set in a different way than I did last month. Although the colours are similar, the overall look is quite different. Here is my previous card using the set.


I first stamped and embossed the flower image on to vellum. This was coloured with Copics Markers from the reverse and cut out. The sentiment was added on top and a few sequins added to finish off. You can see the whole process in the video below:


Colour with Copic Markers on the reverse of the embossed image when using vellum. This not only prevents the colour from hitting the embossed lines, it also means you can colour quickly and easily.


Thanks so much for visiting the Create A Smile blog today. I hope you have a lovely day!

Sunday, March 22, 2015

Guest Designing for Trendy Twine Part 2

Hello lovelies :)

it's Christine again.
As I told you in Friday's post I was invited by Trendy Twine to be guesting for them. Here's part two of my little feature :)


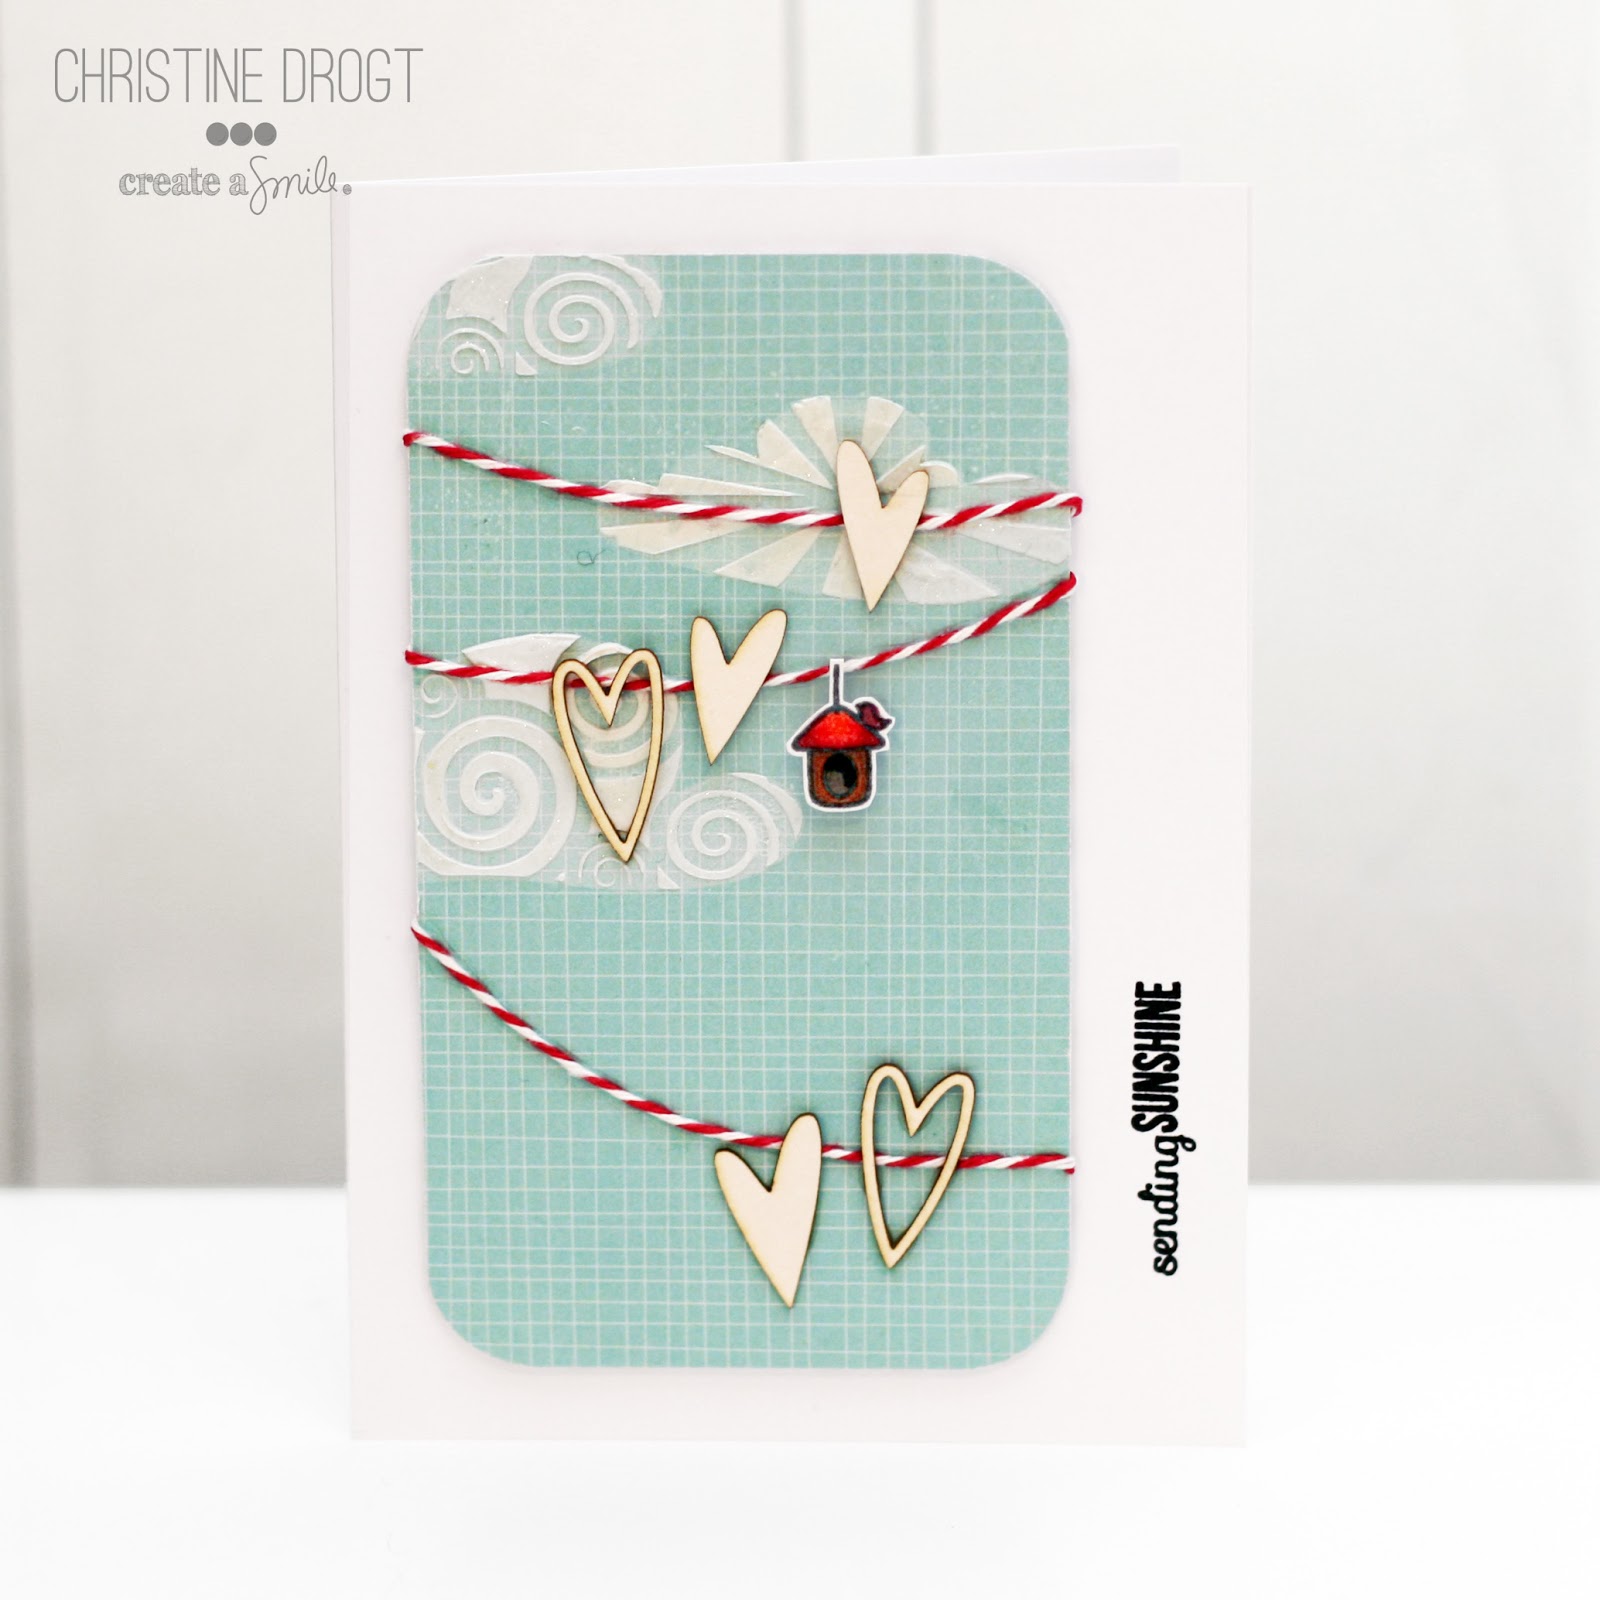
One pretty obvious way to use twine is to hang something to it. So I decided to make some kind of garlands in a sky and hang some hearts and a birdhouse to them. 

Light blue and red are such a fab combo and the wood-like chipboards add some nice neutrals (I painted one in red to see how it works, but that was just too much red. 


  • Cut a panel of patterned paper in a light blue (I used the Feel Good Paper Pack)
  • Add some coulds with our two step "Clouds" stencils (I inked the first layer with white pigment ink and added some embossing paste for the second, patterned layer)
  • add the Cranberry Twine with Matte Medium
  • Adhere some Chipboards hearts
  • stamp, color and fuzzy cut the birdhouse from "your view" and attach it to one of the strings
  • Stamp the sentiment
  • Maybe add some wink of Stella to the clouds (I just couldn't resist ;) )


  • Sometimes having a simple color scheme makes the card look more clean and uncluttered.
  • I think it pulls the card together if one color is the main color and the other one is just used to add some pops. That creates a nice balance.


Twine:
Cranberry Trendy Twine - Red & White Bakers Twine

Stamps:


Chipboard:


Paper:

Stencil:


Thanks for stopping by and don't forget to Hop over to our Friends from Trendy Twine and leave them some love :)


Monday, March 2, 2015

Feel good.....

Hi there it's Anja, hope you all had a great weekend and are ready to start a new week.

I have two cards to share with you today, focusing on the patterned paperpack; feel good.

 
My girlfriend had her 50st birthday so I would like to make her a personalized card.
She loves flowers so I had to use them on my card.
I took out the paperpack feel good and figured out how to use this with the flowerstamps.
My second card is also for a 50st birthday but it's an other style of cardmaking.
It's a funny card and I hope to make the person who gets it laugh.
 
 
I stamped the little flower from the botanical love set on several different papers and fuzzy cut them.
I build a flower bouquet on a white cardpanel and stamped the leaves after masking of the flowers.
At the top of the cardbase I put a strip of the tekst patterned paper and a little strip of black cardstock.
I placed the flowerpanel on the cardbase using some foamtape.
The sentiment is from 29 again.

For the second card I used a colored cardbase.
Layered different design of the paper and made circles using a die.
In the biggest circle I stamped the sentiments from the monster party set and 29 again.
I diecut a circle in the front of the card to create a look through.
The monster from the monster party set is stamped on the inside of the card.
When you open the card there is another sentiment.
Placed some enamel dots for some extra interest.


You can use the paperpack for different styles of cardmaking. It is very easy to stamp on those papers and if you stamp small images it's a great way to use your left overs from the papers.
We often forget about the inside of the card but it's a great way for some extra interest. A personal message or a nice sentiment.

 
It's already march which means that there will be a new release next week so make sure you visit us............

Saturday, February 28, 2015

Personalize Your Card!

Hey stampers, Anni here, it's Saturday again and it's my turn to show you a card!


A good friend of mine gave birth to a baby boy (his name is Mads) this week and I wanted to make a personalized baby card for her. I think it's the benefit of being a crafter that you can send cards that were made especially for one special person.


  • Stamp, color and fuzzy cut the digger.
  • Die cut the name of the baby from patterned paper.
  • Stamp the sentiemnt on another piece of patterned paper.
  • Adhere the digger, the letters and the piece of PP to a panel of paper.
  • Add a piece of PP to your card base and assemble the card.


In the inside of the card I added the birth date of the boy!
There are other ways to personalize your card: 
  • Think of the favorite color of the person you are making the card for! 
  • What hobbies does he or she have? 
  • Put the age on the card if you are making a birthday card!
  • Is there an insider joke you are sharing? Use it as a sentiment!


Create a Smile is a sponsor for the Spring Coffee Lovers Blog Hop. There are amazing prizes! Hop over to take a chance!