Showing posts with label swooshes. Show all posts

Wednesday, April 17, 2019

crafty superpowers

Hello, Nicole here.

I'm here with a clean and (almost) simple card inspiration for you today. Supermouse is bringing some crafty mojo to a fellow crafter...


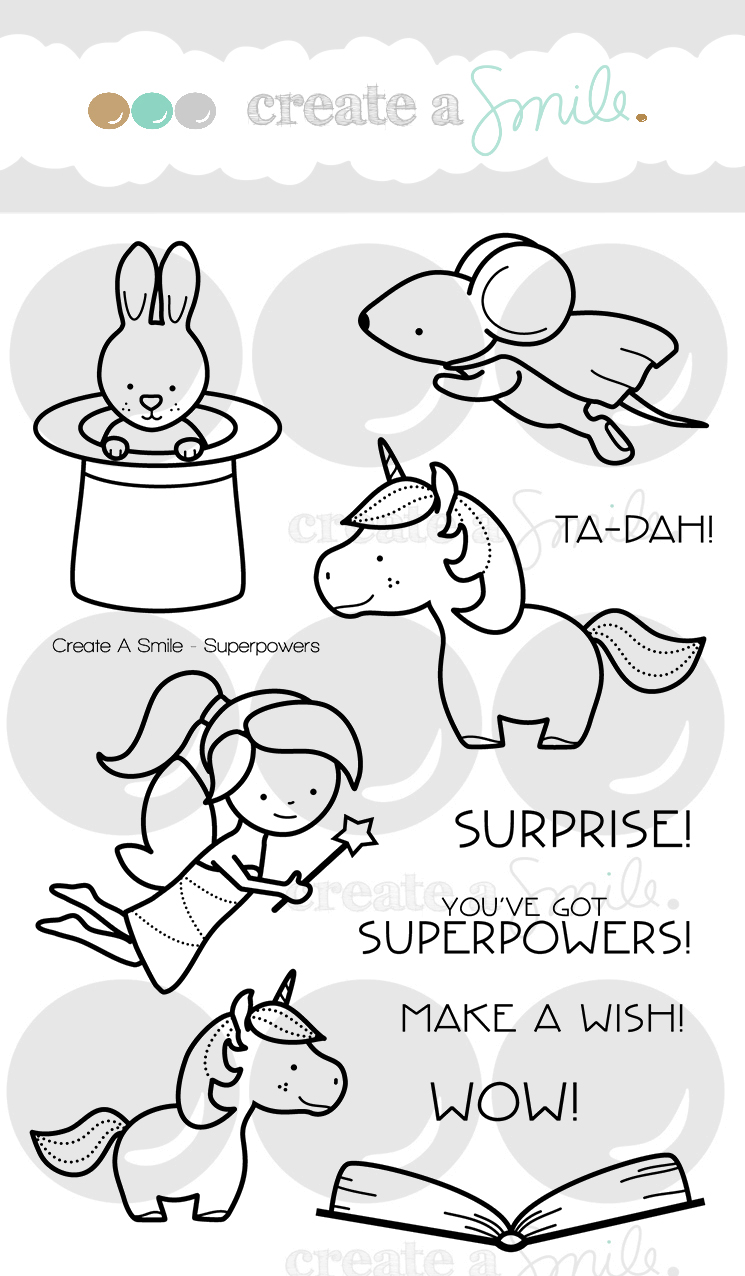
I love to get more out of my supplies and find stamp sets that mix and match well. So I went through my stash and found out, that the mouse from "Superpowers" (or in German "Superkräfte") goes nicely with the pencil from set "First Day of School" or "Endlich Schulkind". I paired it with a crafty sentiment that says "may the mojo be with you".


For the mouse:
  • stamp the mouse in light grey ink on alcohol marker friendly paper
  • stamp the mouse again but on a piece of sticky note or masking paper and create a mask to temporarily stick on top of the light grey stamped image
  • now, stamp the pencil in light grey ink so that the mouse will hold it and lay on it
  • remove the mask and start coloring
  • I used alcohol markers with colored pencils on top to color my image
  • fussy cut your image
For the background:
  • create a sky by using the cloud stencil and Distress Ink 
  • add interest to the card by stamping the starry swoosh 
  • stamp the sentiment and add your image with a bit of foam tape


Get more out of your stamps and create new looks by combining stamp sets.


Superkräfte / Superpowers
Clouds Stencil
Endlich Schulkind / Forst Day of School
Swooshes
Stempelfreunde / Stamping friends


The April Release is online!!!


Thanks for stopping by!
Have a lovely day,
Nicole


Friday, August 10, 2018

Friends are the Best Superheros Card

Hi there!
Samantha here, and today I have this superhero themed card to share about friendship!


I saw that CUTE CUTE CUTE mouse (my absolute FAVORITE critter image from Create a Smile Stamps, by the way!) and thought how fun it would be to make a bunch of them cheering on the flying one! Ha!


Here's how I made this layout!

- first I stamped and colored the images with Zig Clean Color Real Brush Markers
- once dry, fussy cut out and set aside
- next, ink blend the sky ( I used Distress Inks in Black Soot, Blueprint Sketch and Mermaid Lagoon) and the grass (Twisted Citron and Mowed Lawn)


- then, I flicked on some water, and ink color to the backgrounds
- I heat embossed the swoosh of stars from the flying mouse and then adhered everything to the card
- lastly, I added the sentiment strip to the bottom of the scene!


I LOVE how well Create a Smile stamps all work together! So combining the phrases from the Friends Like You stamp set together with the super hero image is just too fun!


I used the First Day of School stamp set, Superpowers, and the super fun Swooshes stamp set! The title was created with Friends Like You stamp set!


Have you joined our Facebook Group Community? The Create a Smile Friends and Family group is such a fun group complete with challenges and daily inspiration! 

~Samantha


Friday, June 1, 2018

Fairy Wishes for You Card

Hi there!
Samantha here, and today I'm sharing a pretty, pink card! Ha!


I haven't had the chance to color up this adorable fairy yet, so I did! And this super girly, pink card followed! Ha!


Let's make this card together!

- stamp and color your image (I used Zig Clean Color Real Brush Markers) 
- once dry, fussy cut and set aside
- on your card front, do some Distress Ink blending! (I used Picked Raspberry, Worn Lipstick and Antique Linen!)


- of course, I added water splatters, as well as splatters in colored ink and white ink, too!

- once it was dry, I heat embossed a trail of stars behind in clear glitter embossing paste! 
- then I stamped the image again, popped up the image and stamped the sentiment! 


I used clear, sparkly glitter embossing powder to create the trail behind her, and I really like how it looks in person, but it's so subtle and hard to capture in photos!
You could easily stamp the swoosh in another color, and add glitter after, if you wanted it to stamp out more!


The cute fairy image and sentiment are from the Superpowers stamp set! The clear, sparkly train of stars behind her is from Swooshes!


Have you joined our Facebook Group Community? The Create a Smile Friends and Family group is such a fun group complete with challenges and daily inspiration! 

~Samantha


Tuesday, March 20, 2018

You can do Magic!

Hey everyone and welcome back to our creative space! Raluca here with a brand new card showcasing two of the new awesome stamp sets: Superpowers and Swooshes!


The rainbow from the Swooshes stamp set works perfectly with the adorable unicorn from the Superpowers set and I really wanted to create a colorful card.


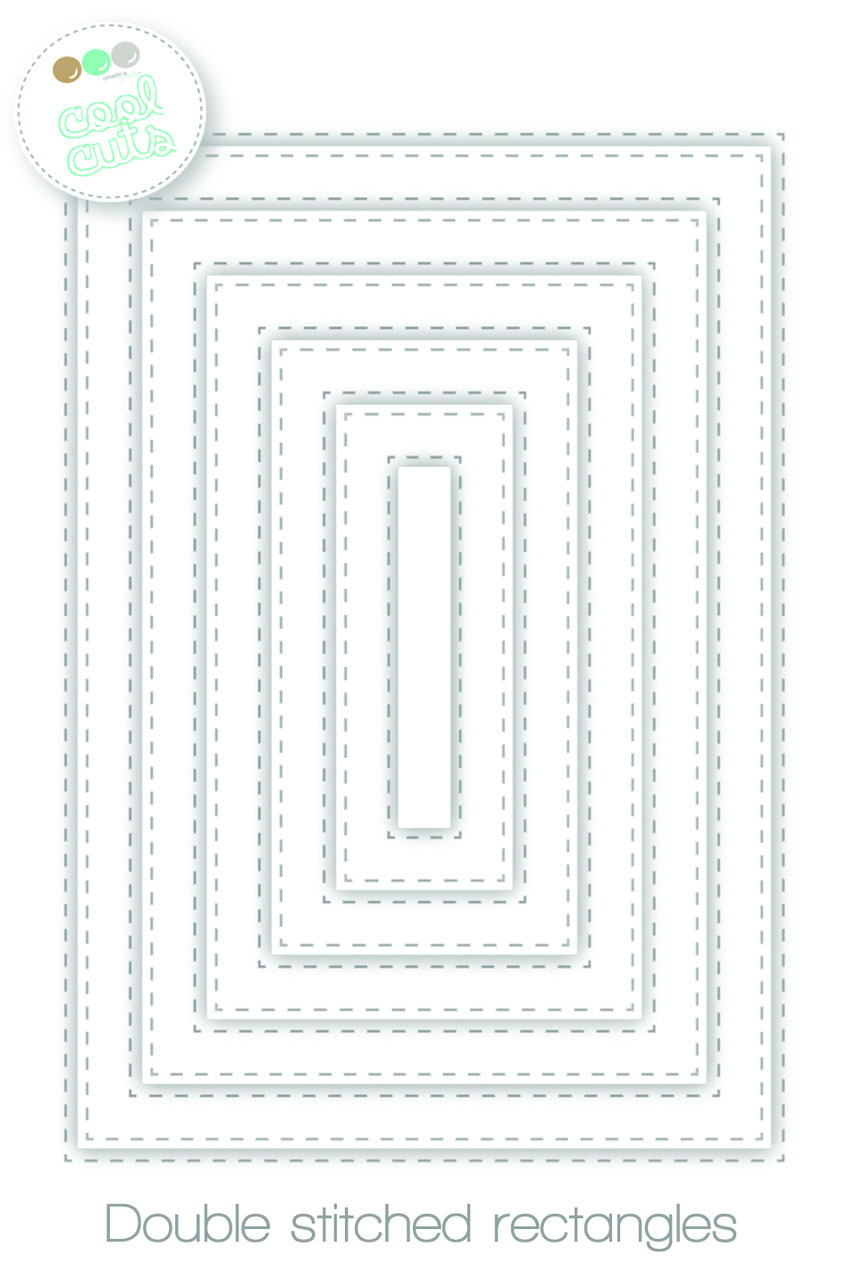
* First I die cut a white panel using the largest stitched rectangle die. 
* Using some masking tape I covered the panel leaving free only a larger strip portion, perfect for some ink blending.
* I chose a few Memento Dew Drops and ink blended the free portion of the panel, creating a night sky. 
* I added a few white splatters over the blended portion for more effect.
* Next I stamped the images, colored them and fussy cut them. I also die cut a cloud to complete the design.
* I mounted all the images on the card and stamped a sentiment from the Magic Flowers set on a white banner.
* I glued a few clear sequins and adhered the panel to a white card base and my happy and colorful project was done.


If you love Instagram like I do, you can follow Create A Smile using the name @createasmilestamps and if you have any questions about card making, techniques or products, if you want to share your creations with Create A Smile fans or if you want to participate in our monthly challenge join us on our Facebook group Create A Smile - Friends & Family :).

Have a lovely Tuesday!
Thanks for stopping by,
Raluca


Monday, March 19, 2018

Ghost stamping....

Hi there I hope you are thrilled by the new release from last Friday and maybe ordered some of the goodies already. Here is some more inspiration for you.


I wanted to try the ghost stamping technique with alcohol inks and archival ink. And the new stamps are perfect for this technique don't you think so?


I went with a horizontal cardbase and diecut a panel out of yupo paper specially for alcolhol inks. Used three colors of alcohol ink to spread over my paper and a paintbrush and a straw to let the alcohol ink run over the paper. Once I was satisfied I let the paper dry and stamped the image using archival ink and immediately wiped the ink of with a cloth. Stamped the little fairy and colored it with copics and cut it. Stamped the sentiment on some black cardstock and white heat embossed it.
finished the card of with some glitter drops from nuvo.


Stamps;

Superpower and swooshes.


Cool cuts (dies);

Double stitched rectangles.


Make sure you visit the shop and the blog for much more inspiration and please join in the fun in our challenges you might get your hands on some of the great supplies.

Have a great week;

Hugs Anja