Showing posts with label Cloud Stencil. Show all posts

Saturday, April 20, 2019

Bunny Kisses, Easter Wishes

Hi everyone and welcome back to our creative space!
Raluca here with a brand new card showcasing a few of the super adorable stamp sets from Create a Smile Stamps shop.



In the Create a Smile store we have a few adorable sets that are perfect for Easter and I wanted to create a cute card for this occasion.


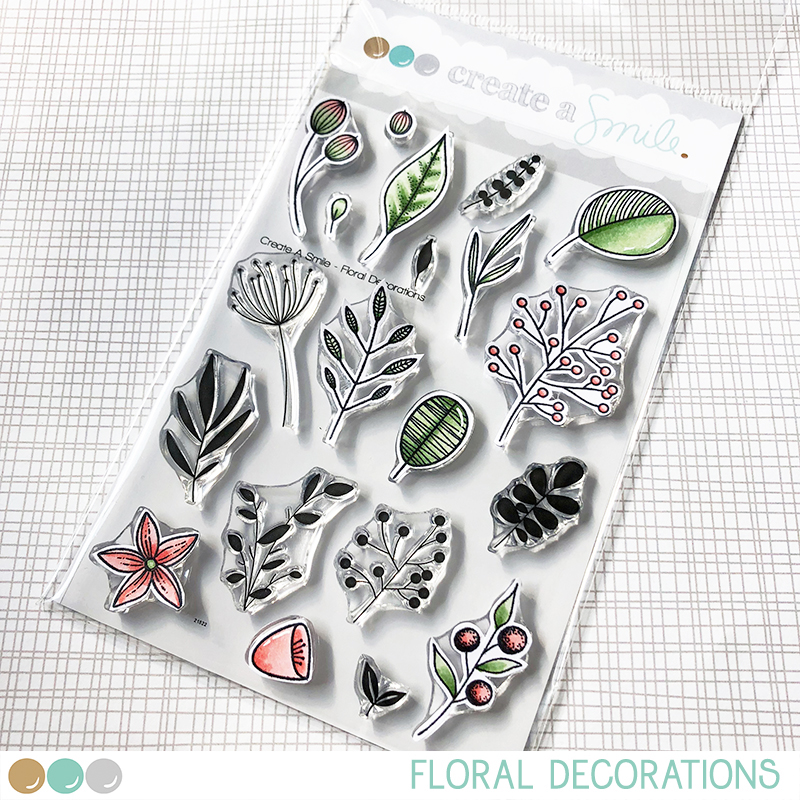
* First I prepared a white panel and on the bottom I stamped a few of the foliage stamps included in the Floral Decorations new stamp set.
* For stamping them I used different shades of green ink and I also ink blended the margins with green ink.
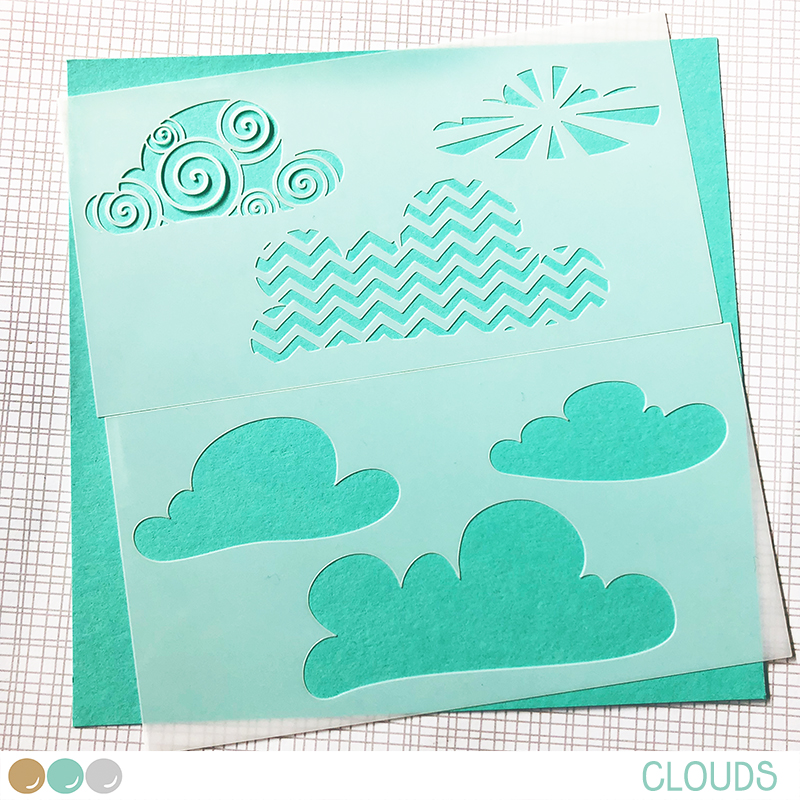
* On the top of the panel I used the new Stencil: Clouds and ink blended the solid clouds using blue ink.
* Then I ink blended the margins using the same blue ink.


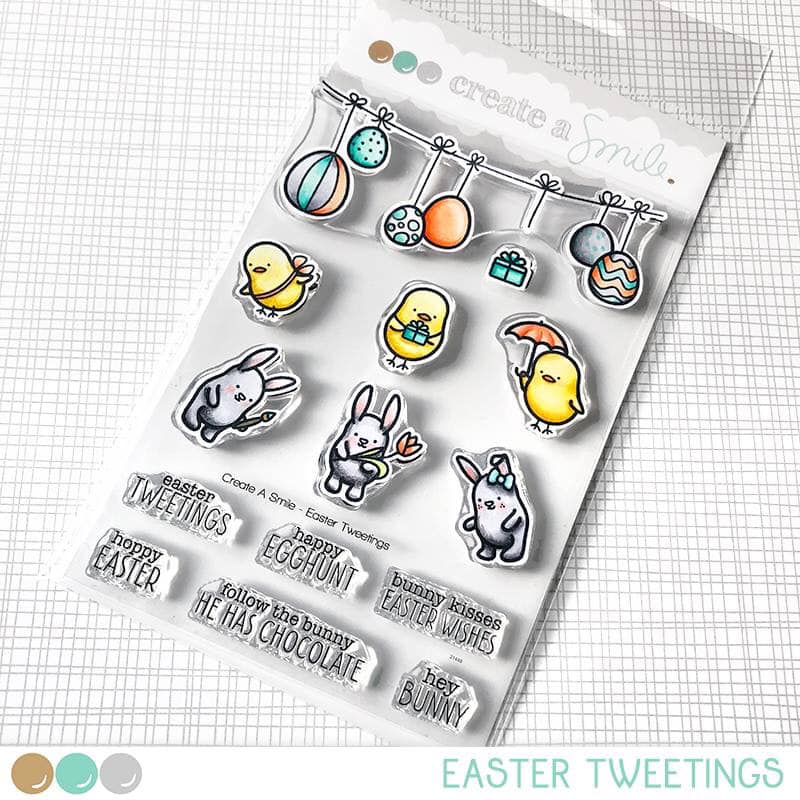
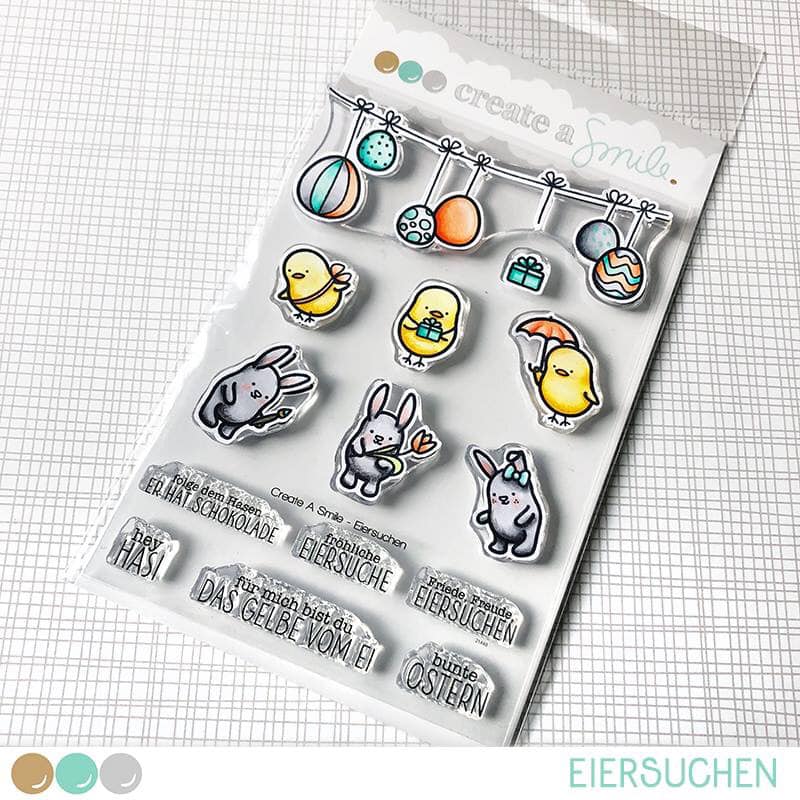
* On a white panel I stamped the images from the Easter Eggs and Easter Tweetings (Eiersuchen) stamp sets using Memento Tuxedo black ink.
* Using my Spectrum Noir markers I colored all the images and I love how they turned out.
* On the eggs I added white accents with my white gel pen.


* After the coloring was done I fussy cut the images, leaving a white border near the stamped lines.
* I mounted the images on the panel using foam tape and I stamped a sentiment from the Easter Tweetings set on one of the clouds.
* I mounted the panel on a white card base, I glued a few clear sequins and my sweet card was done.


I hope that I inspired you to look through your stash and mix and match your stamps. Your projects will look phenomenal.
That's all for today! 
May all the blessings, love and happiness shine down on you and your loved ones. Happy Easter!




If you love Instagram like I do, you can follow Create A Smile using the name @createasmilestamps and if you have any questions about card making, techniques or products, if you want to share your creations with Create A Smile fans or if you want to participate in our monthly challenge join us on our Facebook group Create A Smile - Friends & Family :).

Have a lovely weekend!
Thanks for stopping by,
Raluca

Wednesday, April 17, 2019

crafty superpowers

Hello, Nicole here.

I'm here with a clean and (almost) simple card inspiration for you today. Supermouse is bringing some crafty mojo to a fellow crafter...


I love to get more out of my supplies and find stamp sets that mix and match well. So I went through my stash and found out, that the mouse from "Superpowers" (or in German "Superkräfte") goes nicely with the pencil from set "First Day of School" or "Endlich Schulkind". I paired it with a crafty sentiment that says "may the mojo be with you".


For the mouse:
  • stamp the mouse in light grey ink on alcohol marker friendly paper
  • stamp the mouse again but on a piece of sticky note or masking paper and create a mask to temporarily stick on top of the light grey stamped image
  • now, stamp the pencil in light grey ink so that the mouse will hold it and lay on it
  • remove the mask and start coloring
  • I used alcohol markers with colored pencils on top to color my image
  • fussy cut your image
For the background:
  • create a sky by using the cloud stencil and Distress Ink 
  • add interest to the card by stamping the starry swoosh 
  • stamp the sentiment and add your image with a bit of foam tape


Get more out of your stamps and create new looks by combining stamp sets.


Superkräfte / Superpowers
Clouds Stencil
Endlich Schulkind / Forst Day of School
Swooshes
Stempelfreunde / Stamping friends


The April Release is online!!!


Thanks for stopping by!
Have a lovely day,
Nicole


Saturday, July 25, 2015

Hey!


Hey stampers! Hope you have a wonderful weekend!
Today I have an easy and fast card for you.


The bird is my favorite image from the cute set Uplifting. So I decided to make it my focal point. Then I saw this color challenge over on Hand Stamped Sentiments and wanted to use it as my starting point. I will share some tipps and tricks on color challenges below.


  • Stamp, color and fuzzy cut the image. Add the sentiment to the banner as you like.
  • Die cut a frame. I adhered a few layers of the same die cut to achieve some dimension. I also added a piece of vellum to tone down the background behind the bird.
  • Mix the embossing paste with some ink to create a color that goes with your project.
  • Create the background with a stencil. I used the stencil called Clouds.
  • Assemble the card.


I wanted to say some words on color challenges. In my opinion color challenges - just as sketch challenges - are a good way to spark your inspiration. When I look for a color challenge I search for a challenge where I like the colors, of course. I don't like color combos with more than three colors. But I always choose a challenge which is really a challenge. For example in the color combo I chose I really really love the turquoise but I am not a big fan of pink and I don't like pale pink at all.  But I loved them all together - is that strange?
I use my favorite color most on the card and the color a I don't like very much the least. On this card I used turquoise for my focal point, the bird and in the background. There is just a little bit of pale pink on the feathers and the banner!
How do you use color challenges? Or other challenges? I would love to know!


We would LOVE to see what you do with all the other fabulous Create a Smile products! Please leave a link to your creations in the sidebar!


http://u.jimdo.com/www400/o/s9a3bf2844444b50a/img/i0b359c990d72164e/1434089361/orig/image.jpg   http://u.jimdo.com/www400/o/s9a3bf2844444b50a/img/i22297b6901e1e5aa/1415946824/orig/image.jpg  

Wednesday, January 7, 2015

Adding Easy Dimensions


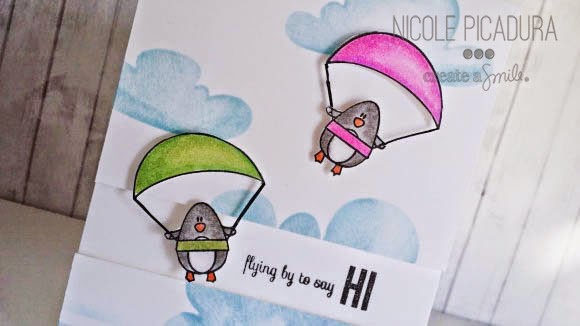
Hello! Nicole here and I am super excited to be sharing a project along with a video tutorial with you guys. I will be sharing brand-new projects/tutorials each month so stay tuned!


I wanted to create a card with a simple way to add dimensions without adding or using too much products. I love maximizing the use of products I have on hand and there is always simple ways to achieve this goal.


Checkout the video below to see how I put this card together!


- When coloring any stamped images, use good black inks so the outlines will stay crisp and sharp while you color.
- Use appropriate tools to make it easy for you to cutout any stamped images. Investing in good cutting tools goes a really long way!


Neenah Solar White Cardstock (80lb)
My Favorite Things Black Licorice Hybrid Ink Pad
Spectrum Noir Blendable Color Pencils Essentials Set
Spectrum Noir Blendable Color Pencils Marine Set
Distress Ink Pad Tumbled Glass
Distress Mini Blending Tool
Gamsol Mineral Set

Penguin Party Stamp Set


Clouds Stencil Set


Monday, December 8, 2014

You mean the world to me.......

Hi there, it's Anja again with a card using the new released stamps.
I hope you all had a nice weekend maybe you already did some Christmas decoration or wrote your christmascards.

For today I have nothing Christmas related but another cute monster card.


When I was looking at both stampssets Monster Party and Balance I got the idea to use the sentiment from Balance in a banner. Christine has made the stamps in a way that those monsters can hold various things in their hands. So I thought,  he or is it a she? I am not sure, could hold the banner in his hands.


Since the sentiment says mean the WORLD to me I wanted to create a kind of a world for my monster to stand on. So I first die cut a circle and used the in circles stencil with distress ink. Placed this at the bottom of the card. Made two clouds in the sky with the clouds stencil and some white embossingpaste.
Now for the tricky part I bend the stamp so it would fit in a banner and since I am not a drawing artist my banner isn't that great but I think you get the idea.
Fuzzy cut the banner and the monster and colored him with copics. Placed him on the world and to finish of the card I adhered that great chipboard YOU word.


Stamps; Monster party and Balance


Stencil; In circles and clouds


Chipboard; You


Ink: Memento (Tuxedo Black), distress ink.
Cardstock: DCP white.
Embossingpaste; Wendy vecchi white.
Coloring: Copics and a black marker.


Since the stamps are clear stamps you can easily bend them in the way you want and place them on your stampblock and they will hold their form. After stamping they will have their original form again.

 
Make sure you come back on wednesday because we have a special announcement!!!!!! Excited!!!!!!!
 
Have a great week, Anja.