Showing posts with label fine ferns. Show all posts

Wednesday, June 9, 2021

Simple Masking and Combining Stamp Sets!

 Hello friends and welcome back! It's Laurie with you today to share a clean and simple card using some simple masking!


I went through all my CAS stamp sets and as soon as I saw that cute jam jar from the Summer in a Jar set, I knew I wanted to turn it into a vase or a pot for some flowers. I also wanted to do some masking to make one complete image instead of fussy cutting each image. For the flowers, I chose the gorgeous Cosmeas set.


Yes, masking does take a little time and a little bit of thought to create the scene you want. But in the end, it is so worth it! I don't go for very elaborate scenes. I try to keep it simple! Here are the steps I followed to create this jar with flowers:

1.  Stamp jam jar and create mask.
2.  Apply jar mask and place the flower stamp you want towards to the FRONT of your scene. In this case, it was the purple flower!
3.  Stamp flower and create mask.
4. Apply mask over first flower and place stamp for the next image. You can see that the pink flower looks like it is sitting behind the purple flower...that's all thanks to the mask on the purple flower!!
5.  Make mask for pink flower. When we stamp the greenery, all of our stamped images will be covered by masks and will make the leaves look like they are in the background!
6. Stamp the leaves.
7. Remove all the masks and voila, you're scene is created!

I used alcohol markers and coloured pencils to colour the image. I fussy cut the entire image out including the inner bits!


Once the image was cut out, I did a little ink blending with a light blue ink and a blending brush onto the front of a white card base. I used one of the DIN Lang Border Dies to create a scalloped "shelf" for my flowers to sit on. To take it to the next level, I added a piece of crochet ribbon. When was the last time you used ribbon on your cards?! I rarely do anymore but I absolutely LOVE the look!

Before adhering everything to the card base, I realized I needed to stamp some sort of a greeting. I found the "hello" from the Mesmerizing Mandalas Stamps Set fit perfectly!!

I adhered the "shelf" with liquid glue. Because the ribbon was a bit thick, I needed to add a bit of foam tape to the flowers and everything sat level. 

To finish off, I used a white gel pen to add a couple of details to the leaves and flowers and also added a few clear sequins.


If you're new to masking, my advice is to start out with simple scenes, like this one. The more you do it, the more complicated scenes you'll be able to do. I don't mask much so I ALWAY keep it simple! This project only used 3 masks!  Another tip is to not use itty bitty images. I find I get so frustrated cutting out tiny images only for them to get lost or slide around.


Create a Smile Stamps has a wonderful community on Facebook! If you haven't checked out the group, you totally should! And if you need more inspiration, check out the biweekly challenge here on the blog!!

Thank you so much for stopping by today!! See you again very soon!!

Laurie


Saturday, January 11, 2020

Clean and Simple Koala Card

Hello there, Nicole here.

After all the christmas card making I really enjoy diggin' through my non-christmassy stash and picking out favorites like the fun koala pirates set called All Hands On Deck. I went for my all time favorite cardmaking style: clean & simple.


I was simply in the mood for a cute critter on a clean and simple card. I enjoy creating a pop of color on a mostly white space with a cute image as the focal point and some little extras that make the card interesting.


  • stamp the critter on alcohol marker friendly paper with your go-to ink for alcohol markers. Mine all time favorite ink is Memento Tuxedo Black.
  • color cour image and cut it out. 
  • chose where your focal point should be and start stamping the background. I used different shades of green to make the background look more dimensional. 
  • give your critter a place to stand on. It doesn't need much. A few dots are enough to make it look like he's standing on sand or rocks.
  • add your little pirate with foam tape
  • stamp your greeting in crisp black ink (I used Versafine Onyx Black)
  • add a little something with Glossy Accents on the nose or some white gel pen details


Think around the corner. I needed small dots and found some in my flowers collection. But I was looking for super small ones as well and ended up with dots from an alphabet set. It's so fun to use stamps in unexpected ways.

Stamping a leaf with a light green ink looks nice. But you can easily add more interest to the leaf if you add a darker shade of ink to parts of your stamp using a small sponge dauber. If you take a closer look at my card, you can see some kind of gradient or ombré look on the leaves.


Thanks a lot for stopping by!
Have a happy day,
Nicole


Saturday, August 3, 2019

(VIDEO) Flipbook-Cards

Hello everybody!
Today I want so share with you some flipbook-cards. I made one one years ago and thought, it could be a nice idea for a video. And I show you 3 different ways of doing the book, and three "stories" I created.


Interactive cards are always a huge fun, creating them, but also getting them. And why don't send out a flipbook instead of a card? :-)


Here you can watch the Video in english


... und hier in Deutsch


Maybe you can keep your eyes open for some blank little books in your paperstores, wich you can use for flipbooks, instead of doing the book on your own.

And: did you know? The german word for Flipbook is "Daumenkino", wich means "Thumb-Cinema" ;-)


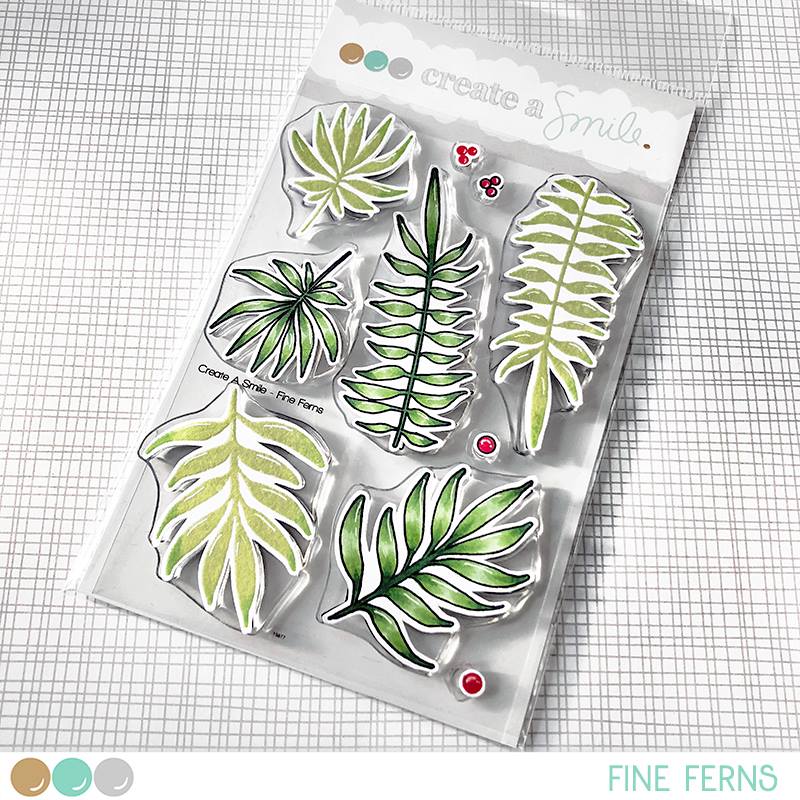
Fine Ferns


Dicke Freunde (german)


Underwater love


Poppin over


When you create with our stamps, we love to see your projects and don't want to miss them. So remember the Hashtag #createasmilestamps on instagram :-)


Saturday, July 13, 2019

Elegant Birthday Wishes


Hello crafty friends, it's Kerstin here! Today I have a soft rainbow birthday card for you.


I wanted to create an elegant birthday card with just a tiny touch of color but I couldn't decide what color to use. So I went for pastel rainbow colors.


  • heat emboss the ferns with gold
  • color in rainbow colors and fuzzy cut the leaves
  • add some watercolor sprinkles to the cardbase with the same colors as on the leaves
  • adhere the leaves with glue dots
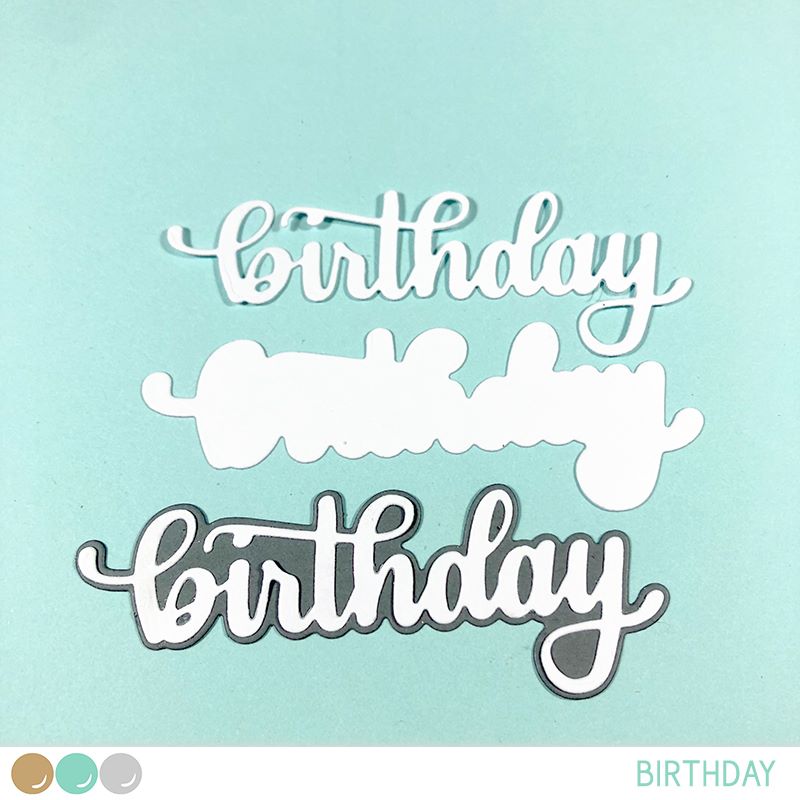
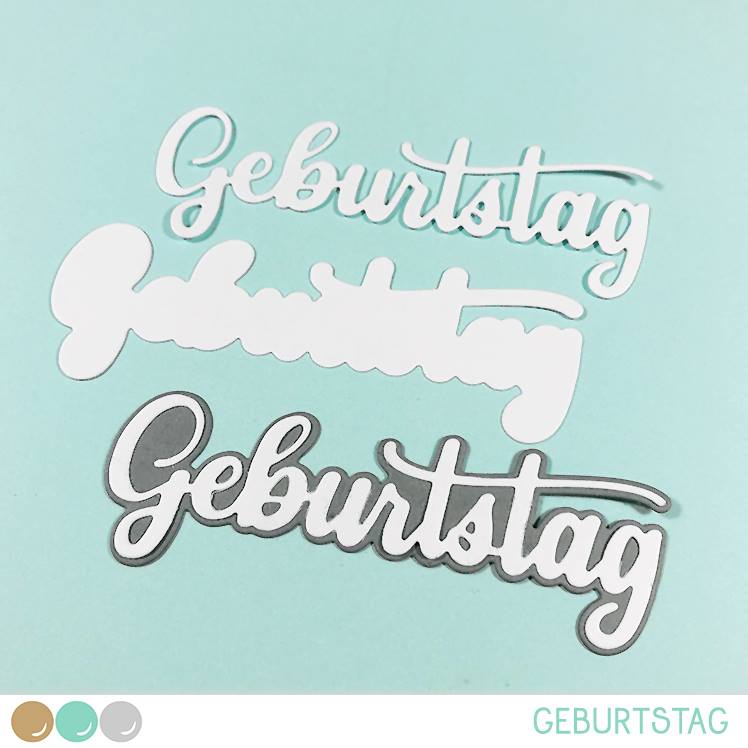
  • die cut the sentiment
  • adhere the sentiment directly to the cardbase
  • heat emboss the second word of the sentiment above the diecut sentiment


When you use a white sentiment on a white cardbase, diecut the sentiment multiple times and stack them onto each other. This creates more dimension and makes the sentiment stand out much more.


Create a Smile ist celebrating their 5 year anniversary next week! Wooohoooo!! There will be a HUGE giveaway on IG, a brand new release, freebies and quite a few of the retiered sets are coming back for a short time. I'm sure you don't want to miss that!

Thanks for stopping by and happy crafting,
Kerstin