Showing posts with label Mini-Birthday. Show all posts

Saturday, July 13, 2019

Elegant Birthday Wishes


Hello crafty friends, it's Kerstin here! Today I have a soft rainbow birthday card for you.


I wanted to create an elegant birthday card with just a tiny touch of color but I couldn't decide what color to use. So I went for pastel rainbow colors.


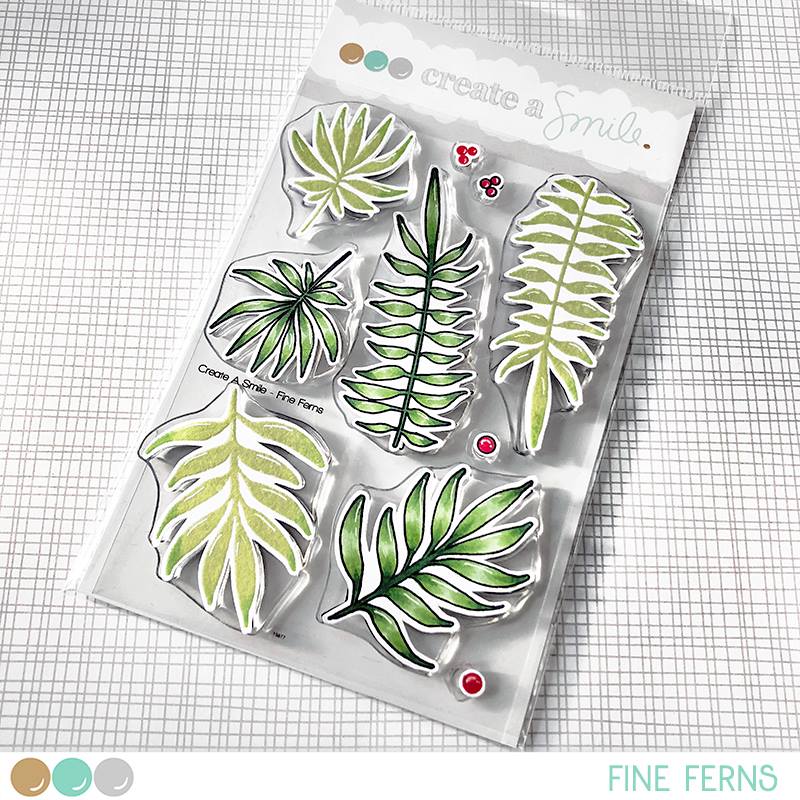
  • heat emboss the ferns with gold
  • color in rainbow colors and fuzzy cut the leaves
  • add some watercolor sprinkles to the cardbase with the same colors as on the leaves
  • adhere the leaves with glue dots
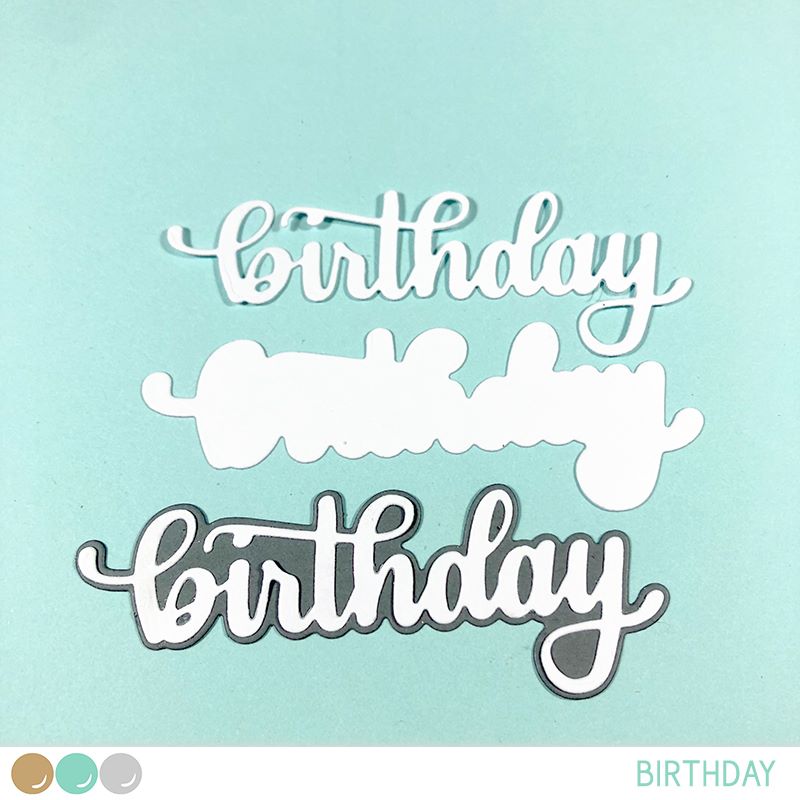
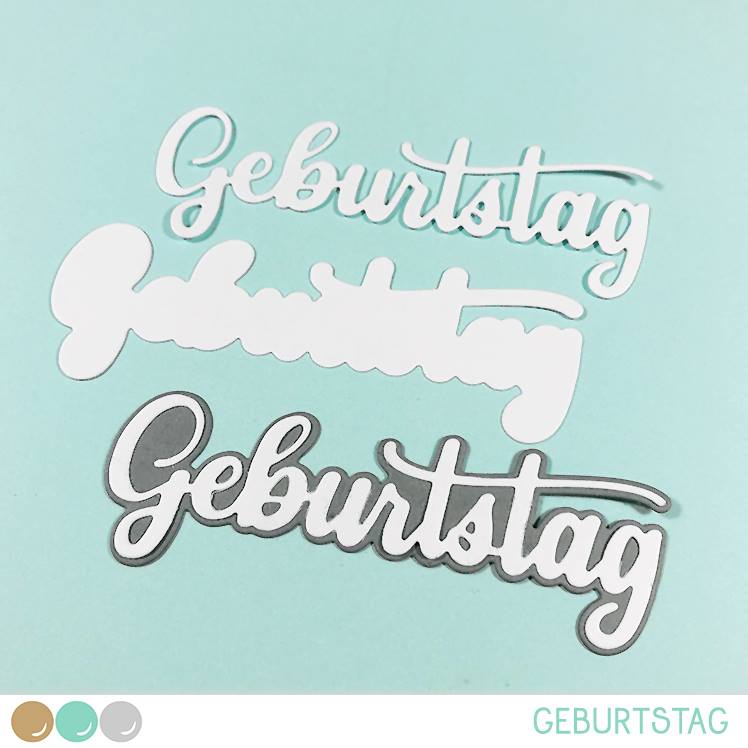
  • die cut the sentiment
  • adhere the sentiment directly to the cardbase
  • heat emboss the second word of the sentiment above the diecut sentiment


When you use a white sentiment on a white cardbase, diecut the sentiment multiple times and stack them onto each other. This creates more dimension and makes the sentiment stand out much more.




Create a Smile ist celebrating their 5 year anniversary next week! Wooohoooo!! There will be a HUGE giveaway on IG, a brand new release, freebies and quite a few of the retiered sets are coming back for a short time. I'm sure you don't want to miss that!

Thanks for stopping by and happy crafting,
Kerstin

Friday, July 28, 2017

Happy Snail Mail for You!

Hi there!
Samantha here with you on this lovely Friday! Today I have a quick little card to share with someone who needs a pick me up!


I just think that little snail is SO cute! And I love that there are two different sized snails available! I was originaly going to use both, but ended up just going with the largest sized snail!


Join me as we make this card!

- stamp and color that little snail image (I used Zig Clean Color Real Brush Markers and watercolored onto some Bristol Smooth Vellum Mixed Media paper)
- once dry, fussy cut and add foam tape
- on the card front, ink blend in greens! (I used Cracked Pistachio and Twisted Citron Distress Inks)


- splatter some water and ink onto the background- stamp the sentiment under the image
- add washi


Raise your hand if you love one layer cards?! Not me...by far!! I think they're gorgeous, but I have the hardest time with them!! If you do love one layer cards, this could EASILY be remade as a one layer!


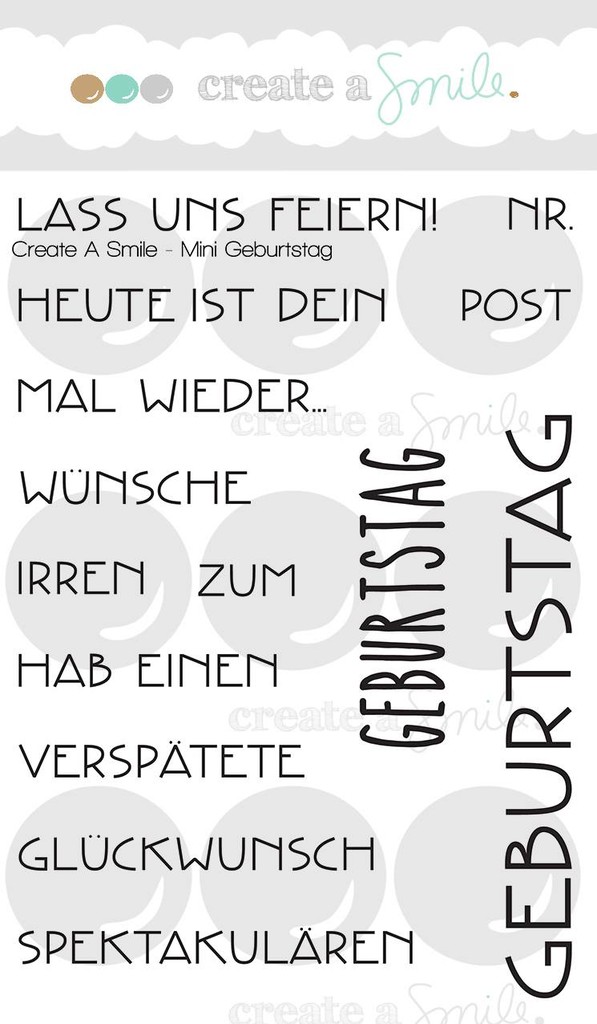
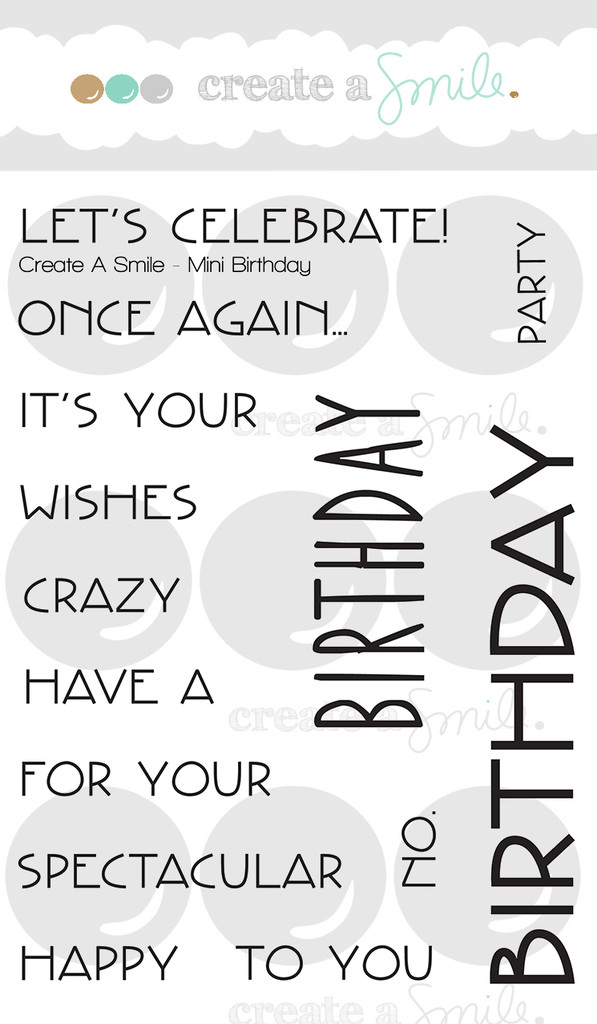
How adorable is that cute little snail?! He's from the Lovely Critters stamp set! And the first part of the sentiment is from the Happy Mail mini stamp set! I finished off the sentiment with the Mini Birthday set!
    

All of the Create a Smile Christmas themed stamps are on sale!!! Get them while you can!


~Samantha


Saturday, July 30, 2016

Let's Celebrate!

Hey stampers, Anni here!
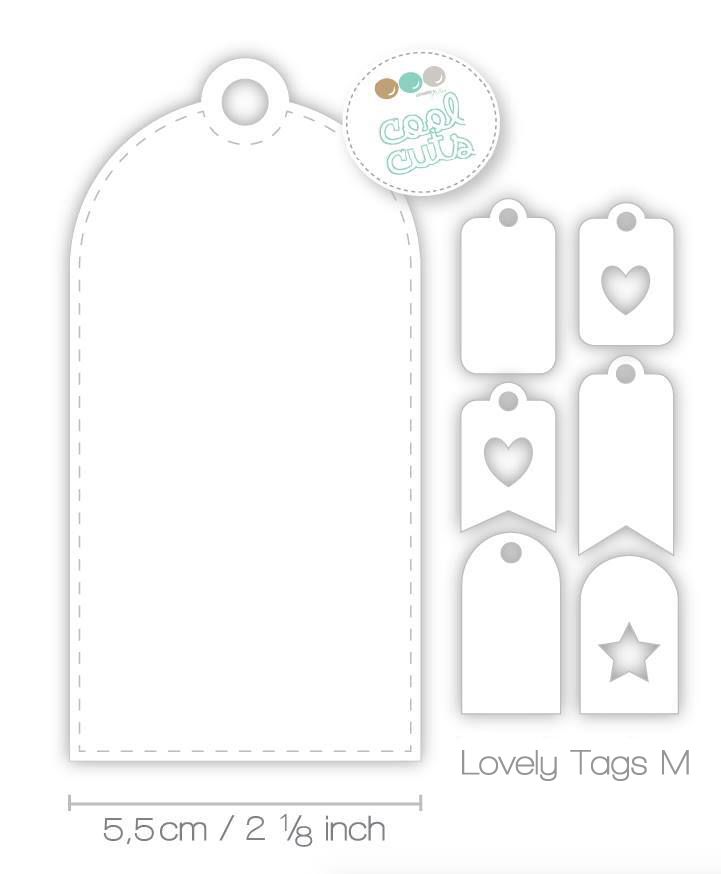
Are you as much in love with the Lovely Tags as the DT? I have so mny ideas left...


My starting point was the idea in my head that I wanted to see which of my stamps would fit on the tags. I can tell you: There are A LOT! I still have some stamped tags left!


  • Die cut a few tags and stamp the images on them. Color with Copics a rainbow colors.
  • Create a background with watercolors. I used Distress Inks for this background.
  • Stamp the sentiment on the background.
  • Adhere the tags to the card.
  • Add some enamel dots, twine and Glossy Accents for the finishing touch.


The small cups from the set Coffee First and all the yummy treats from the set  Served Up fits perfectly on the tags, too!


Friday, July 8, 2016

Pinch Me, It's Your Birthday!

Hello again!
Samantha here with you today, sharing a cute little, under the sea card!


Adorable, right? I am not sure, maybe because it's summer, maybe because ocean backgrounds are fun, but I have been making a lot of under the sea type cards, and I love them! 


Shall we get into the making of this fun card? Let's do it!

- on a white piece of card stock, blend together Distress Inks to create your ocean (I used Peacock Feathers and Vintage Photo)
- splatter on some water drops and set aside to dry
- stamp and color the cute lobster image onto watercolor paper


- use Distress Markers in Pinks, Oranges and Reds to create the shading; fussy cut and set aside
- die cut out the area of the ocean on the white cardstock that you like
- layer a few pieces of washi on the card front, and attach banner
- stamp the sentiment and attach the image with foam tape


Remember, you don't have to watercolor the image! You can use copics, color pencils, anything! Whatever you are most comfortable with, use that!


I used the adorable Sending Sunshine kit  and Stacked Pierced Banners die for this card! I also used the Mini Birthday stamp set for part of the sentiment! Disclaimer - the Sending Sunshine kit is not available - but never fear!! You can pick up some of the paper, enamel dots and washi! Also, there's the newest kit: Beach Party that's available!! 

    
Be sure to stick around and keep a close eye on Create a Smile next week...it's the EPIC July release!! 
~Samantha


Monday, June 20, 2016

Happy graduation......

Hi there it's Anja again on this monday with another card for you.


The past few days many of our friends have been stressed about their examinations and were relieved to hear they passed. So I had to make some graduation cards for them.


I started with a black cardbase and adhered a slightly smaller red panel to it. I took another slightly smaller white panel and stamped the paper and the numbers. Colored them with copics and stamped the sentiment.
To bring it all together I made an outline with a black marker.
Stamped the cute owl and colord it and fuzzy cut it. Placed it with some foamtape on the number 0.
Diecut the monocle out of black cardstock and glued it down. To make "glasses"I used some glossy accents.


Stamps;

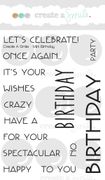
Friends in the Woods, Just because, Mini Birthday , Crystal numbers and Flaschenpost


Cool cuts (dies)

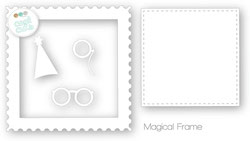
Magical frame;


As you know by now I love to stretch stamps and I am Always looking for ideas to use the stamps in different ways. You can also combine the different sets that's what I like so much of those stampsets.


There is still time to join in the fun of our monthly challenge we love to see what you all come up with.

Have a great week;

Hugs Anja