Hello everyone
Is time for a new challenge and our theme this time is Winter time and is just perfect for this period of the year :)
Also don't forget that by playing along with our challenge you get the chance to win a 25€ gift certificate to Create a smile store and the change to be guest designer for our next challenge !
As always we have our guest designers sharing their take on the challenge and can't wait for you to see what they came up with!
Annett created this awesome card using Easy-breezy stamp set
Anja made this beautiful shaker cards using Cool cuts Negative snowflake ,
Cool cuts Scalloped Rectangles
Ishani created this fabulous card using Cart full of treasures stamp set
Thank you so much to our guest designer for the inspiration! Make sure to check them out on social media and leave some love to this talented ladies!
Our design team also made some fantastic projects and here they are
Alexandra created this card using Cool cuts Negative Snowflake , Cool cuts Scalloped Rectangles , Vinyl Christmas greetings stamp set
Ashlee created this stunning card using Dress me up stamp set
Ellenor made this super cute card using Dress me up stamp set
Giada created this wonderful card using Dress me up stamp set
Ksenija made this cute card using Bear mail stamp set
Laura made this outstanding card using Gull gang stamp set
Sindhu created this adorable card using Cool buddies stamp set
Victoriya made this awesome card using All hands on deck stamp set
Now is your turn to be creative and to ink your stamps! Make sure to read the rules before entering and most important have fun!
Showing posts with label easy-breezy. Show all posts
Wednesday, December 5, 2018
Saturday, November 24, 2018
Clumsy Santa
Hi everyone and welcome back to our creative space!
* First I die cut a white panel using the largest stitched rectangle die and stamped the snow falling from the Easy-breezy set all over it, using a light blue ink.
* To add more color to the panel I ink blended some teal ink at the bottom of the panel, where it'll meet with the snow hills.
* Using some hill dies I die cut two white hills and mounted them on the white panel using foam tape.
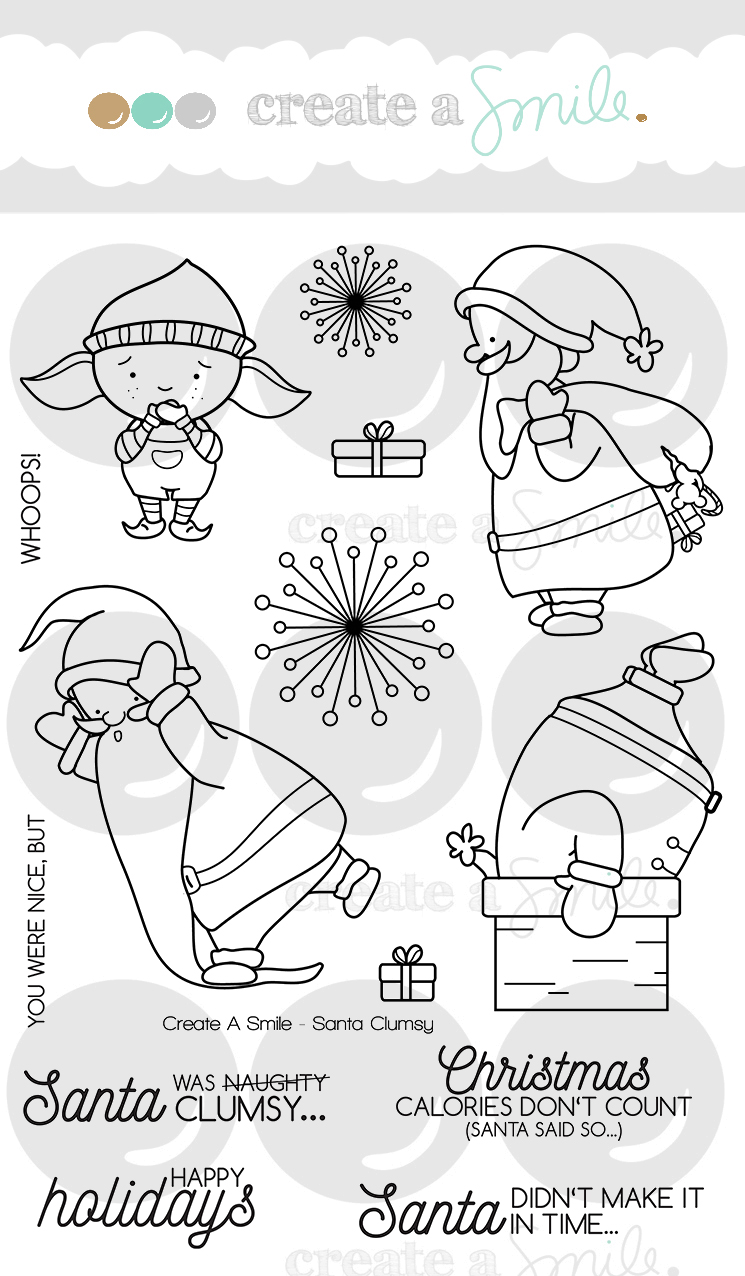
* On one of the hills I stamped in black a funny sentiment from the Santa Clumsy set.
* I added glued some small jewels on the house creating the illusion of Christmas lights and I love how cute it turned out!
* I mounted the panel on a light blue card base and my card was done.
Super easy and I had so much fun! Hope you've been inspired to create some lovely Christmas cards using the awesome Create a Smile products!
Have a lovely Tuesday!
Thanks for stopping by,
Raluca
Raluca here with a brand new card showcasing quite a few of the adorable stamp sets from Create a Smile Stamps shop.

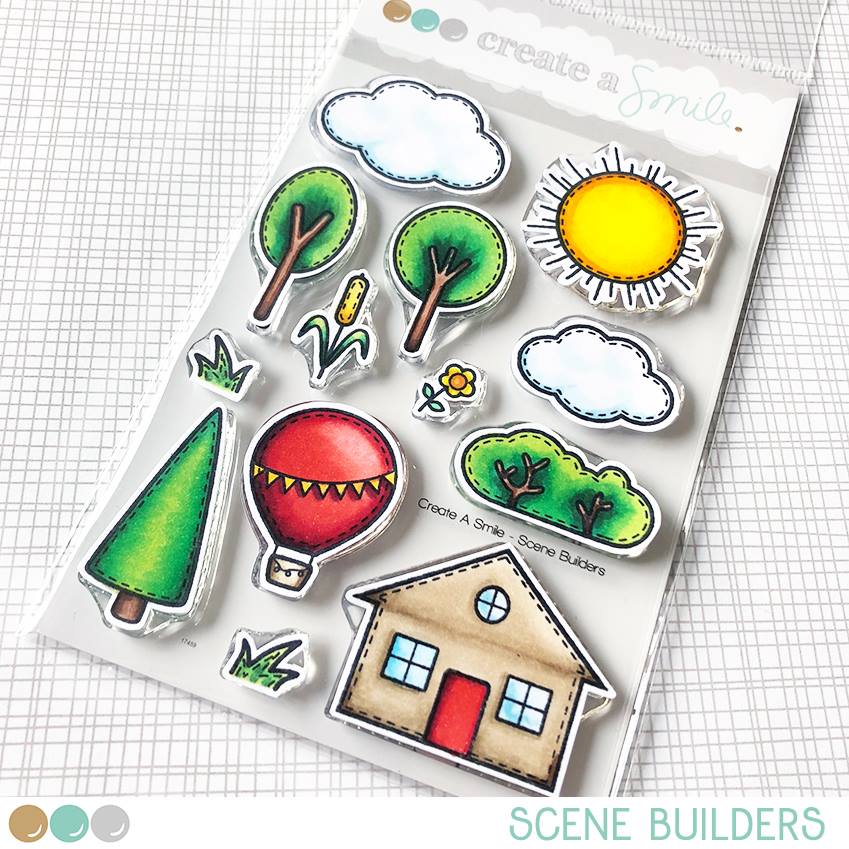
"Santa Clumsy" is one of my favorite Christmas sets cause of its funny images and clever sentiments. I really wanted to create a fun Christmas scene and the "Scene Builders" set helped me achieve my wish.

* To add more color to the panel I ink blended some teal ink at the bottom of the panel, where it'll meet with the snow hills.
* On one of the hills I stamped in black a funny sentiment from the Santa Clumsy set.
* On a white panel I stamped all the images for my scene and colored them with Spectrum Noir markers.
* After the coloring was done, I fussy cut the images and mounted them on my card, creating a lovely and fun wintery scene.
* I mounted the panel on a light blue card base and my card was done.
Super easy and I had so much fun! Hope you've been inspired to create some lovely Christmas cards using the awesome Create a Smile products!


If you love Instagram like I do, you can follow Create A Smile using the name @createasmilestamps and if you have any questions about card making, techniques or products, if you want to share your creations with Create A Smile fans or if you want to participate in our monthly challenge join us on our Facebook group Create A Smile - Friends & Family :).
Have a lovely Tuesday!
Thanks for stopping by,
Raluca
Friday, November 23, 2018
Joy to the World Card!
Hi there!
Samantha here, and today I am sharing a simple, but bold, Christmas card!
Let's make this card together!
- stamp and color your images (I used Zig Clean Color Real Brush markers)
- once dry, fussy cut out
- for the background, I cut a piece of black cardstock for my card front and then heat embossed the sentiment in white!
- then, I added some sparkle with Crystal Stickles to the glowing lights and blushing cheeks!!
Samantha here, and today I am sharing a simple, but bold, Christmas card!

I am seriously in love with this cute little snowmen! I added puff balls to the ends of their hats, and it really was the inspiration for this card! I can't even lie! :P
Let's make this card together!
- stamp and color your images (I used Zig Clean Color Real Brush markers)
- once dry, fussy cut out
- for the background, I cut a piece of black cardstock for my card front and then heat embossed the sentiment in white!
- then, I added some sparkle with Crystal Stickles to the glowing lights and blushing cheeks!!
I decided to put this scene onto black cardstock so it would pop! Plus, you don't see many Christmas cards on black cardstock, so why not? Ha!
I used the sweet, little snowmen from Easy Breezy along with the beautiful world image from Joy to the World!

There is ALWAYS a fun challenge going on in the Create a Smile Stamp Facebook group page! It's fun and filled with prizes! I love seeing all of the incredible, unique and amazing inspiration!
Wednesday, November 21, 2018
clean and super simple christmas card
Hello crafty friends, Nicole here.
It's christmas card making time... and I have some tips for you to save a little time while making them ;-)

I love to make clean and simple cards. It's just a cardmaking style I feel comfortable with. But when it comes to making christmas cards, clean and simple cards aren't just fun to make, they can save you a lot of time.


Thanks for stopping by!
Have a wonderful day,
Nicole
It's christmas card making time... and I have some tips for you to save a little time while making them ;-)

I love to make clean and simple cards. It's just a cardmaking style I feel comfortable with. But when it comes to making christmas cards, clean and simple cards aren't just fun to make, they can save you a lot of time.

- do some inkblending in the upper half of your cardbase, start in the middle and work your way out getting lighter with the color
- stamp your landscape stamp in a crisp black ink (I used Versafine Onyx Black)
- stamp, color and fussy cut your snowman (I used Spectrum Noir Markers)
- stamp your greeting (I used Pigment Ink)
- adhere your snowman using some foam tape
- draw some snowflakes using a white gel pen
- (you can't see it on the pictures but) I added some Glossy Accents on the nose ;-)
- once you figured out a clean and simple layout you like, you can easily make several similar cards without all the color picking, layout planing and so on... This often takes up a lot of my time.
- landscape stamps are a fun and simple way to save time if you have to make a lot of cards
- I stamp a lot of sentiments in black but I really like colored ones too. Pick a color you already used on your image or background to fit your creation perfectly.
- making cards with snow on them is a great way to save some time on coloring
- another way to spice up your clean and simple card is using a white gel pen to add details (like I did with the snow and on the scarf)


We love to see what you create! Share your cards on Instagram using #createasmilestamps to create some smiles! 😉
Have a wonderful day,
Nicole
Wednesday, November 14, 2018
Relax
Hello and happy Wednesday everyone! Chris here with today´s post, with a little fun winter card. Have you already seen the new Release stamps? - this is one of the new ones.

A good friend of mine is always very stressed during the Christmas season. I know it´s a very busy time but I think this year she needs a special "Relax-card" and this cute snowman is supposed to remind her (and maybe me too) in a funny way to relax more.

- first I stamped the images and colored with Alkoholmakers and cut out
- I don´t have Alkoholinks so for the Background I took my Alcoholmarkers and paint some lines on Photopaper and dropped some splatters high percentage alcohol (from the pharmacy) on the paper - and wait what happens (the result is always a surprise)
- glued the dried Background on a card base
- did die cut a rectangle window out of a panel and embossed with an embossing folder
- glued a acetate piece behind the window - stamped the sentiments with "Staz on" on the acetate
- filled the window with fake snow
- glued down the panel with some 3d Foam Tape
- then arranged all images on the card

If you want to see another shaker card, check out the last post from Raluca - she has created such a delightful card.


The super cute snowmen stamps is from the new Novembre release and available on friday 16th.
Thank you so much for stopping by and happy crafty time.
Chris
Subscribe to:
Posts (Atom)