Showing posts with label birthday sampler. Show all posts

Wednesday, August 21, 2019

Make a wish


Hello crafty friends, it's Kerstin here!
Today I have a very special monochrome birthday card for you.


I wanted to try negative painting with watercolors for soooo long and now I finally did it. The basic idea ist to paint a darker background around the lighter objects.


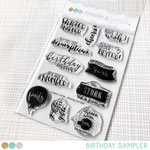
  • stamp  your images in a light colored ink onto water color paper
  • mask the first layer of your stamped images and stamp some more in the background
  • create as many layers as you want but at least 3 layers
  • start with a very light wash of your watercolor all over the panel and set aside to dry
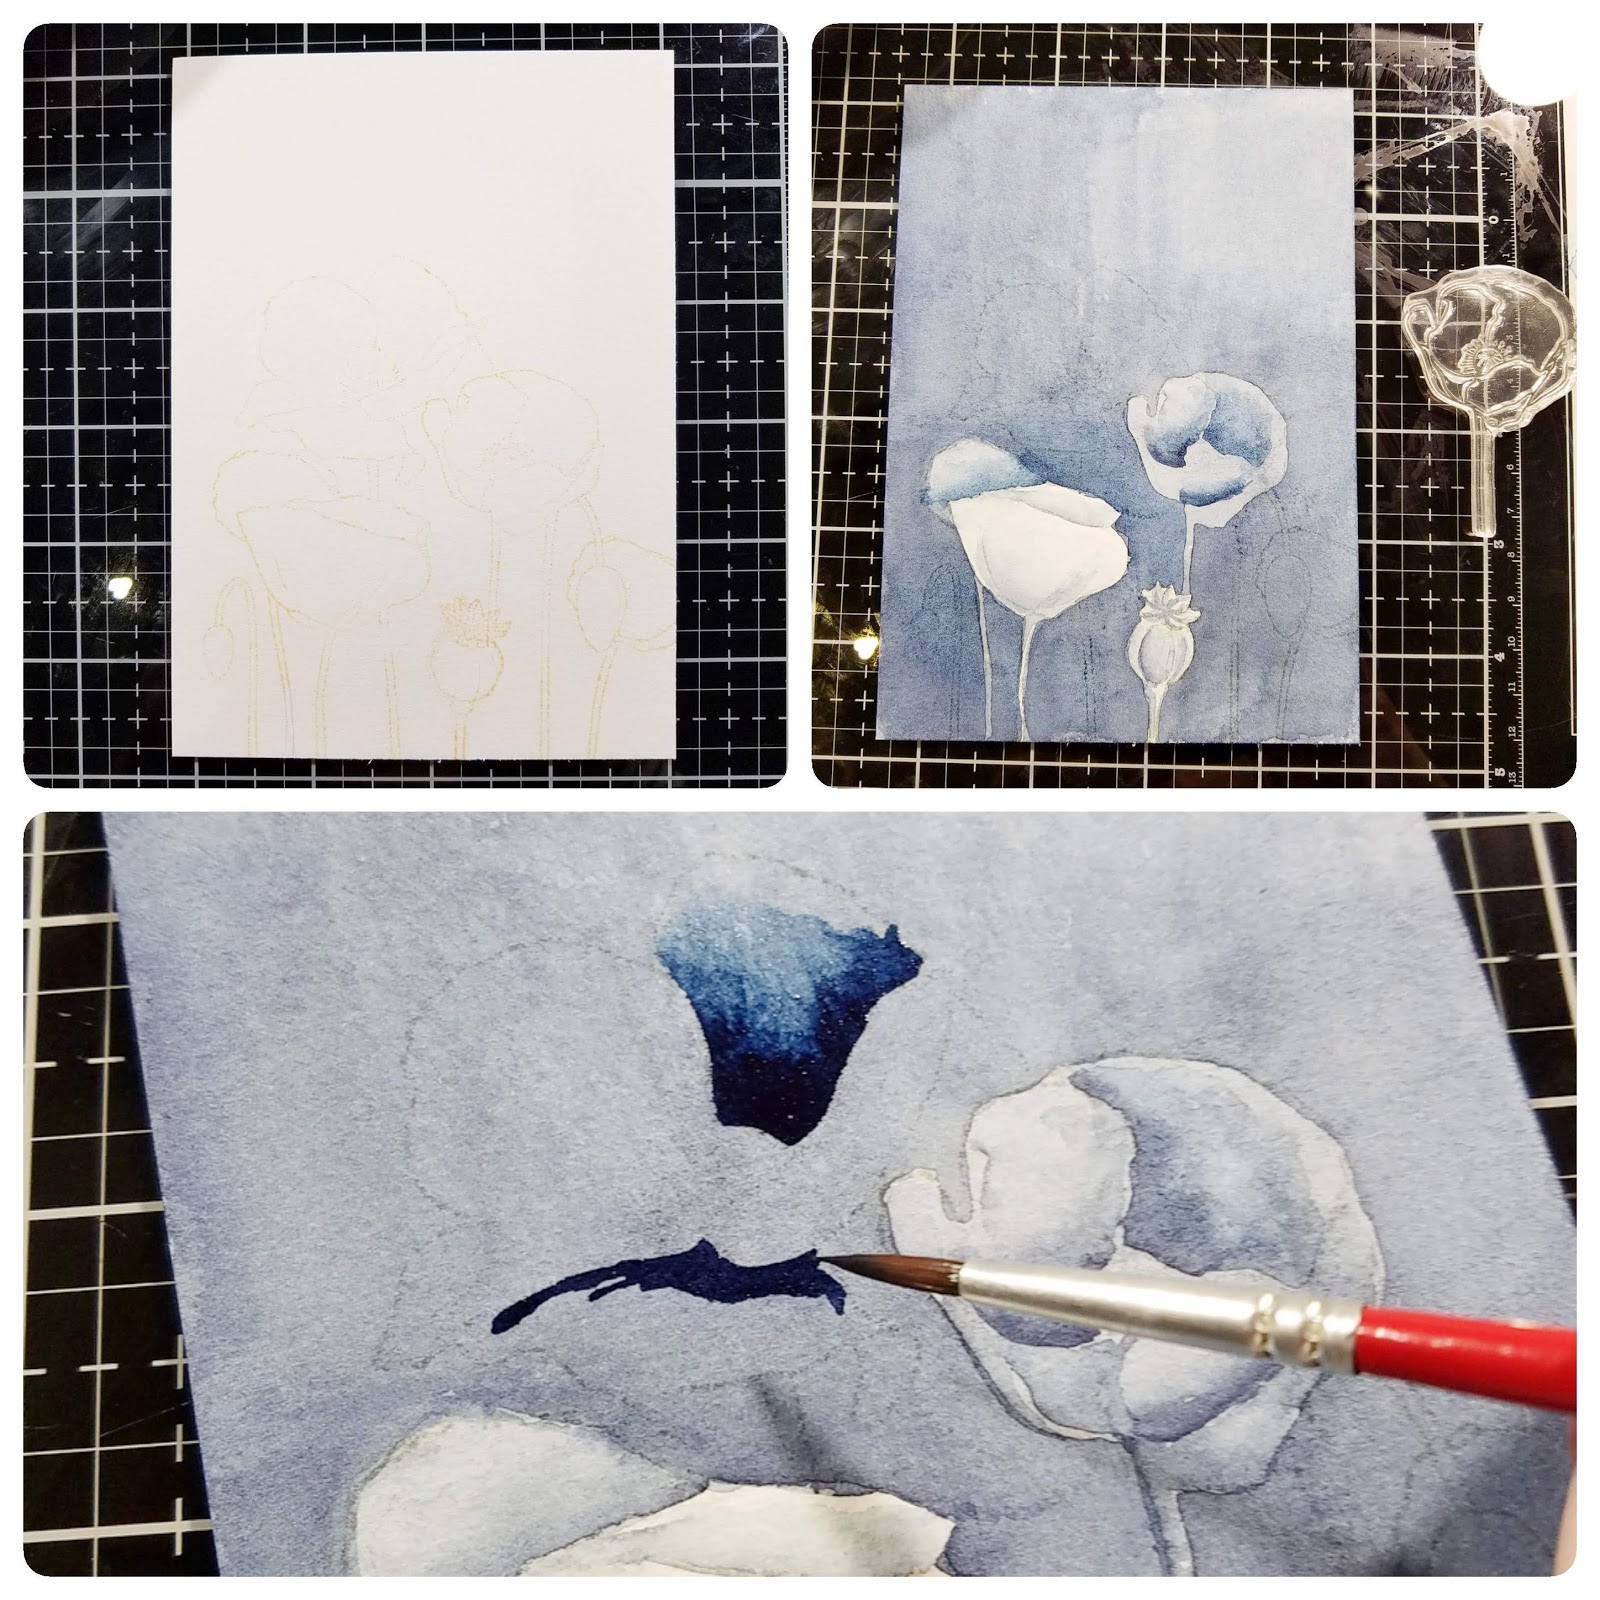
  • color the images in the first row in a very light shade and let dry
  • lay down a second layer of a darker shade of watercolor around the images in the first row and over the images in the background
  • set aside to dry
  • for the next layer start over again with coloring the images of the second row
  • paint a darker shade of watercolor around the images in the first and the second row and over the images in the third row
  • set aside to dry
  • start over again for the next layer
  • decorate your panel with some white and gold splatters
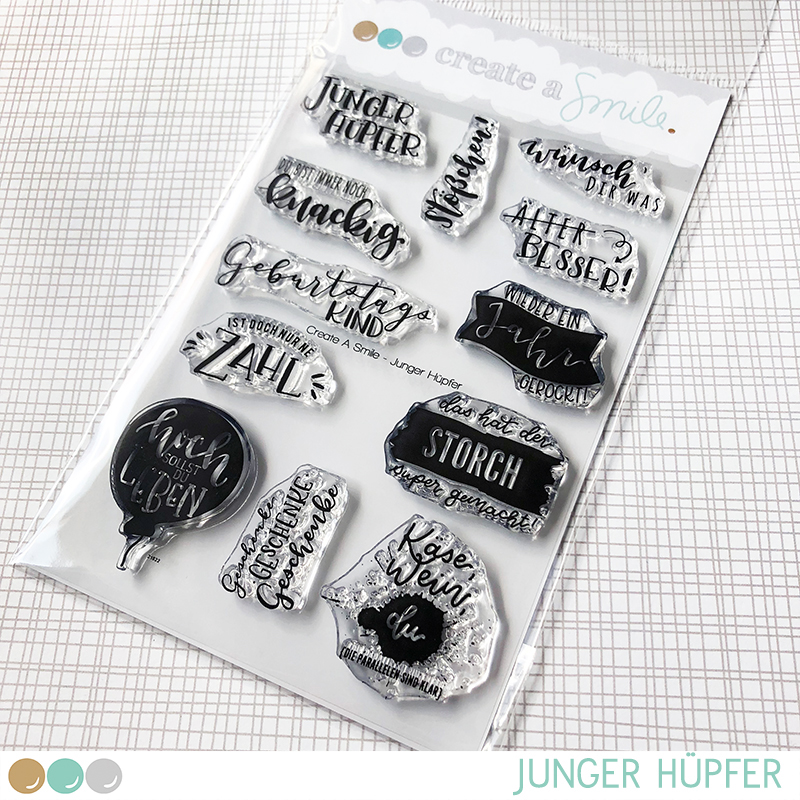
  • stamp your sentiment on vellum and heat emboss


... or lessons learned. Here are some things you should do better than me. ;-)


  1. Plan your layers well! I got quite confused about what to color and what to leave unpainted during the process.
  2. Use a recognizeable darker color for each layer! The second and the third layer in my project are too similar.
  3. Paint fast! Otherwise your paint dries too quickly and your background becomes blotchy.


Thanks for stopping by and happy crafting,
Kerstin

Saturday, June 22, 2019

Birthday Surprise


Hi everyone and welcome back to our creative space!
Raluca here with a brand new card showcasing two older stamp sets from Create a Smile Stamps shop.


The unicorns from the Superpowers stamp set are my favorites and I wanted to create a rainbow in the sky for one. Although I did this card before I got the new Cool Cuts Stitched Circle Frames die set, you could totally use that one for creating this fun rainbow. Hope you'll give it a try!


* First I die cut a white panel using the largest rectangle die from the Cool Cuts Double Stitched Rectangles set.
* Using a cloud stencil and a make up brush I ink blended the clouds on the white panel.
* I die cut the rainbow from different colored cardstock and some clouds from white cardstock and mounted them on the card.


* On a white panel I stamped the adorable unicorn from the Superpowers and colored it with Spectrum Noir markers.
* After the coloring was done I fussy cut the image and mounted it on one of the clouds, near the rainbow.
* Under the fun rainbow I stamped a sentiment from the Birthday Sampler using a black ink.
* I mounted the panel on a white card base, glued a few clear sequins and my card aws done.


Superpowers


Superkräfte


Birthday Sampler


Junger Hüpfer


Cool Cuts Stitched Circle Frames


Cool Cuts Double Stitched Rectangles


If you love Instagram like I do, you can follow Create A Smile using the name @createasmilestamps and if you have any questions about card making, techniques or products, if you want to share your creations with Create A Smile fans or if you want to participate in our monthly challenge join us on our Facebook group Create A Smile - Friends & Family :).

Have a lovely weekend!
Thanks for stopping by,
Raluca


Monday, April 15, 2019

Older? Better!

Hello, everyone! It's Cassie here, and I'm back to share another card I made for Create A Smile. The new release just was available starting last Friday, and I'm loving the new products, so of course I had to use them for my card today. Let's jump in!

I wanted to create a highlighted area with the new Focal die so I thought I'd go with a birthday card and a nontraditional birthday treat! I also wanted some soft pastel colors, and this fortune cookie was perfect for that!

 I started the card by ink blending some mint green ink on an A2 size card panel. I also splattered some of the ink over another A2 size card panel, and then die cut the Focal die from it. This way I could see my ink blending through the die cut area. 


Next I did my stamping. I stamped the "older/better" sentiment from the Birthday Sampler stamp set onto the card panel in which I had die cut the Focal die from. I also stamped the fortune cookie from the new A Little Treat stamp set. That was colored in with Copic markers and fussy cut out. I adhered everything together and attached the cookie with some foam tape to make it stand out. 


 Focal Die: 


When you have a simple card design like this I think it's really smart to add dimension. That's why I popped up the fortune cookie. It seems like a really small thing, but it adds the perfect touch! 

If you're getting crafty with the new release (or any of the Create a Smile products) be sure to tag us so we can see your lovely creations!! Thanks so much for stopping by today, and I'll see you again soon with another card!