Showing posts with label Post für Dich. Show all posts

Wednesday, January 2, 2019

You've Got Mail

Hey stampers, Anni here!

Happy New Year to all of you!
Hope you had a wonderful Christmas!

After a lot of Christmas cards I am happy to share a non christmassy card with you!


I created a big sheet of an alcohol ink background a few weeks ago, that I wanted to use. So I knew I needed a critter with neutral clour to go with the bright background! I decided to make this cute elephant the star of my card.


  • When you create an alcohol ink background, use a bigger sheet than you need for your project. This way you have backgrounds for further cards.
  • To create this background I used Yupo paper, Copic Cleaner and alcohol inks. I start with a layer of Copic cleaner and add in alcohol inks. In between I use my heatgun to dry the layers.


We will have a big and fun release this month. Follow Create a Smile on Instagram and on Facebook to get all the news.


Wednesday, April 25, 2018

We dare you to create a smile: Favourite Create a smile stamp set

Hello everyone!

The time sure flies and here is again time for a new challenge . And as you saw in the title we dare you to pick your favourite Create a smile stamp set and share with us a card using it.


And let's see what our guest designers made this week

Stephanie created this gorgeous card using Magic flowers stamp set


And Katrin created this adorable interactive card using Post für dich stamp set


Stephanie and Katrin thank you so much for guest designing and inspiring us , your cards are so beautiful .

Now let's see what our Design team created

Alberto created this amazing card using When you are not around stamp set


Alexandra created this card using All hands on deck stamp set Sophisticated shells cling stamp Cool cuts postage edge circles


Farida created this beautiful album using Superkräfte stamp set Lettering alphas stamp set


Galina created this cute card using All hands on Deck stamp set


Kaja created this lovely card using Bear mail stamp set


Laura created this adorable card also using Bear mail stamp set and she also made a video for this card


Nicky created this fabulous card using A friendly turn stamp set


Hope you got inspired and play along with our challenge . Here below are the rules to enter the challenge please take some moments to read them


Saturday, March 26, 2016

Happy Mail!

Hey, stampers, Anni here!
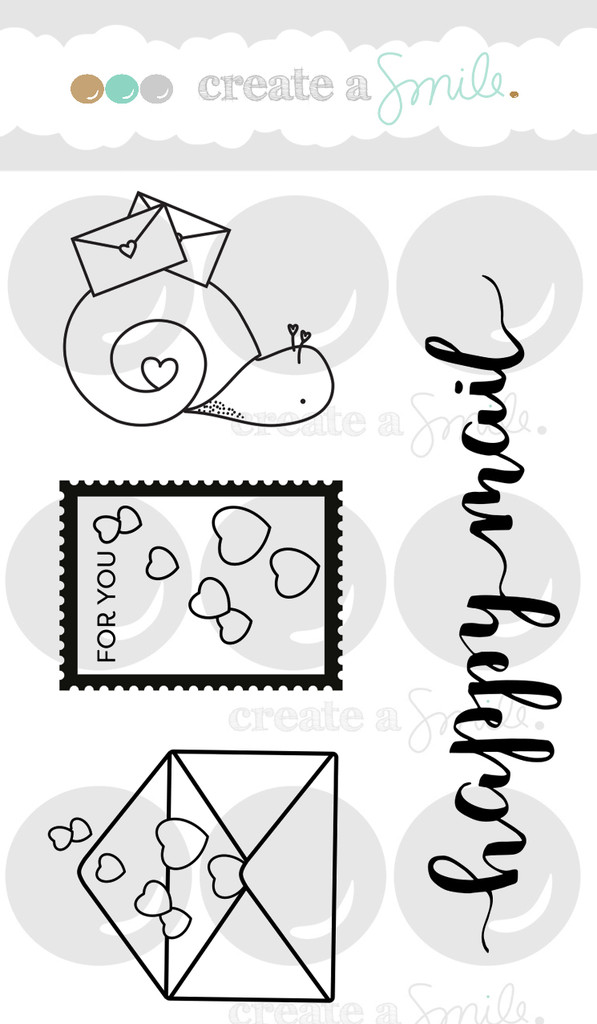
I've got a card for you using the new cute set called "Post für dich" in German or Happy Mail in English.


The moment I saw the little snail with the envelopes I knew I wanted it to bring the mail to the bigger snail from the set Lovely Critters.


  • Heat emboss the sentiment in white.
  • Mask it off and add ink blending for the sky. Then mask off the sky and add more ink for the ground.
  • Stamp, color and fuzzy cut the snails. Add some highlights with a white gel pen.
  • Die cut a frame.
  • Assemble the card.


  • For the snails I combined Copics and colored pencils. This way you can lay down color fast with Copics AND add the details with the colored pencils - the best of the two worlds.
  • With inkbleding you can create a background in no time! And I love the effect!


Create a Smile only needs just a few more followers on Instagram to reach 10.000! Isn't it fabulous? Are you already following @createasmilestamps


Sunday, March 20, 2016

Altering Stamps by Masking

Hi Everyone! Hope everyone had enjoy the new release. Aren't they adorable?! Today, I'm sharing with you how I make a card using one of the new sets and I'm using the masking technique for this cards with two different stuff you can use as a mask. Read on! :)


To start, I stamped the first image on a piece of masking paper. For this, I just used a thin typing paper . Cut out the image and use a removable adhesive to stick it on my project. Using this masks, I can have overlapping stamp images without having to mess with the lines going on top of each other. 


If you notice that, except for the top envelop, the rest of them don't have the top part of the image. For this, I used a piece of washi tape to cover the top part of the image before inking it. Don't forget to remove the masking tape before stamping it on your paper :) 


All Create A Smile products : 
Copic Markers


Follow Create A Smile on Facebook keep yourself updates on all the happenings and if you're an Instagram addict like I am, you can follow Create A Smile using this name : @createasmilestamps ! :)

Thanks for stopping by,


Wednesday, March 16, 2016

Release Countdown #2

Hello everyone!

It's release-countdown week!
That means we're introducing our newest products to you, sharing inspiration and also excitement :)
Countdown 3 means there are 4 more days until the new products will be added to the shop.


From this month on we'll have an English and a German version of our stamp sets, so our German customers get to enjoy matching (punny) sentiments as well - yay!


 So much fun stuff to play with! 
Any favorites? Must-haves? Something for your wishlists?

Time for some inspiration!
Today I would like to share projects by Terhi and Samantha with you - be prepared for amaziingness (I think is not an actual word, but well.... ;) )
. Before we get started I'd like to show you what's waiting for you during the next days:

Thursday:     Countdown "1" Giveaway-day!
Friday:         Countdown "0" IGNITION!!!! Sets will be released at 10 am CET (3 am EST)

Let's see what we have for you today ;)

Terhi created a splash of color on her layout using Crokisses. It's jaw-dropping sensational - and all the details! <3


Sam also went color-crazy on both of her cards. For the first one she used Happy Mail and drew attention to the little snail by dropping splashes of color onto the background and also color the snail pretty bright - I am in love:


For the next card Sam simply smeared some paint onto her cardpanel and stamped the sentiment from Happy Days on top. The Chevron background and the folded and torn edges add some great details :)


 I have some cards to share, too:

The bottle from Message in a Bottle / Flaschenpost just screamed "shaker! SHAKER!" at me so I just coudln't resist making a shaker card with some sequins and some citrus colors:


For the second card I used the just re-stocked Time to say thanks and combined it with the brand new Happy Days sentiment set. Simple, but bright :)


Only two more days until all these sets come to the store - and we got such amazing feedback by all of you - thank you, thank you, thank you! You ROCK!