Showing posts with label May Park. Show all posts

Wednesday, March 23, 2016

Guest Designer May Park #2: Watercoloring (+ Video)

Hello lovelies!

Here we are with a new fantastic and inspiring post from the cardmaking super rockstar May Park. If you missd her first post, you can find it here.


May just has fantastic design skills, you should check out her Blog and IG account (where you will also find some of the cutest cats ever ever! She has two beautiful kitties that you will love). 
Now, let's see what May has up for you:

________________________


Hi, crafty friends. Today I have a fun and colorful watercolor card. If you want to see my previous guest project that I made using Copic coloring, please click HERE.


I'm totally in love with the cute critter images from the Doctor's Helpers stamp set and couldn't resist creating a stamped background for my project today. Then I did some watercoloring which is I'm so obsessed with lately. 


I'd love for you to watch my video tutorial as I shared lots of tips and tricks in the video. You can watch it here or in HD on YouTube. Hope you find it helpful.

How to Make a Get Well Card using Watercoloring
  1. Stamp the images from Doctor's Helpers with Hero Arts black ink on a piece of Arches cold pressed watercolor paper.
  2. Watercolor the images with Guretake Gansai Tambi 36 color set.
  3. Mount the watercolor panel on a A2 sized top folding card using foam tape.
  4. Stamp the sentiment from the set in black on a piece of kraft cardstock, die cut it with oval die from Stacked Pierced Ovals, pop it up on the card front using dimensional adhesive.

4 Watercoloring tips I learned from my practices
  • You may need to use a smooth side of your watercolor paper to get a good stamping impression. Otherwise stamp the images multiple times on a textured side to get crisp lines of your images. (For mutiple stamping, I used the MISTI stamping tool to get my stamps positioned in a same place.)
  • Watercoloring in two ways: add intense colors first with less water and spread the colors by adding more water. The other way is to color with light color first with lots of water for the base coat. Then add more colors later for shading.
  • Use clean water and paint brush to fix your watercoloring mistake and pick up the colors using some paper towel.
  • Cold Pressed watercolor paper is easier to fix the colors compared to hot pressed watercolor paper.
I'm not telling you these tips would work for all of you as I'm not experienced in watercoloring but just taking baby steps for it. If you have any tips or suggestions on watercoloring, please share with me in the comments below.


That’s all I have for today! I hope you enjoyed seeing my watercolor card and got some inspiration. Thanks so much for stopping by. Happy crafting!

_____________________________

I would like to say a HUGE thanks to May for being our Guest, even taking the time to make videos, bringing so many tips and inspiration our way! May, you ROCK!

If you loved May's project let her know by leaving her a comment or visiting her blog and suscribing - you won't regret that!

Have a great day everyone!


Saturday, March 12, 2016

Guest Designer May Park #1

Hello lovely friends!

Today is a very special day for me. A LONG time ago I sompletely fellin love with May Park from Mayholic in Crafts and her bright and cheerful cardmaking style. All of her cards are pure perfection - well balanced, wonderfully designed, well thought out - so I asked her to be our Guest Designer. It took some time but we finally managed to make it work and the wonderful, uber-talented May is our Guest Designer - woohoooo!


May really is a cardmaking rock-star and I am sure you met her as a designer for companies or fell in love with her work on instagram or somewhere else. I am so thankful she made up some time to join us - thank you, May! <3

Now, here's what she has for you today:


_____________________


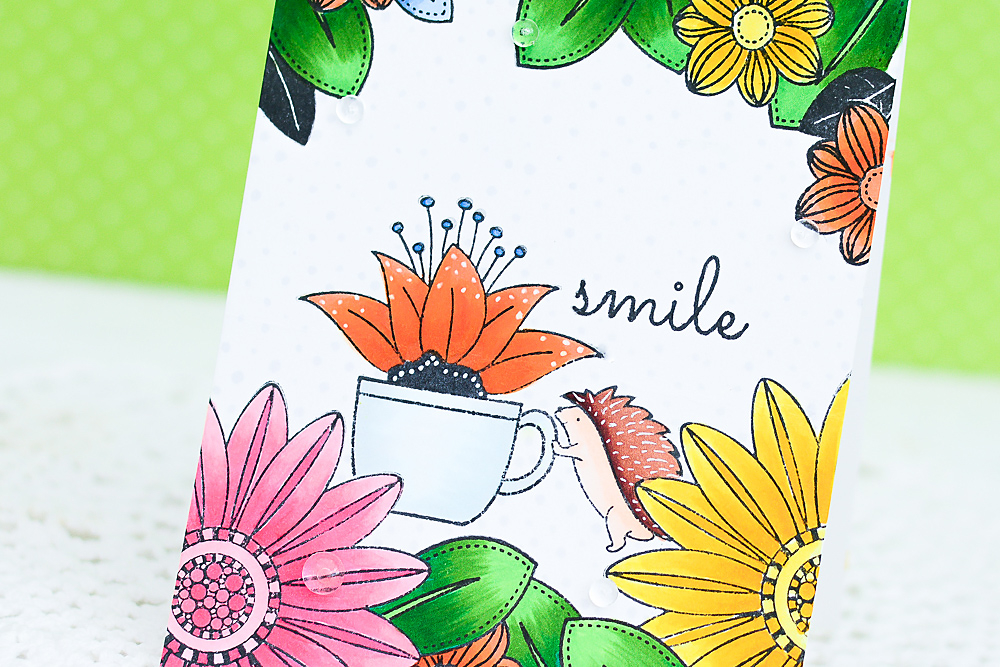
Hi, crafty friends. It's May here and I’m so excited to share a fun and colorful one layer card as a guest designer this month. Here is what I came up with:
  DIY Handmade Card using Copic Markers_5


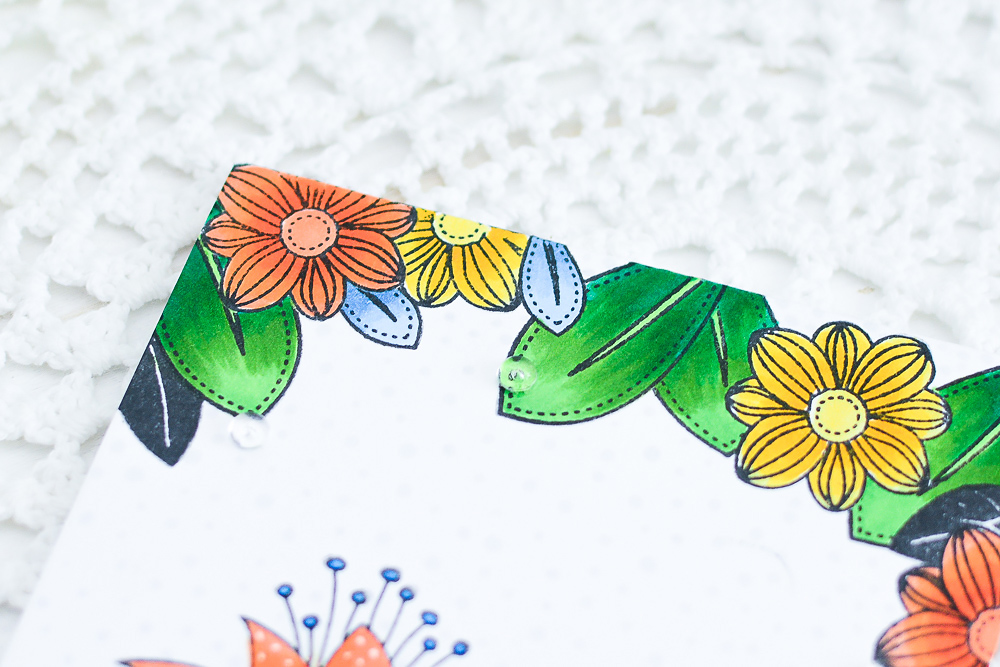
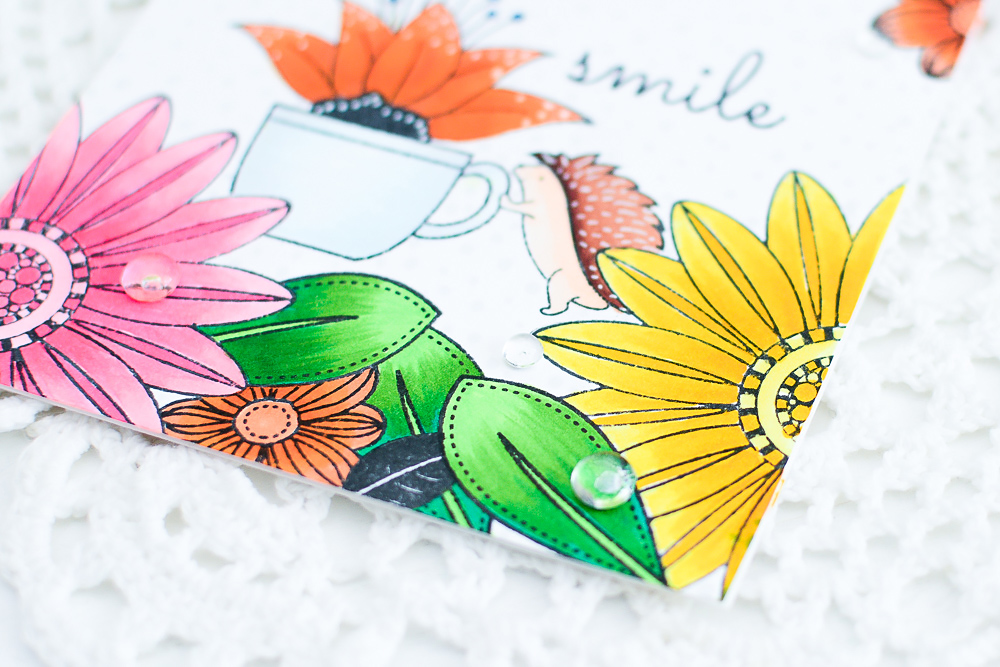
I couldn't resist myself creating a whimsical scene by combining two stamp sets: Botanical Love and Doctor's Helpers. Can you guess the story I made up? There is one hedgehog living in a beautiful wonderland. He has been so productive planting all kinds of flowers over the years, and he finally picked his favorite flower to bring smiles to someone he loves. Does it make a sense to you? *wink* DIY Handmade Card using Copic Markers_3


I really love creating my own scene to tell a story on my card. It's all about thinking outside the box and being creative. 4 Tips on Building Your Own Creative Scene
  1. Mix and match the images from different stamp sets.
  2. Look at the images from many different angles.
  3. Use a partial image of your stamp.
  4. Try not to use a stamp as originally designed.
If you have any tips to use the stamps in an innovative/creative way, feel free to share in the comment below. I would love to hear from you. DIY Handmade Card using Copic Markers_2

Here is a video showing you how I created my card. You can watch it here or in HD on YouTube.  
  How-to : One Layer Card using Masking, Stamping and Copic Coloring

  1. Stamp the images from the Botanical Love and Doctor's Helpers from with black ink.
  2. Mask off the images along the way to create a dimension between them. (I stamped the images on some post-it notes and cut them out with scissors to create masks.)
  3. Color the images with Copic markers. (I took the color scheme from this image on Pinterest.)
  4. Add some interest on the images using Gelly Roll white pen and Glossy Accents.
  5. Add tiny dots on the white spaces with grey marker.
  6. Finish off the card with clear droplets to represent the dewdrops.
DIY Handmade Card using Copic Markers_4

That’s all I have for today! I hope you enjoyed seeing my card and got some inspiration. Thanks so much for stopping by. Happy crafting!

_______________________

Don't you just LOVE this bright card? It's super unique, combines stamp sets I would never have thought of and makes the stamps shine.  Who's ready for spring now? I sure am!

Thank you May, for bringing this inspiration to us! I can't wait to see her next creation.

Hope you enjoy this piece of art as much as I do - thanks for stopping by and make sure to check back soon for more ideas and inspiration :)