Showing posts with label Basic Circles. Show all posts

Saturday, June 27, 2020

Hello Card with Ink Blending

Hi there!
Samantha here, and today a happy hello card!


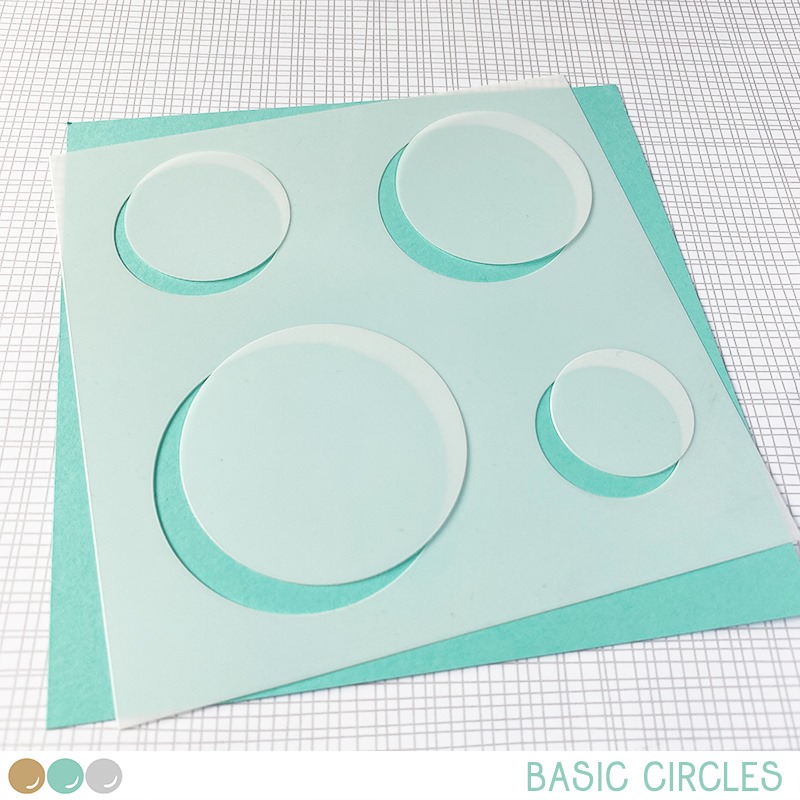
It's no surprise that I absolutely love ink blending! And when I was playing with the new Basic Circles stencils, I knew I wanted to add some beautiful stamping with the new Wildflowers stamp set, too!


Let's make this card together!

- I started by placing the circle mask on my card front. 
- then I held it in place while I used some warm Distress Ink colors to ink blend around! I used: Milled Lavendar, Seedless Preserves, Picked Raspberry, Abandoned Coral, Dired Marigold and Squeezed Lemonade
- then I stamped the images on top, in the same colors! 


- I also splatted some water and white acrylic ink on top of everything!
- I stamped the sentiment in black, and heat embossed clear embossing powder on top
- then I finished the card off with some black enamel dots and sequins!


You could easily make a card set of this design in a wide array of colors! You could even change up the sentiment to make a birthday card, get well card, anything! It would be a wonderful gift set for someone special!


The beautiful floral images are from the Wildflowers stamp set,, and I paired them with the Basic Circles Stencil! I heat embossed the sentiment from Just Saying Hello.


There is ALWAYS a fun challenge going on in the Create a Smile Stamp Facebook group page! It's fun and filled with prizes! I love seeing all of the incredible, unique and amazing inspiration!
~Samantha


Wednesday, June 3, 2020

Miss You

Hey stampers, Anni here!

Have you treated yourself with the latest release?
Today's card is featuring some of the new products!


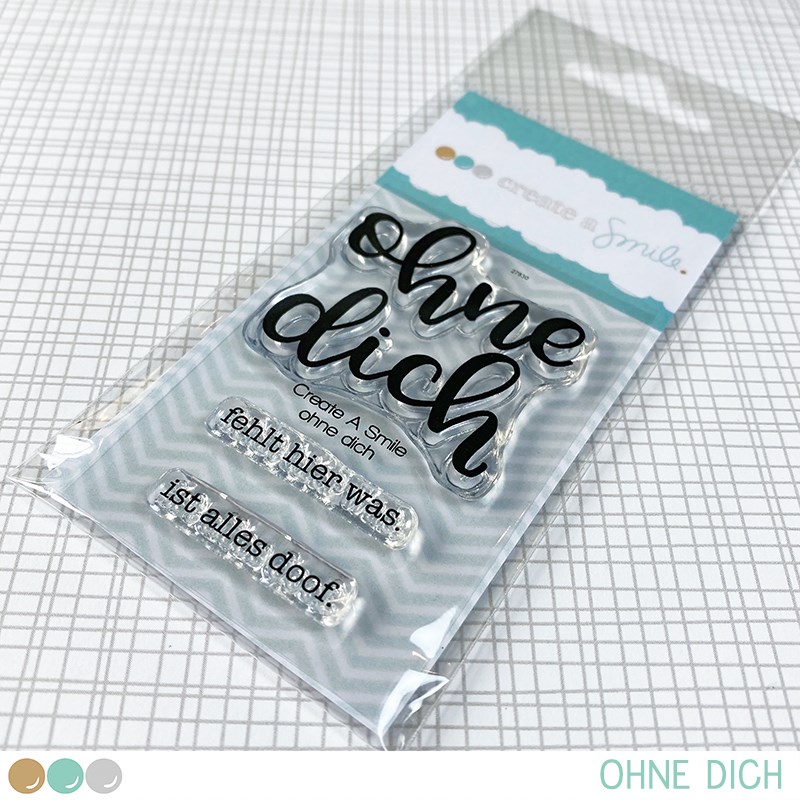
Well, actually, I just wanted to play with the new goodies and the card came together easily! I think it all started with me wanting to use the super versatile circle stencil. Then I looked for images and sentiments that would fit into the circles.


  • I started by stamping the monster in Distress Ink Antique Linen, colouring the first layer with watercolours and adding details with coloured pencils.
  • Then I created the background. The circles that come with the stencil are perfect to plan out your design. I ink blended  various shades of pink, orange and yellow through the stencil and let it dry.
  • I stamped the main part of the sentiment in Versafine Onyx Black in one of the circles and heat embossed it clear. The rest of the sentiment I heat embossed in white on a stripe of black cardstock.
  • The monster got a stripe of black cardstock, too, to stand on. I felt inspired by my team mateSamantha and added in a stripe of black and white paper.


Join the Create a Smile Facebook group to get all the news and to see all beautiful projects.