Wednesday, January 8, 2020

Hugs, Hugs & More Hugs!

Welcome crafty friends! Candice with you today sharing a card full of hugs!


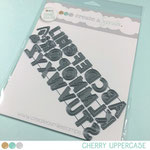
I love the new Cherry Alphabet & Numbers cool cuts and wanted to use them to create a word background.  Sometimes it's fun to create a card around a word, sentiment or background instead of the stamps!  Try it the next time you need some inspiration.


For the background, I first die cut many HUGS using the Cherry Uppercase cool cuts from the striped pattern paper found in the new Wonderful Winter Kit.  I also die cut one large HUGS from black cardstock using my cameo to fill in behind my stamp.  I drew light pencil marks to line them up easier and just erased after.  I backed it in black along with some washi tape.


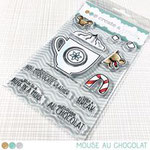
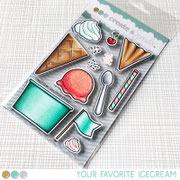
Next, I stamped the penguin (also in the kit), mice & mug, colored with copic markers and fussy cut out.  The straw is from your favorite ice cream stamp set and stamped on the pattern paper.  I heat embossed the sentiment in white for an extra pop and a place for the mug to sit on.


Cherry Uppercase cool cuts             Wonderful Winter Kit            Mouse Au Chocolat stamps


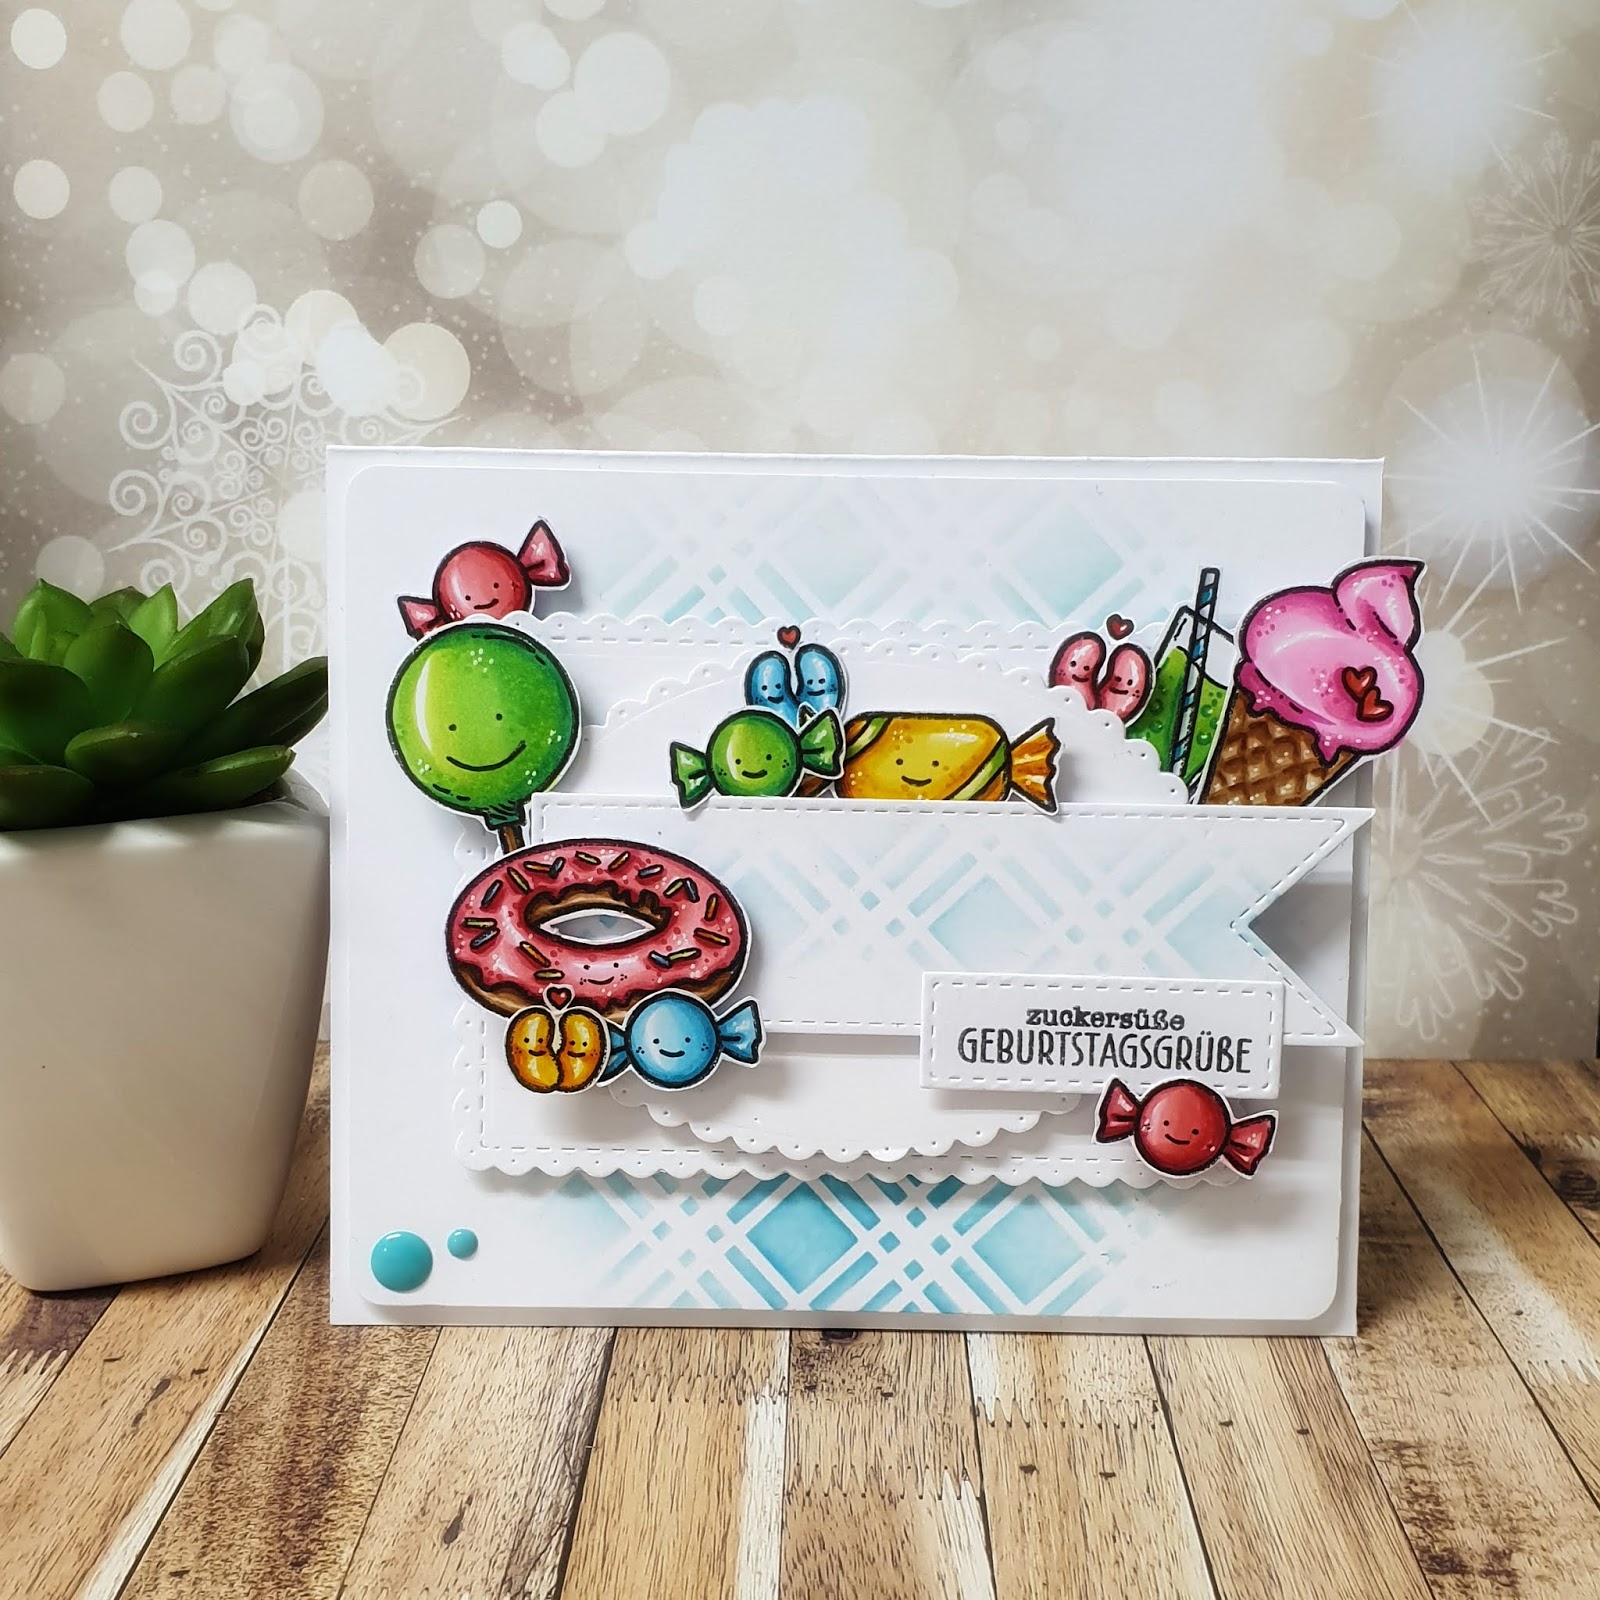
There is a new challenge starting today and you can see all about it here for your chance to win!

Thank you so much for stopping by!

Candice

We dare you to create a smile - Sketch

Happy New Year everyone

we hope you had a good start in the new year and that you are ready to play along with our challenges.
We have some exciting news to share with you : we can't wait to share with you our new design team and their beautiful creations ! Welcome everyone on the team! We are happy to have you here !
Please make sure to check their social media and leave them some love!

Here is the first graphic of this year challenge : a sketch and we had a lot of fun creating some projects to try and inspire you to play along


Also don't forget that by playing along with our challenge you get the chance to win a 25€ gift card to Create a smile store and the chance to be guest designer for our next challenge 

We also wanted to share some inspiration from our guest designers

Sandra made this gorgeous card using Zuckerschnute stamp set


Kerstin made this adorable card using Pulliwetter stamp set Scene builders stamp set

Thank you so much for creating such beautiful project and for guest designing for our challenge . Please check their social media to see all their amazing creations and leave some love

Our design team made some fantastic projects too and i'm sure you will love them as much as did

Alexandra made this card using I believe in you stamp set Small sentiments stamp set


Anja made this beautiful card using Cool cuts Kathi snowflake Cool cuts Negative Snowflake Wonderful Winter kit Cool cuts Doppeltes Danke


MBFAIRYSKY created this gorgeous card using Tender Tulips stamp set


Ella made this adorable and cute card using Hauptrolle stamp set


Fabiola made this gorgeous card using one of our freebies


Linda made this awesome card using Bear mail stamp set


Martina made this beautiful card using one of our freebie


Melanie made this wonderful card using Bis zum Mond stamp set


Melissa made this fantastic card using Bear mail stamp set


Nathalie made this amazing card using Crokisses stamp set


Hope you feel inspired to play along with our challenge . Please make sure to check the challenge rules below before you enter you card!

Thank you for stopping by today ! Until next time have a lovely day 

Alexandra


You are invited to the Inlinkz link party!

Click here to enter

Monday, January 6, 2020

Winter beauty scene....!!

WINTER SCENE....

Hi everyone...

It's Ashlee here with you today and I have a card to share with you featuring some gorgeous pieces that come in the brand new kit "Wonderful winter"....

This new kit is full of wonderful products perfect for creating wintery cards!!


I was feeling so inspired by the cute little chipboards included in the mini kit and I wanted to create a card with them so that they were the main feature!!

- First I used the "" stencil and some Hickory smoke distress oxide ink to create a star pattern just in the middle section of the card base
- I then heat embossed the little chipboards using some WOW! embossing powder in white twinkle
- I played around with where I wanted my little pieces to be and then glued them down using some liquid glue
- I didn't emboss the winter word I just left that the colour it comes but added a little embossed glitter
- Added a touch of sequins and the card was complete. 


Place your stencil in one position and ink, then shift your stencil to a slightly different position and ink with a lighter coverage. This creates a background with light and dark!


Twinkle stencil


Thanks for stopping by the CAS blog today, don't forget to check back here on a regular basis as there is always amazing inspiration from all the design team using Create a smile goodies... 

Happy crafting everyone.... 
Hugs Ashlee. 

Saturday, January 4, 2020

[VIDEO] Watercolor your Stencil

Hello lovelies,

today I have a new video for you. I used this beautiful stencil in a different way... but first I'm showing you the final card


I wanted to use this wonderful stencil, but I also wanted to try something new


Here you can watch the Video in English


Hier ist das Video in Deutsch


This year Christine, the owner of create a smile, starts with workshops & stamp-meetings. You can find them in the shop :-)


Saturday, December 28, 2019

Secret Ingredient Christmas Wishes

Hi there!
Samantha here, and today I'm sharing an adorable, Christmas card, but it can also be used as a 'thank you' card for something received on Christmas!


Those snowmen chef are so adorable and I just LOVE them making this sweet scene! 


Let's make this card together!

- I started by stamping and coloring the images with Zig Clean Color Real Brush Markers! Once everything was dry, I fussy cut them out!
- I used Twisted Citron, Mowed Lawn and Squeezed Lemonade Distress Inks to create the ink blended background.
- then I used the swirly stencil and the same colors, but with more pressure to create some texture!
- on top of that, I used some white embossing paste and the starry stencil to add even more sparkle and fun!
- then I splattered some water and white acrylic paint onto the background.


- I popped up the images with foam tape, too!


I used the yellows and greens to create the background, but any other color in the background would be beautiful! A soft, pink or soft blue would be sooooo lovely with this scene!


I used the Patterns and Twinkle Stencils for the background! The images are from the Secret Ingredient stamp set


There is ALWAYS a fun challenge going on in the Create a Smile Stamp Facebook group page! It's fun and filled with prizes! I love seeing all of the incredible, unique and amazing inspiration!
~Samantha