Wednesday, November 13, 2019

Hot Chocolate Weather!


Hello!  Candice with you today sharing a treat filled card using the adorable new release!


Who doesn't love to use the cute stamps you get from a new release?!  I couldn't wait to create with these sets!



-To begin my card I created an 8 1/2 x 3 1/2 card base which will fit into your standard size envelope.
-For the background, I heat embossed the sentiment from the Mouse Au Chocolate stamp set and the stars from the Twinkle stencil in white and inked lightly with bundled sage & shabby shutters.


-Next, I created the table by die cutting a strip with the Double Stitched Rectangle cool cuts.
-I then, stamped all the images from the Mouse Au Chocolate & Favorite Cookie stamp sets, colored with copic markers and fussy cut out.
-I added a bit of sparkle to a few of the white spots on the images with a glitter pen.



When you have larger images and want to use them all on one card, try a new size, as I did with this slimline card base!

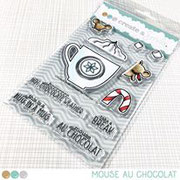


Mouse Au Chocolate stamp set
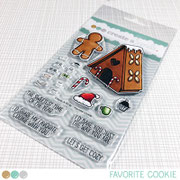

Favorite Cookie stamp set
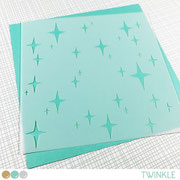


Twinkle stencil
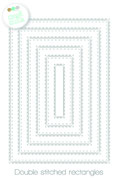
Double Stitched Rectangles cool cuts


You can always create a card for the bi-weekly challenge for your chance to win!

Thank you for visiting!

Candice

We dare you to create a smile : Mood Board


Hello everyone!

We are happy to share with you a new challenge that starts today and the theme is a mood board . Our guest designers and our design team did such a fantastic job to showcase this color scheme in their creations

Also don't forget that by playing along with our challenge you get the chance to win a 25€ gift card to Create a smile store and the chance to be guest designer for our next challenge 

Let's see what our guest designers have created inspired by the new theme 


Thank you so much for being guest designers in our challenge and creating such beautiful projects. Please make sure to check their social media and leave them some love

The design team also created some gorgeous projects inspired by the new mood board  . Here they are


Elisa made this gorgeous card using From my nest stamp set


Hope you got inspired and now is your time to be creative!
Please before entering your project make sure to check the rules which are listed below


You are invited to the Inlinkz link party!
Click here to enter

Saturday, November 9, 2019

You're so sweet

Hello there, Nicole here.

Today, I have a cute little recycling idea for you. I hope you like it and get inspired.


I always thought that the (new) packaging from Create A Smile is too pretty to throw away so I kept it and started looking for ideas to use it on my cards.


First, I stamped and colored the macaroons. I used watercolor paper and watercolor markers along with a waterproof ink. I fussy cut them and set them aside.

Next, I die cut a pretty scalloped rectangle from the packagings paper and glued it to my card base. I stamped the sentiment on turquoise card stock and covered it with white embossing powder. Then, I die cut it with a cute sentiment banner.

The rest is super simple. I arranged the macaroons and glued them in place with glue or foam tape. I added some alpha stickers and adhered the sentiment banner to my card. To finish it up, I added some white sequins.


You don't like to throw away the packaging of your stamps? Try to find ways on how to use them for your projects. Some papers are quite slick and work with alcohol inks. I also use the plastic part of the packaging for instance for the ink smooshing technique.


And here are two more cards I created 
with the pretty patterned paper from the stamp packaging. 


A little Treat / Zuckerschnute


Thank you so much for stopping by!
Have a wonderful day,

Wednesday, November 6, 2019

Snowflake Stencil

Hey stampers, Anni here!

With the new release ahead next Friday of course I want to share cards using the new products. And there are so many fantastic new products to choose from.


I love love love the new release! Have you seen the sneak peeks? There are so many awesome die sets, gorgeous stamp sets and fantastic stencils. And my favorite one is the big snowflake. It is so versatile and perfect for making Christmas cards in no time at all.


First card

  • I started by die cutting rectangle from white cardstock.
  • I created a background using Distress Oxide in Tumbled Glass, Peacock Feather and Chipped Sapphire. I added some spritzer of water to create these bleached splots.
  • On this background I applied some shimmer paste through the stencil.
  • When it was dry I added the sentiment: I die cut the letters that I needed using the new alphabet sets Cherry Uppercase and Lowercase from matching cardstock. The sentiment says Merry Christmas in german.
  • For the finishing touch I added some rhinestones for a christmassy feeling.

Second card
  • For the second card I choose a light blue cardstock for the panel. 
  • I added spritzer with watered down white gesso.
  • With the stencil I used some glitter paste in blue.
  • This time I went with another new die set for the sentiment: 3x Christmas. I die cut the shadow from vellum and the Christmas word from turquoise cardstock.
  • Here I chose some pearls as embellishment.


The new release will go live this Friday at 10.00 am CET. I bet the products will be flying off the shelves so make sure to order early!


Keine Fotobeschreibung verfügbar.   Bild könnte enthalten: TextBild könnte enthalten: Text   Bild könnte enthalten: Text

Monday, November 4, 2019

BEE- UTIFUL....!!

BEE - UTIFUL....

Hi everyone...

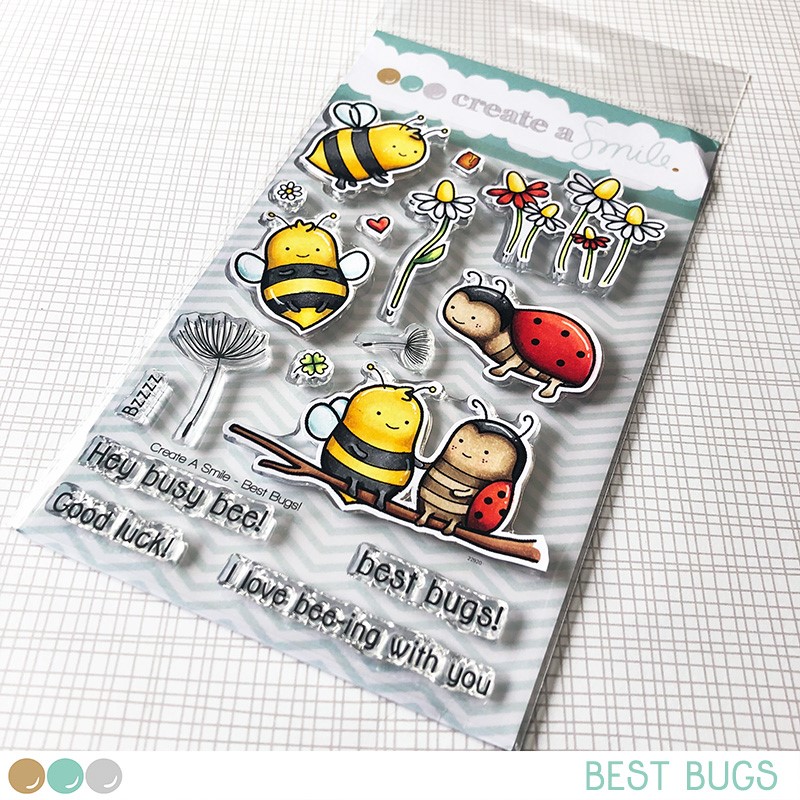
It's Ashlee here with you today and I have a card to share with you featuring the super cute best bugs. A bright sunny card is what I was aiming for and I think these bugs were perfect for it!!


I always love bright cards so I wanted to create a fun cheery scene to let someone know just how beautiful they are...

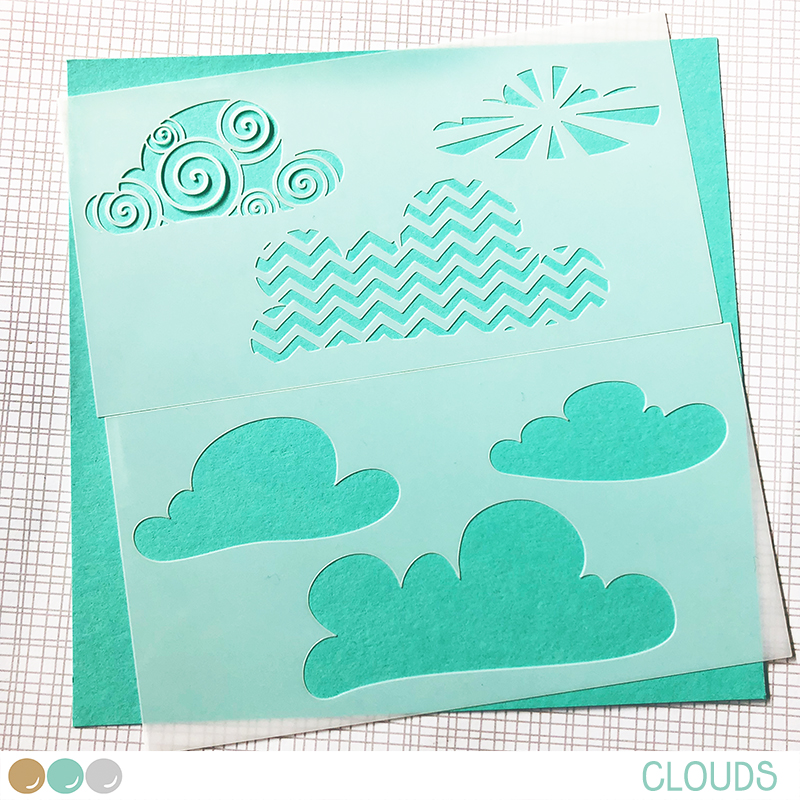
- I first stencilled on some clouds using the clouds stencil and some distress oxide ink in the shade Salty ocean
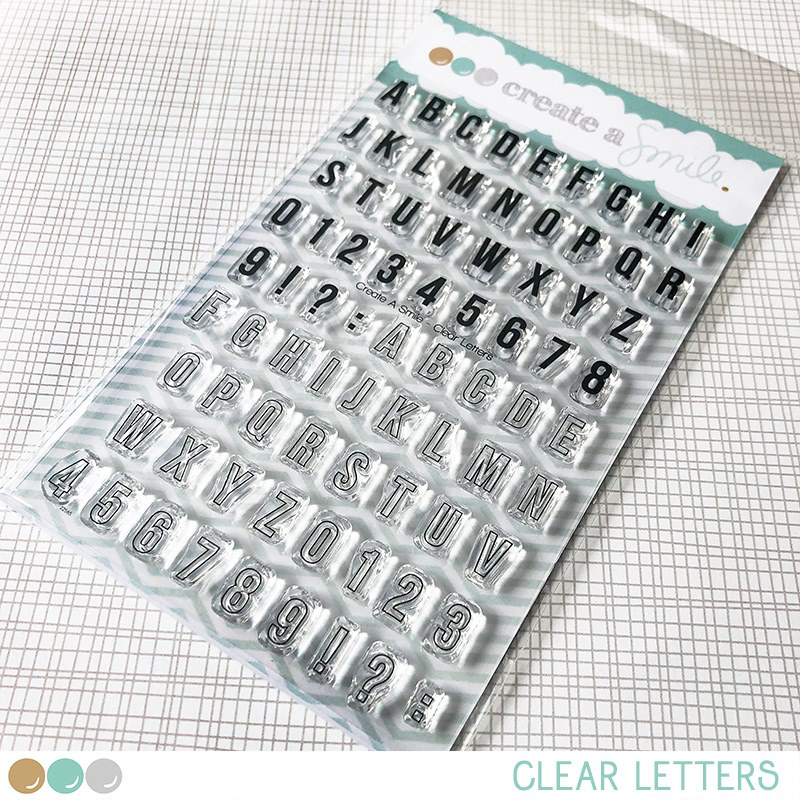
- Once I had stencilled my clouds I used the Clear letters to stamp the word BEE-UTIFUL
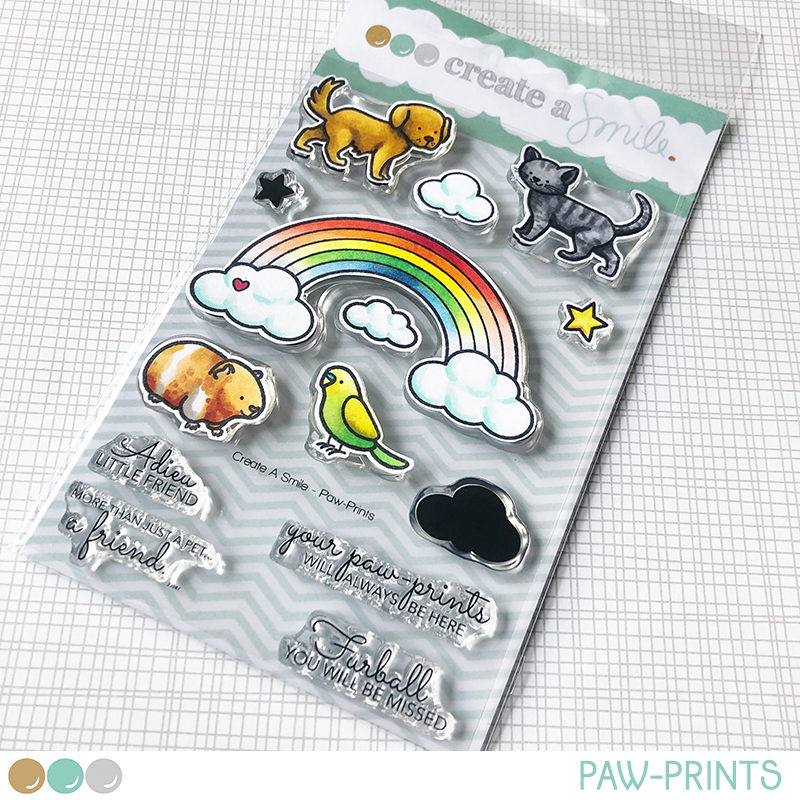
- I stamped cut and coloured two bees and the rainbow and added them onto the card base with some foam tape for dimension
- A touch of sequins finished the card off


- Play with white space... sometimes less is more!!


There is always so much fun and inspiration using CAS products over on the Create a smile stamps instagram page and all the design team members are always sharing lots on their own personal pages too, so be sure to pop on over and check out Insta for more CAS inspiration!!

Happy crafting everyone.... 
Hugs Ashlee.