Sunday, July 16, 2017

Shaker Car

Hey guys! I've never been really good at making Shaker Cards but once in a while I like to give it a whirl. So today, I'm sharing you a bright and colourful shaker card.


Firstly, I've die-cut the border first and then, colour it in yellow and pink. I've painted a very light wash of colour and when it's dry, I added more and more layer of the colours. This gives you various dimension of the yellow and pink without using different shades.

Stamped out the leaves on the card base and painted them in various shades of green. Pour out silver sequins and stick on the yellow-pink border and there you go :D 



Distress Ink - Antique Linen
Prima Watercolours



Follow Create A Smile on Facebook keep yourself updates on all the happenings and if you're an Instagram addict like I am, you can follow Create A Smile using this name : @createasmilestamps ! :)


Thanks for stopping by,


Friday, July 14, 2017

Let's Celebrate!

Hi there!
Samantha here today, and guess what? It's my birthday! So you know I had to make a celebration card!! Ha! 


Well...birthdays!!! And that cute cute cute little monster! I couldn't let another day go past when he wasn't used on a card! Ha!


There's nothing fancy with this card, but it sure does make me happy!
Let's make it!

- stamp and color that little guy (I used Zig Clean Color Real Brush Markers and watercolored onto some Bristol Smooth Vellum Mixed Media paper)
- I also stamped a simple balloon from the cling stamp set and colored that as well.
- once dry, fussy cut and add foam tape


- on the background of your card front, stamp the background image in black ink
- heat emboss the sentiment in white, onto black cardstock
- finish with sequins


That monster is SO cute, and totally steals the show on this card! That's why I didn't go crazy with color in the background!


I really let that adorable little monster from Monster Party shine on this card! The background was stamped in black ink with the Cling Balloons In the Sky stamp set! Love it! And that sentiment is from the Mini Birthday stamp set! 


Create a Smile Stamps offers Gift Certificates! It's the perfect gift for someone you know who loves to stamp as much as you do!

~Samantha


Wednesday, July 12, 2017

((VIDEO)) Stencil Techniques with Distress Oxide Inks

Hello crafty friends! It's Jess and today I have a card and a video with a coffee themed card using the Lots of Mugs stencil, the Coffee First Stamp Set and the Friends Like You Stamp Set.

Coffee Themed Card by Jess Gerstner with Distress Oxide Inks and Create a Smile Stamps


Someone asked me if you could cut word stamps with the ScanNCut digital cutting machine and I thought that these stamps from Create a Smile would be a perfect test case. Turns out you can cut out these beautiful script greetings very easily and add great impact to a card.

Coffee Themed Card by Jess Gerstner with Distress Oxide Inks and Create a Smile Stamps


I stamped my words and coffee mug and cut them out with my digital cutting machine. To create the stencil background, I covered my Bristol smooth cardstock with Distress Oxide ink and then 'stamped' it by spritzing it with water and laying in on the card. You can get more details in the video:


If you don't have a digital cutter you can always fussy cut around your images. Also remember to be creative with your stencils. You can do so much more than put ink through them.

Coffee Themed Card by Jess Gerstner with Distress Oxide Inks and Create a Smile Stamps


The Create a Smile shop has a great sale on Christmas items still!

Tuesday, July 11, 2017

Pain, go away!

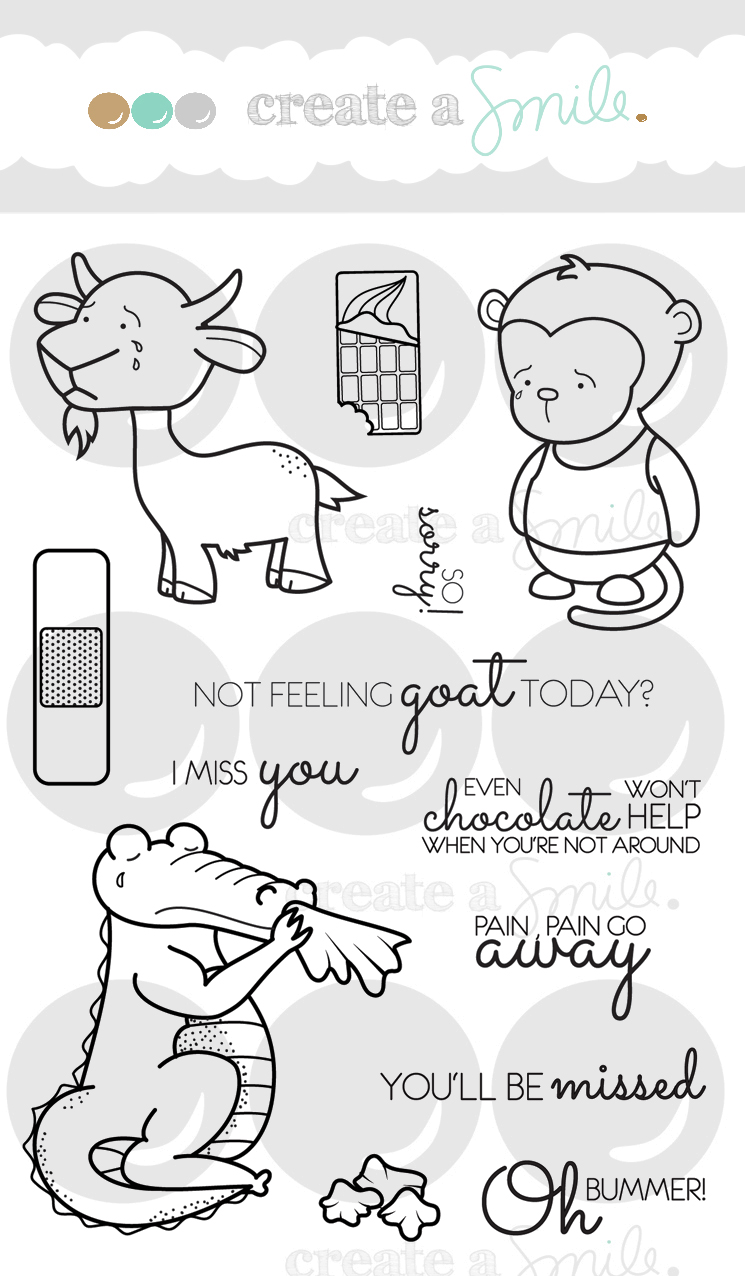
Hi crafty friends and welcome back to our crafty space. Raluca here with a new card showcasing the "When you're not around" stamp set.


I wanted to use the monkey from this set because it's so cute! But I also wanted to send a positive note for a sad friend.


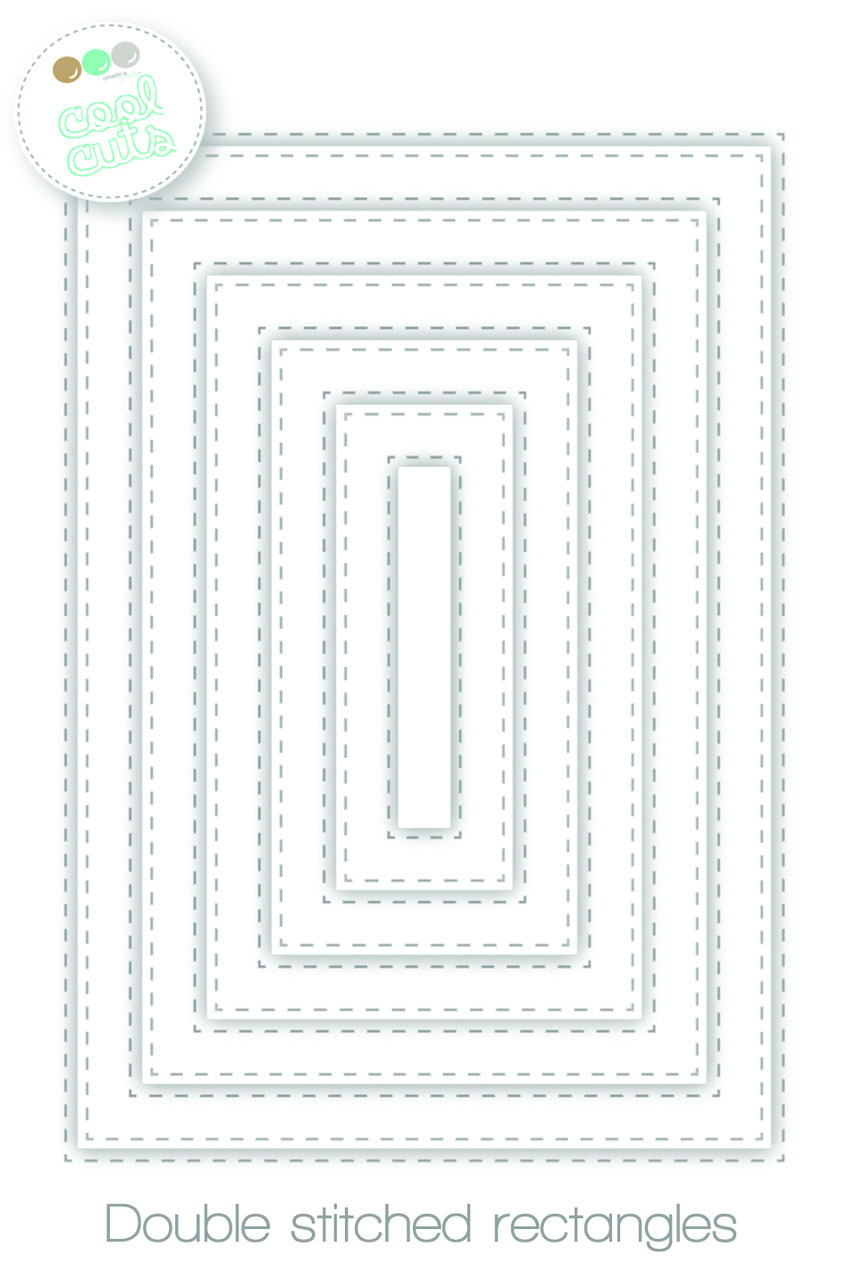
First step was to die cut a light blue panel using the largest stitched rectangle. 
Then, I took out the "Decorated wishes - mixed add-on" set and I chose the 'sending smiles' sentiment. I stamped it all over my blue panel using VersaMark ink.
Next, I die cut a smaller stitched rectangle from white cardstock. On the bottom of this panel I stamped a sentiment from the "When you're not around" set using a light blue ink pad.


I mounted the white panel in the center of the blue one using craft foam.
Then, I stamped the monkey and the tissues and colored them with Nuvo markers. I adhered them on my white panel with craft foam. With a few white sequins added, my card was done.


Double Stitched Rectangles

When you're not around


If you love Instagram like I do, you can follow Create A Smile using the name @createasmilestamps and if you have any questions about card making, techniques or products or if you want to share your creations with Create A Smile fans join us on our Facebook group Create A Smile - Friends & Family :).

Have a lovely Tuesday!
Thanks for stopping by,
Raluca

Monday, July 10, 2017

Baby boy..........

Hi it's Anja again on this Monday at the beginning of a new week.


I had to make a quick baby card for a new baby boy so I once again took the lovely welcome baby set.


I started with a topfolded white cardbase and smooched some yellow distress ink.
I used the heart stencil and some white embossingpaste over it.
Stamped the elephant three times and colored it with copics. Cut them leaving a small white outline.
Cut a small piece of black cardstock and some patterned papers and adhered everything to the card.
I stamped the sentiment on some vellum and cut it.
Finally stamped the word boy directly onto the card and placed some enamel stickers.
To finish the card I rounded the corners at the bottom.


Stamps;
Welcome baby;


Enamel stickers;


Stencil;
Big hearts polka;


Patterned papers;
Sending Sunshine;


Make sure you visit the create a smile shop for some sales and lots of beautiful supplies. Did you know they have also great dies, sequins and even acrylic blocks for easy stamping.

Have a great week;

hugs Anja

Sunday, July 9, 2017

Be Bold - Part 5

Hey guys! Another week of boldness. You cannot think bold and not involve rainbow, right? Today, I'm working with stencils! If you aren't aware, Create A Smile carries a nice range of stencils. Don't forget to check it out over at the store. But today, I'm using one of my favourites, the heart stencil. 


To start, I've taped off the sides of the card base so that I would leave a nice clean white border with painter's tape. You can also use washi tape. Next, as you can see in the image below, I've place the stencil over the card base and stick more tape at the sides of the stencils to keep it in place. 

To mark out where the hearts are, I've inked in Distress Ink Antique Linen with my ink blending too. This helps me to know where the hearts are when I remove the stencil so I can colour it later. Also, Antique Linen is pretty light so it won't change your colours too much later :) 


I've added the die-cut as my sentiment and covered the die-cut with Ranger White Enamel Accents. I love them! It makes my sentiment very white and shiny. 


Distress Ink - Antique Linen
Prima Watercolours
Ranger White Enamel Accents


Follow Create A Smile on Facebook keep yourself updates on all the happenings and if you're an Instagram addict like I am, you can follow Create A Smile using this name : @createasmilestamps ! :)


Thanks for stopping by,


Friday, July 7, 2017

How are You Card

Hi there!
Samantha here, just sitting here thinking...you know what today needs? More rainbows!


Yep, rainbows and triangles with a splash of black - winning combo if you ask me! :)


Want to make this card with me? Read below!

- select your stamps and color directly on them with your waterbased markers of choice (I used Zig Clean Color Real Brush Markers!)
- spritz lightly with water and press onto your card front
- repeat this pattern in your color choices!  


- once your triangles have been stamped - splatter some color and heat emboss the large part of your sentiment in black
- heat emboss the smaller part of your sentiment in white, onto black cardstock!
- in hindsight, I think a few sequins added would MAKE this!


I added some shading to my triangles by using the markers to color in the right-most edge of all the triangles and then blending it out with my water brush! It's a subtle detail, but I really like the dimension it adds! 


I have to say that Going Graphic is one of my favorite stamp sets! I love the shapes! Then, I used the sentiment from Just Saying Hello stamp set to finish it off!


Do you follow Create a Smile Stamps on Instagram?! You totally should! 

~Samantha