Thursday, April 23, 2015

Underwater Love

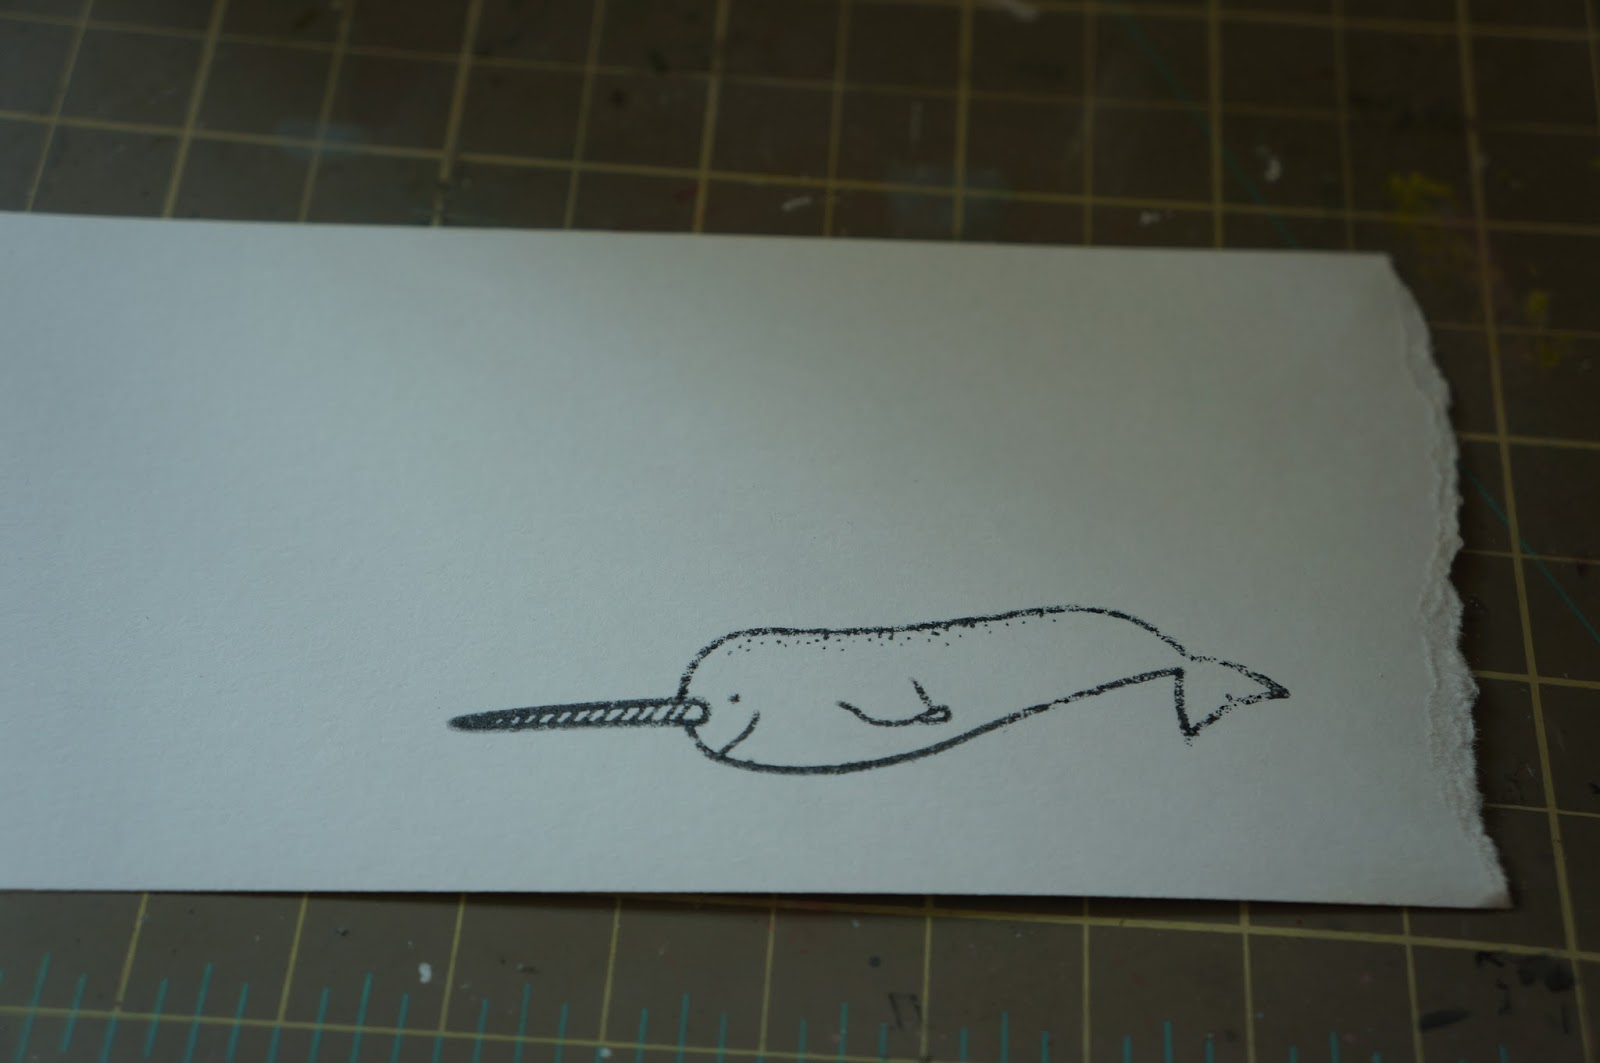
Hello crafty friends, Yoonsun here! I am back with Create A Smile April released Underwaterlove Stamp Set.


When I saw the cutest underwater creatures, "Aquarium" just came into my head :D

 
  • Stamp underwater creatures on the white cardstock using Memento Tuxedo Black, color them with Copic, fussy cut them.
  • Stamp Wild Waters on the watercolour panel using Distress inks -Peacock Feathers, Salty Ocean, Stormy Sky- and add some water droplets.
  • Mount copic coloured images over the inked panel using dimensional foam tape.
  • Add some different coloured sequins, beads to the stamped panel and cover the rectangle window for the shaker card.

I wish I could have my own aquarium like this lol!


Thanks for stopping by! Have a wonderful day!!
xoxo Yoonsun

Wednesday, April 22, 2015

There's a Hole in the Bottom of the Sea


Hi Crafters,
Justine here, bringing you my very first Youtube Video for the Create a Smile Design Team :) I am so honoured to be a part of the team!


The idea behind is quite odd - most of my cards start off with an absurd idea. I teach English in Germany and I was teaching my students the song "There's a Hole in the Bottom of the Sea" and when I arrived home my Underwater Love Stamp had arrived and thus a card was born.


For a full tutorial, I have the video here:


  1. Create a top folding card by cutting a piece of 8 1/2 x 5.5 piece of cardstock and folding in half at 4 1/4 inches.
  2. Using watercolour paper, saturate the paper with water. Go back and forth with the brush using different shades of blue dye ink. Add some waves with your brush. Blot with paper towel.
  3. Stamp Wild Waters onto a piece of vellum. Cover with white embossing powder. Heat.
  4. Attach your vellum to the watercolour and cut a circle into the front of your card through all the layers.
  5. Using a pencil, trace the hole onto the inside of the card, stamp the octopus and watercolour. Add the bubbles.
  6. Create a banner and stamp the sentiment. Attach to the card. Erase pencil marks - Voila!


  • When embossing on vellum, make sure your craft heater is fully heated by letting it run for a minute or so. This will help avoid warping the vellum.
  • When stamping with versamark, and areas are missing, fill them in with a versamark pen!


Did you know our stencils are back in stock? Also don't forget to enter your own Create A Smile projects into our side bar for a chance to win some goodies!

I'm so excited to be a part of the Design Team. If you're interested in more of my creations, check out my blog and Youtube Channel :)

Much love,
Justine


Tuesday, April 21, 2015

Watercolor Rainbow

Hello Crafters!

It's Kelly here and I'm going to share a rainbow watercolor card with you today. I love anything rainbow and as soon as I saw the new Wild Waters stamp I couldn't wait to smack a rainbow on it :)


I wanted to create a fun background that could be used as the star of my card. 

I used my distress markers to add colors in a rainbow pattern directly to my stamp. I stamped onto watercolor paper and just used a small amount of water on my paintbrush to blend the colors. Now it looked awesome already but I wanted it to be a bit more interesting. I scribbled a little bit of each color on my craft mat. Using a bit more water I mixed each color and splattered little (or big) droplets onto the background. Last I splattered clean water onto the background and blotted them up with a dry cloth. This creates those negative spots where the color looks bleached out. To make the stripes look a bit more 3D I added a shadow to each stripe to complete it. 

The talk bubbles are from Perfect Tune and I thought they were perfect to bring in some black. Black accents with a rainbow make my little heart go pitter patter :) I embossed the "Bonjour and Hola" in black and the "Hallo" in white on black paper. Once I fussy cut them out I added them with dimensional adhesive. There was a difference in the blacks that was really bothering me so I coated all three in glossy accents. Not only did it make the blacks the same it made all three look like really cool epoxy stickers!! Crafting win! A smattering of sequins completed the card. 

If you don't have distress markers you can do the same background with the inkpads. It will just put down more ink than the markers. 

When doing the splatters if you don't have a craft mat to scribble your colors on you can use an acrylic block. 

If you smoosh to hard stamping the talk bubbles and lose some of the definition in the fine lettering you can add it back in with a white gel pen and no one will ever no the difference. Same goes for any spots of white heat embossing that you wish came out more solid :)

Did you know our stencils are back in stock? Also don't forget to enter your own Create A Smile projects into our side bar for a chance to win some goodies!

Thanks for stopping by!!

XoXo

Kelly

Wild Waters
Perfect Tune

Monday, April 20, 2015

Stretching your stamps; pinwheels...........

Hi there, it's Anja again,  I hope you all enjoyed yesterday's post from my teamie Marina about stretching your stamps. I am going to take you a little bit further today........


I always try to see if I could use the stamps in a different way and not the obvious use.
So for today's stretching your stamps I choosed the lovely boat from the newest underwaterlove set.
And just look what I did with it.......


Yes I cut it but no worries it didn't scream and you can always put it together again and nobody will ever notice it has been cut.
 
So what about making a pinwheel out of the boat? I stamped the boat 6 times with memento black ink on copic friendly paper masking of each time and colored it with copic markers in Rainbow colors. Fuzzy cut it and traced the outline with a black marker. Placed a brad in the center of the pinwheel and taped a toothpick behind it.
I took a top folded card in white and use the swirly stencil with some grey ink to create a background.
Rounded to opposite corners and taped the pinwheels to the card.
To finish the card I used the sentiment from the bad day set.


Now I had the sail from the boat doesn't it look like a shark's fin? So for the second card I colored two shark fins with copics fuzzy cut them and traced the outline with a black marker. I took a watercolor panel and stamped a part of the wild waters backgroundstamp in versamark ink. Heat embossed it with white embossingpowder and gave the card a waterwash with distress ink. I diecut a circle and used it to make a sun with distress ink. For the sky I used a cloudshaped form and distress inkt. With a black marker I drew two birds in the sky.
With a craft knife I made two slits in the "waves" and placed the shark fins. To finish the card I white embossed the sentiment from the underwaterlove set on black cardstock.
I placed the panel on some fun foam and placed it on a top folded card.

 
Stamps;


Stencil;


As I mentioned before if you can't stamp the stamps by masking them you can easily cut them apart you won't harm them and you can always put them together as they were meant to be.
Just look trough your stamps and try to see what you can create with them. If you have a watercolored panel and it isn't flat anymore use some fun foam or any other kind of some a little smaller then your panel to give it some dimension and to adhere it flat on your cardbase.


We would still love to see your creations and maybe stretching your stamps so please link them up on the sidebar.

Have a great week, Anja


Sunday, April 19, 2015

Stretching Your stamps - Mirror Stamping

Hi everyone! Hope you had a great weekend. Before a new week of new crafty projects, I thought I'd share with you a technique that you could try out today or during the new week. 


I would like to share a Mirror Stamping technique that have been working for me pretty well. I like to find more ways to get more used out of my stamps and this is one of the way. You don't need new products for this, you'll probably have it in your stash :) 


Part 1 : Creating the Background. 

I've stamped and heat embossed the new background stamp, Wild Waters on to my watercolour paper.

Next, I used the blue painter's tape to masked off a narrow clean border. I took Peeled Paint & Broken China Distress Ink to colour in my "sea". 

P.S : I would like to hear what's your favourite Distress Ink combination for making a sea scene! I would like to try out new combinations :) 


I took a clean wet brush and brush through the colours so that both colours would mix with each other more and removing harsh lines.


I added more colours to make it more vibrant. I used a slightly wet tissue to wipe off the colours that were sitting on my stamped image. The stamped image is not perfectly stamped on purposed :) I wanted to create a rough background. 


Part 2 : Mirror Image Stamping.

First, you have, of course, choose the stamp image that you want to "mirror" then choose another (any) stamp that is bigger than your choice of image. I used this flower image. I stuck my flower image to my block but the other way. Meaning, the flat side (the non-stamping) will be facing up. You can see it in the image below.


I inked up the image using my favourite black ink Memento Tuxedo. I stamped the image on to the flat side of the flower stamp. You have to take note that it will feel "slippery" so do not press too hard. 


I, then, stamped it on a paper. I try to do it as soon as possible in case the ink dries. You can clean it with your wet towel and this has never damaged my stamp and the most of the ink usually transfer to the paper :) 


Lift it and taaadaaaa :) Don't be sad if it's not a perfect image. You can take a fine black pen and go over it after you're down colouring.


This is how it looks after I've coloured and traced some parts over with my black pen. The bottom one is the mirrored image.


For give the creature some life, I've added a water of this Winsor & Newton Iridescent Medium. If you don't know, this is my alternative to Wink of Stella. It cost me almost the same price as one pen of Wink of Stella and it's in a bigger bottle. You can see how shimmery it looks in the picture at the start of the this post. You can control as much or as little shimmer you would like.


If it's your first time, try it with a smaller image on a piece of typing paper. You'll be addicted to do this when you get the hang on this :) Don't forget to not press to hard when stamping your image on the back of another stamp :) 


Follow Create A Smile on Facebook keep yourself updates on all the happenings and if you're an Instagram addict like I am, you can follow Create A Smile using this name : @createasmilestamps ! :)

Thanks for stopping by,


Marina